-

-
 Argentina (en)
-
 Australia (en)
-
 Belgien (de)
-
Belgique (fr)
-
België (en)
-
 Brasil (en)
-
 Canada (en)
-
Canada (fr)
-
 Česko (en)
-
 Chile (en)
-
 Danmark (en)
-
 Deutschland (de)
-
 España (en)
-
 France (fr)
-
 Hrvatska (en)
-
 Ireland (en)
-
 Italia (en)
-
 Magyarország (en)
-
 Nederland (en)
-
 Norge (en)
-
 Österreich (de)
-
 Polska (pl)
-
 Portugal (en)
-
 România (en)
-
 Schweiz (de)
-
 Slovenija (en)
-
 Slovensko (en)
-
 South Africa (en)
-
 Srbija (en)
-
Suisse (fr)
-
 Suomi (en)
-
 Sverige (en)
-
Svizzera (en)
-
 United Kingdom (en)
-
United States (en)
-
 Россия (en)
-
 Україна (en)
-
 日本 (en)
-

[Crops 101] How To Sow & Harvest Oat
![[Crops 101] How To Sow & Harvest Oat](/cms/uploads/news_6a9ed87767a0b.jpg)
Welcome to your next “Crops 101” lesson of the Farming Simulator Academy! This time, we’re growing oat, a beginner-friendly grain crop that can feed your horses, provide straw, and be processed into useful products.
What Is Special About Oat?
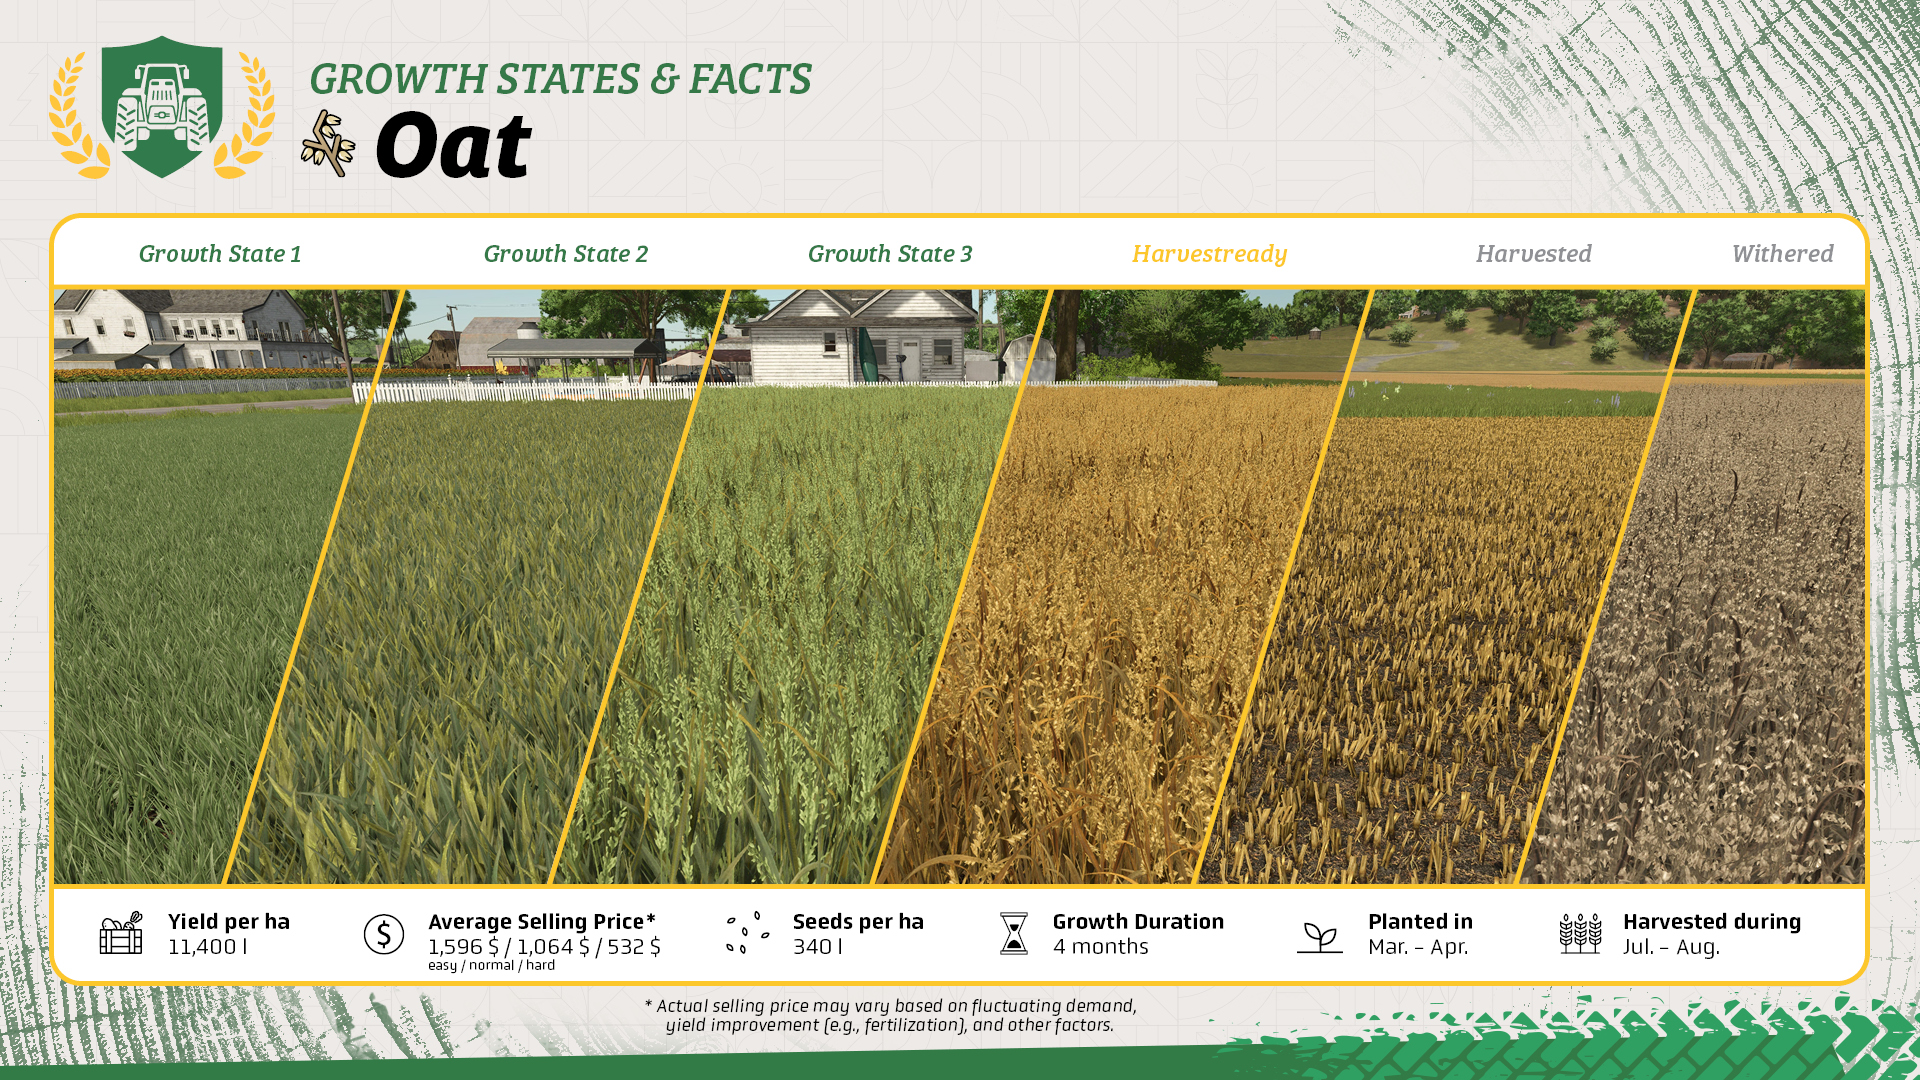
- Oat is a grain crop and can be grown with the same basic machinery used for wheat and barley.
- Compared to other grains its growth duration is very short: only four months.
- You can feed oat to your horses.
- When harvesting oat, you can also produce straw by enabling straw swath on your combine harvester.
- Straw is used for TMR which is fed to cows and as bedding in compatible barns for manure production.
What You Need For Oat
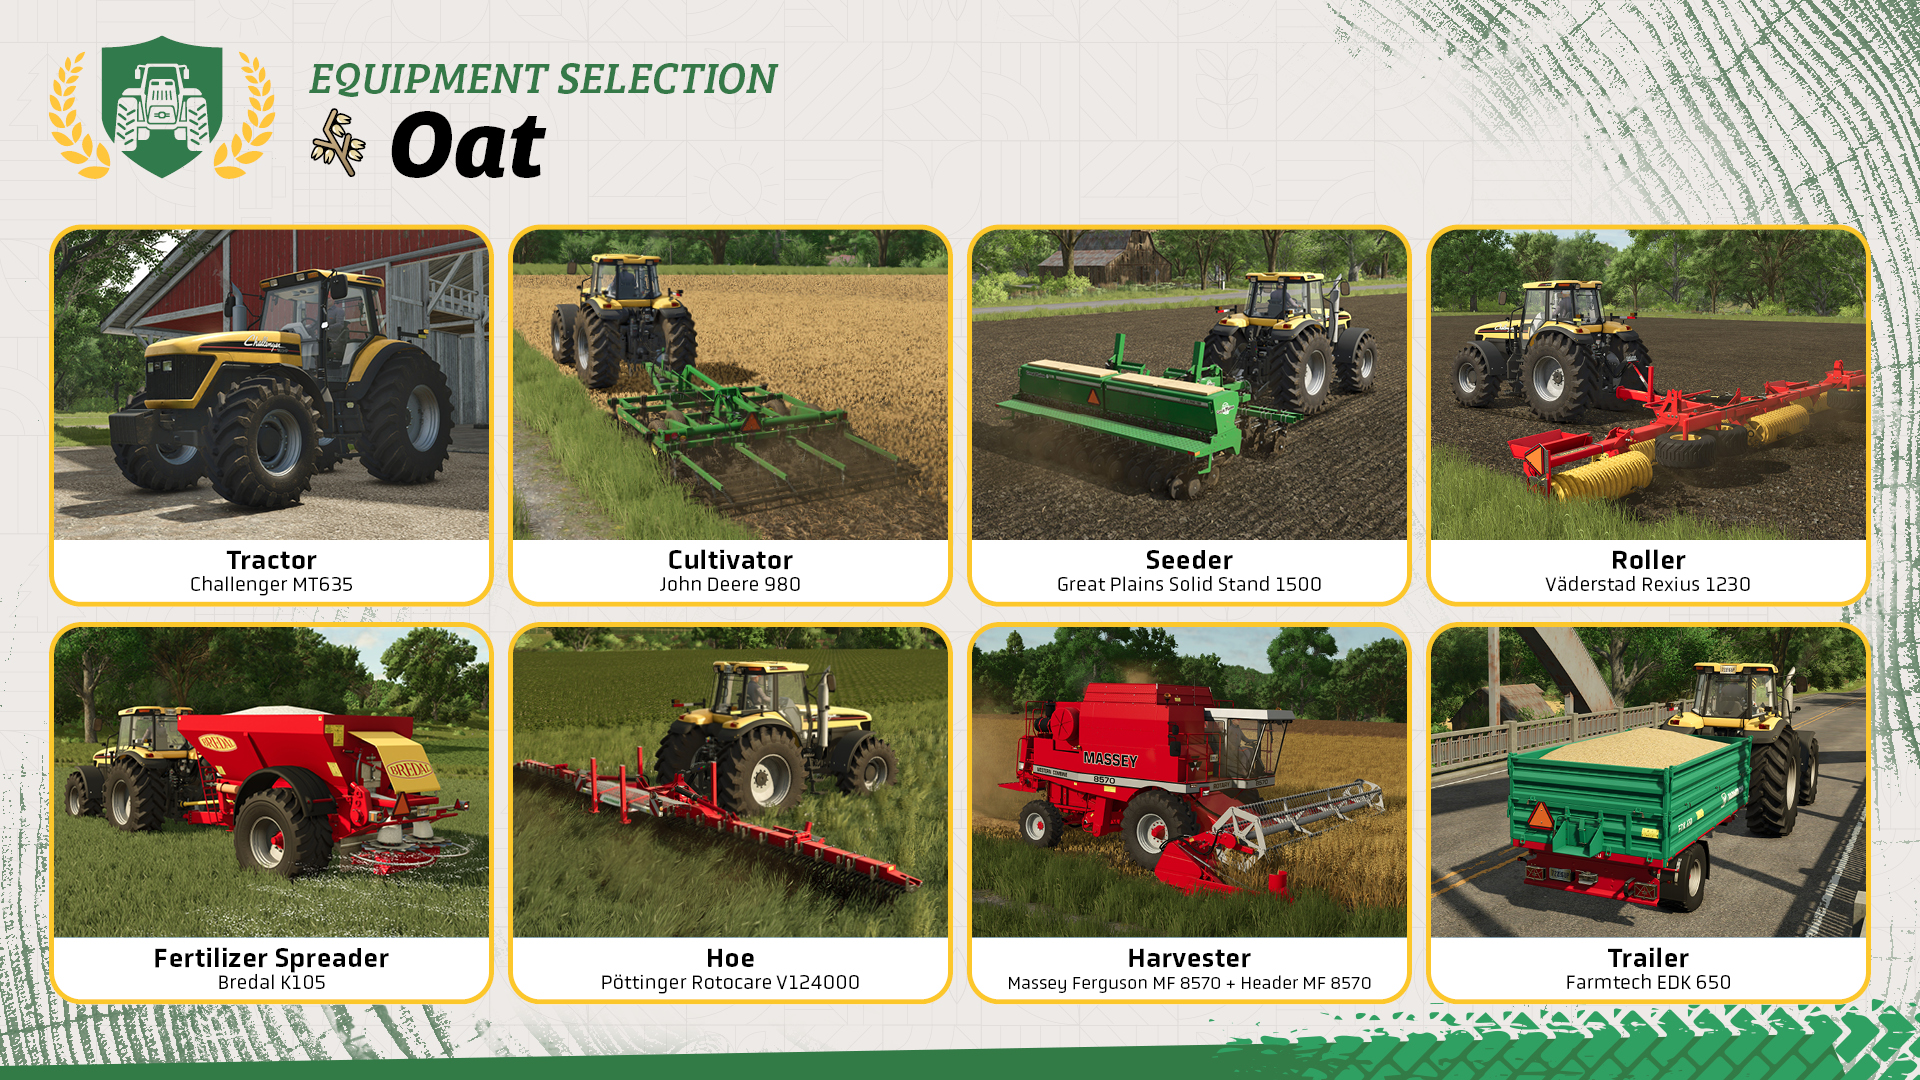
Oat uses standard grain equipment. The machines shown above cover the complete process from preparing the field to transporting the harvest.
- Tractor: Used to operate the field-working equipment.
- Cultivator: Prepares the soil before sowing.
- Seeder: Sows oat and needs to be filled with seeds.
- Roller: Rolls the field after sowing for a small yield bonus and pushes small stones back into the soil.
- Fertilizer spreader: Applies solid fertilizer and, if compatible, lime to improve your yield.
- Hoe: Removes weeds while they are still small enough to be treated mechanically.
- Harvester with grain header: Harvests the ripe oat and can also create a straw swath.
- Trailer: Transports harvested oat to a silo, selling point, animal housing, or production facility.
Let’s Get To Work!
If seasonal growth is enabled, you can sow oat from March until April. The crop is ready to harvest from July until August, so keep an eye on the crop calendar before you start.
Step 1: Applying lime
Check the field information before doing anything else. If the field needs lime, fill a compatible fertilizer spreader with lime and cover the entire field. Liming is only necessary when the field information tells you to do it.
Step 2: Cultivating the field
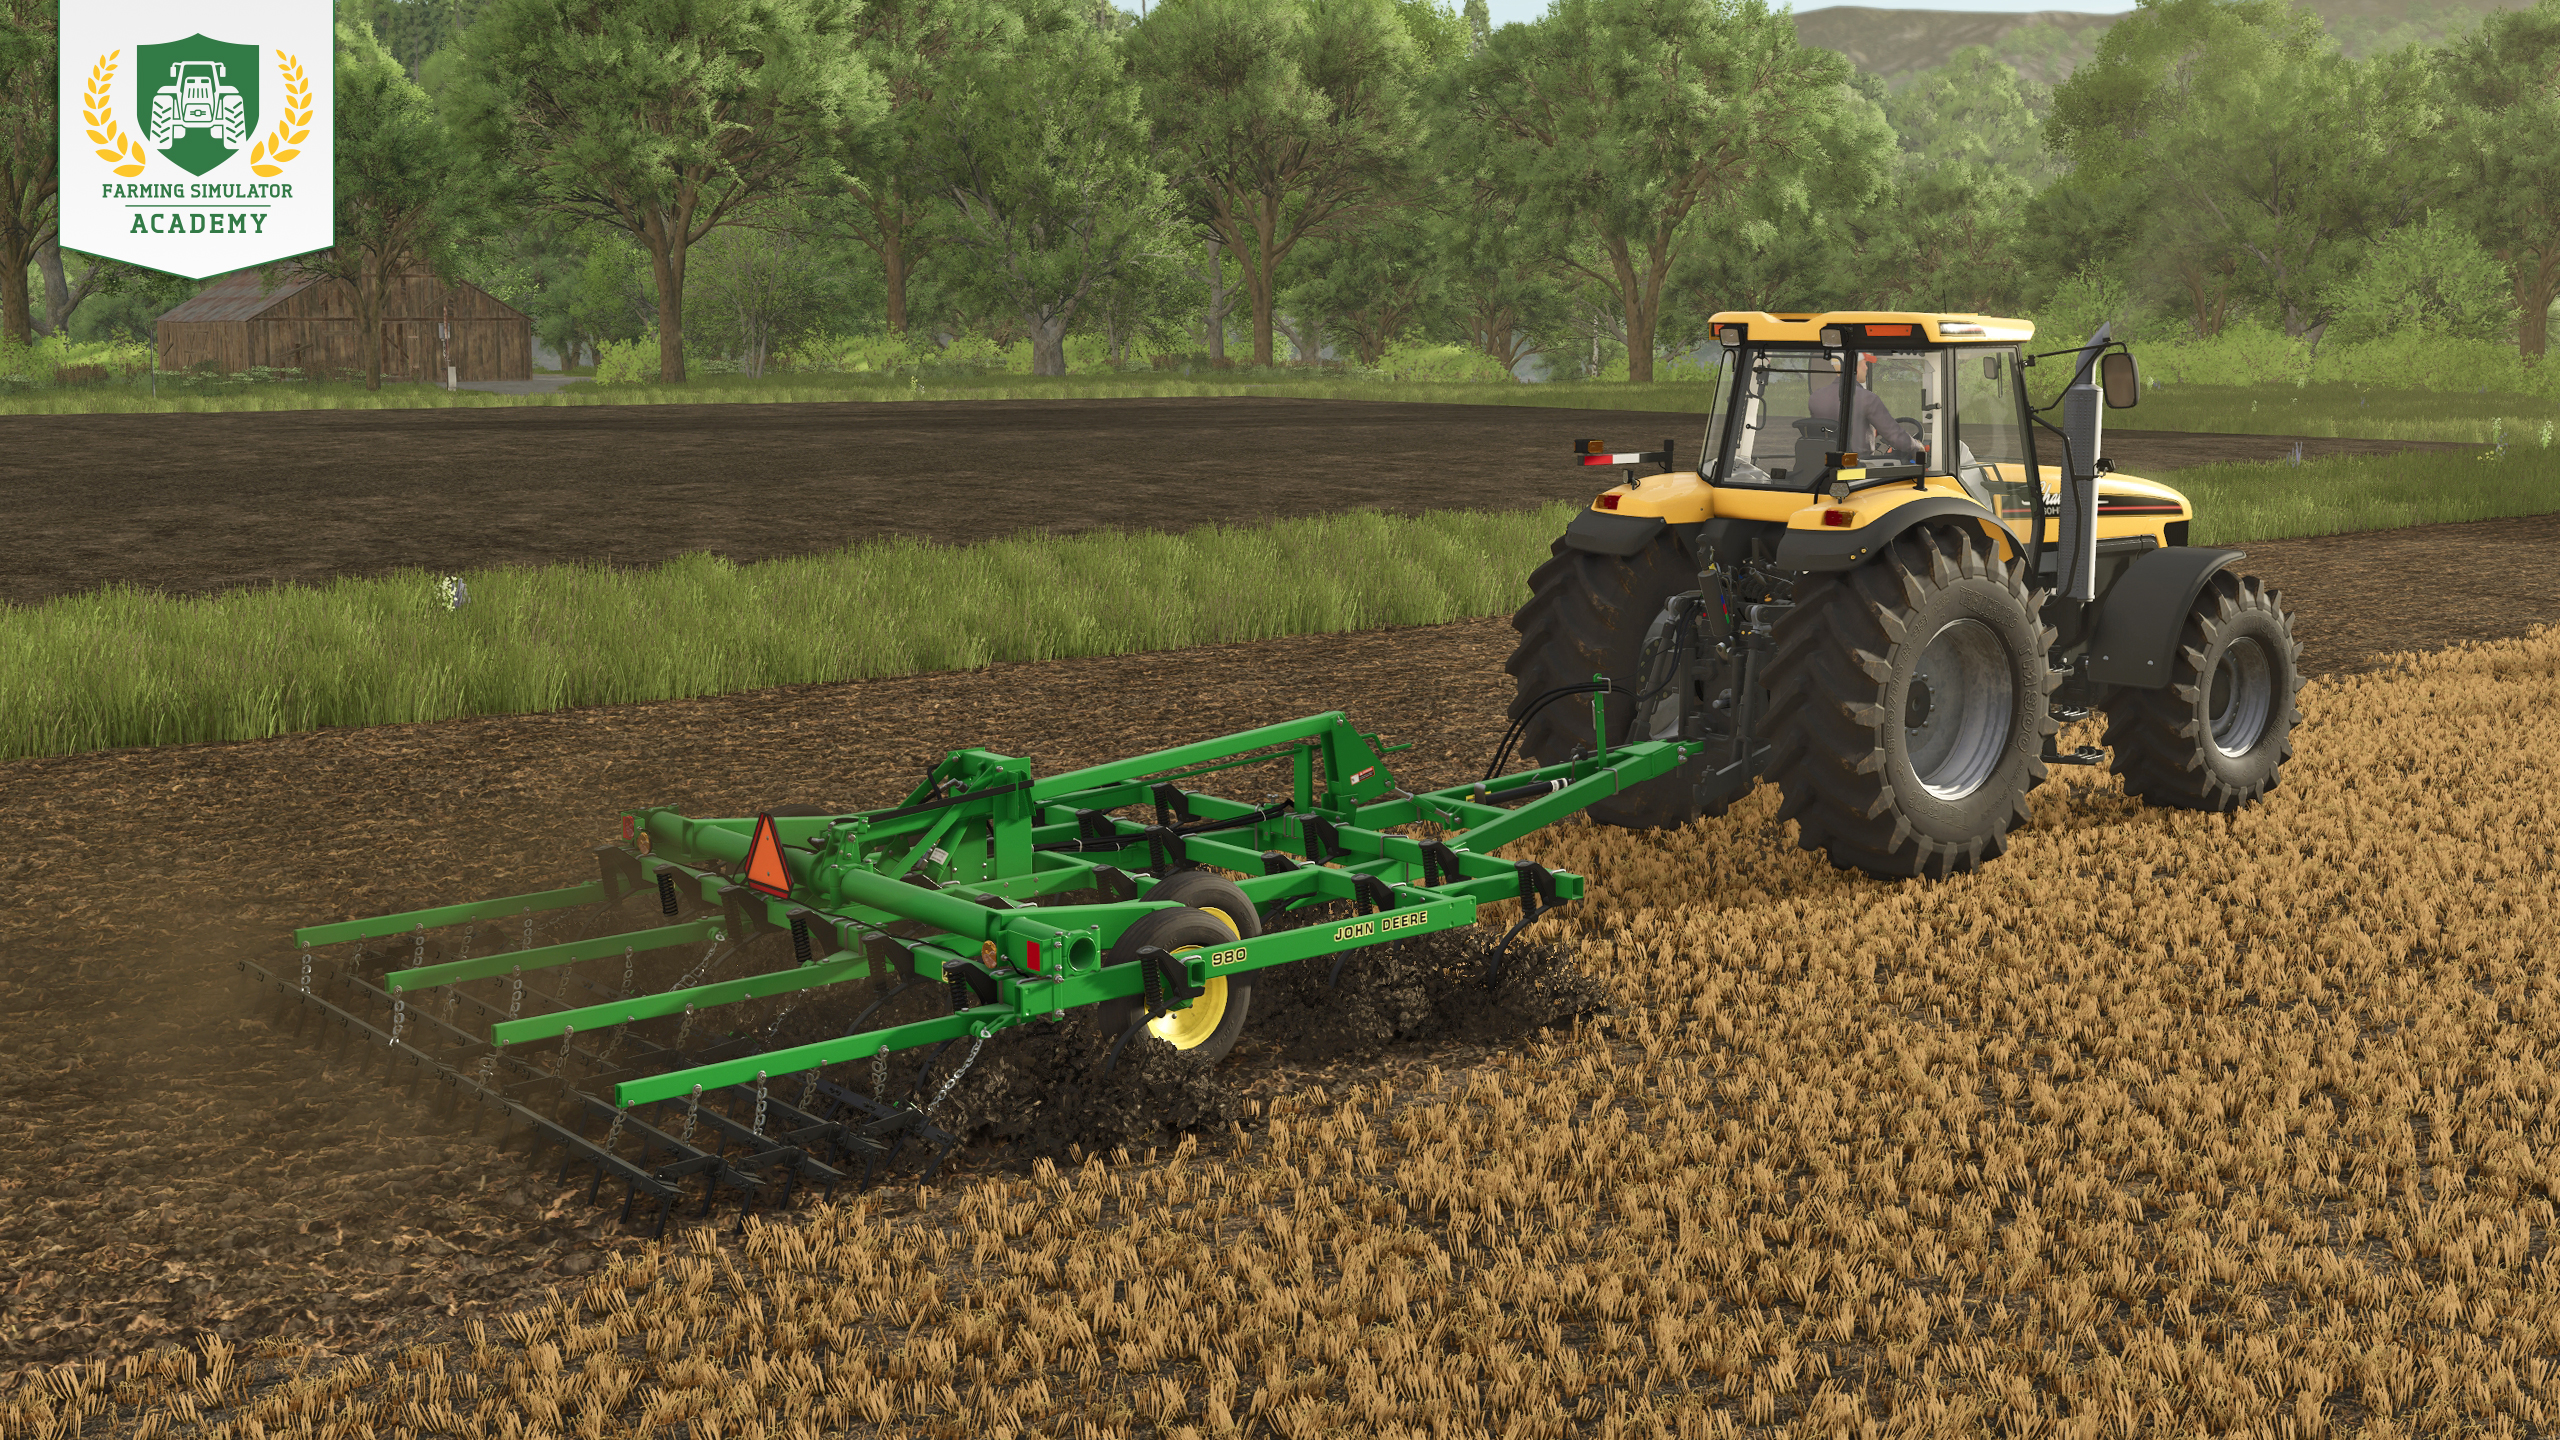
Check the field information again to see whether plowing is required. If it is not, attach your cultivator, lower it into the soil, and work the entire field until it is ready for sowing.
Need a refresher? See how field preparation works.
Step 3: Sowing oat
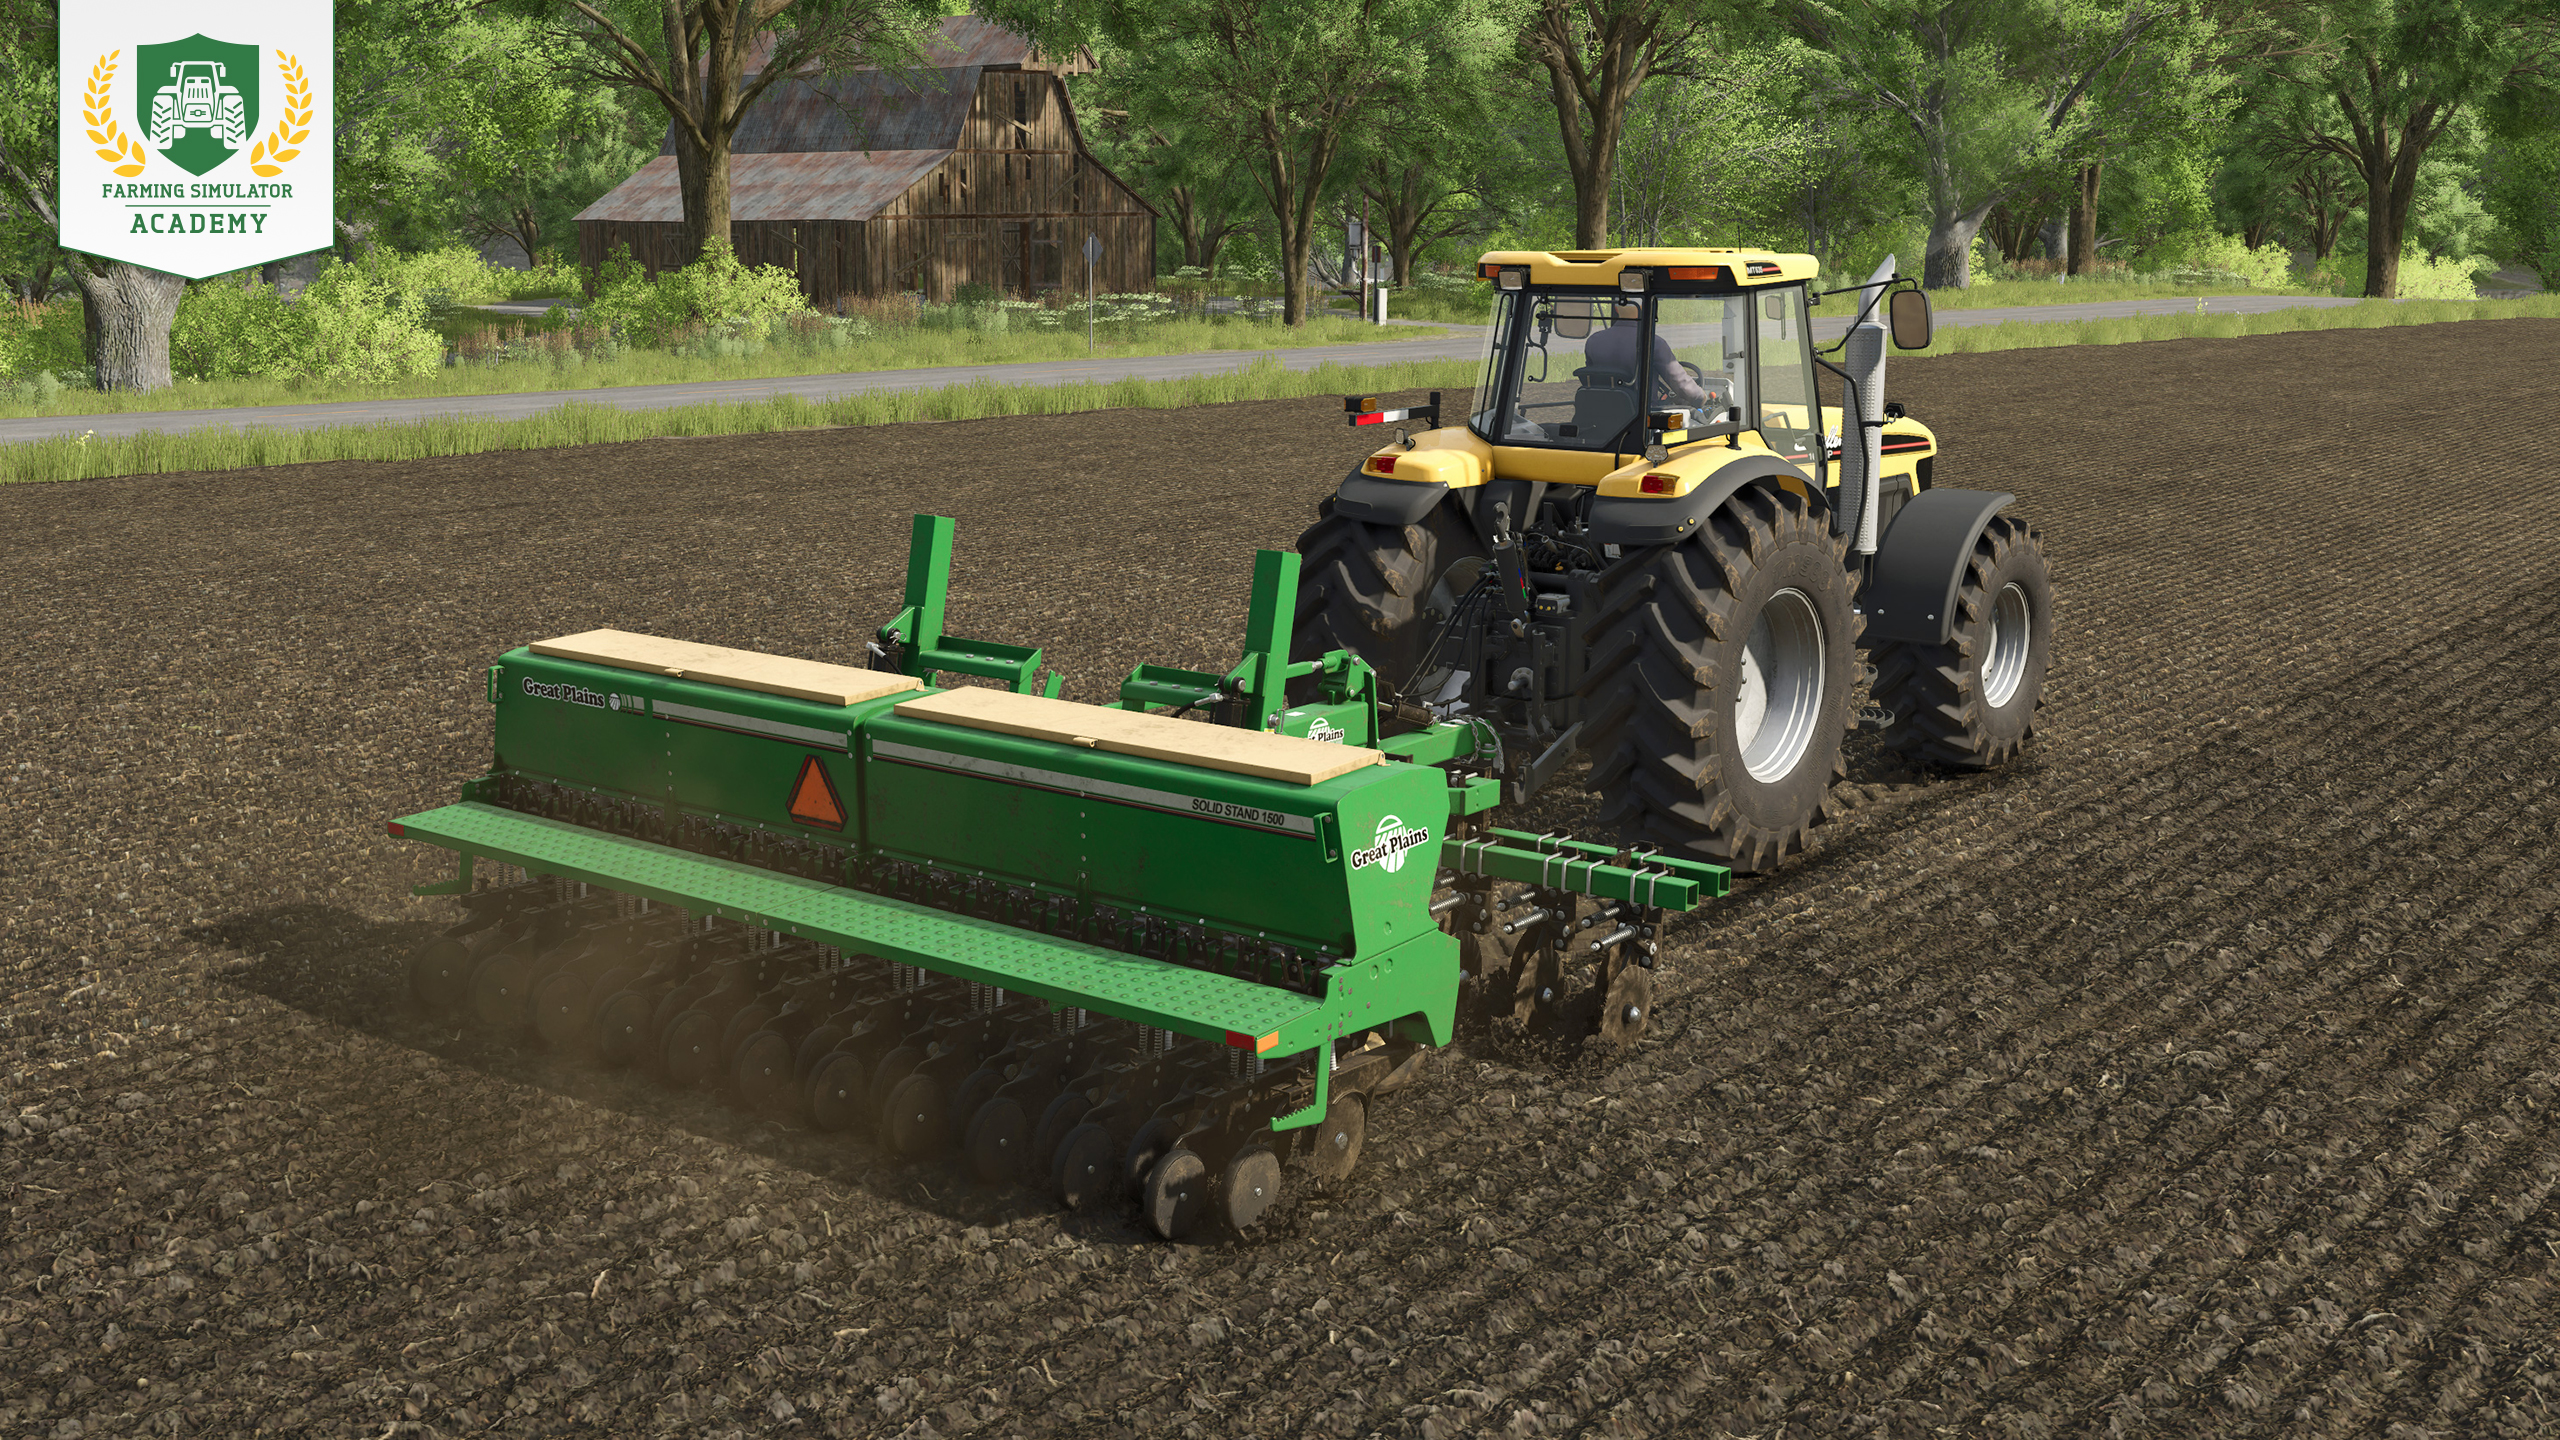
Fill your seeder with seeds and select oat as the crop. Lower and activate the seeder, then cover the field in straight passes until the whole area is sown.
New to seeders? Here’s our sowing guide.
Step 4: Rolling the field
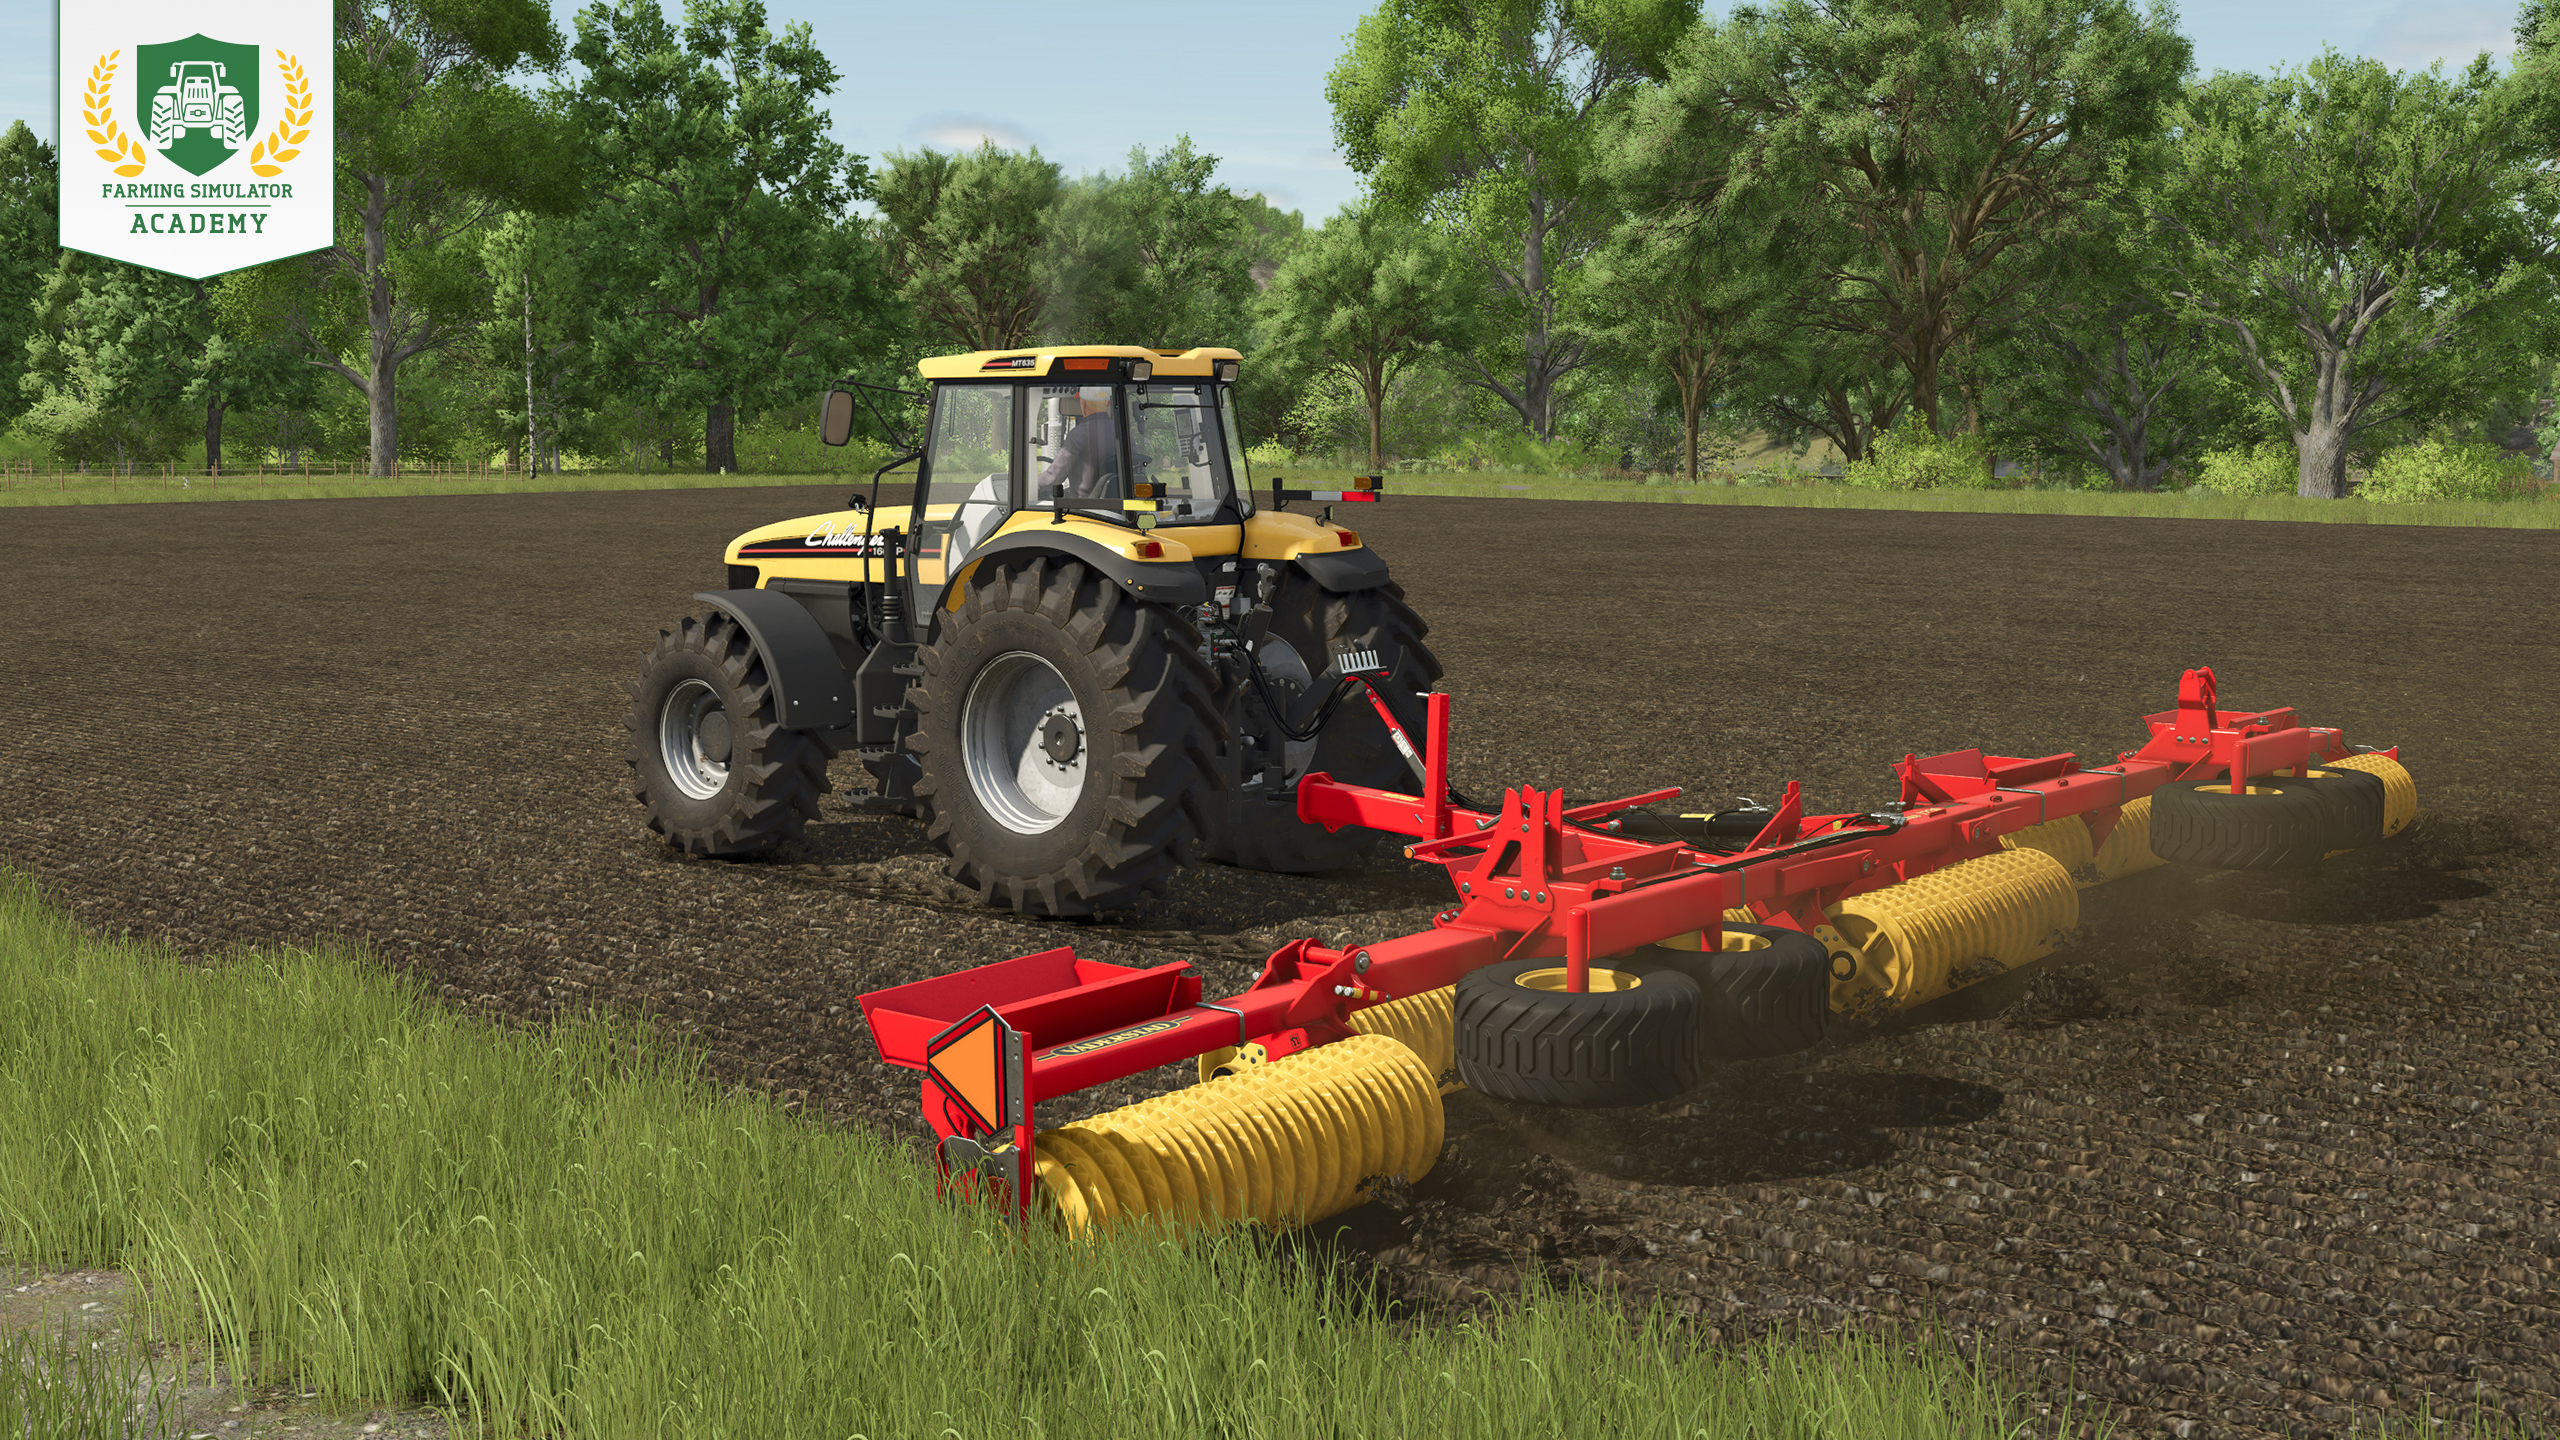
After sowing, use a soil roller to cover the field once more. Rolling gives you a small yield bonus and also pushes small field stones back into the soil before they can cause trouble for your machinery.
Want the details? Read more about rolling.
Step 5: Fertilizing
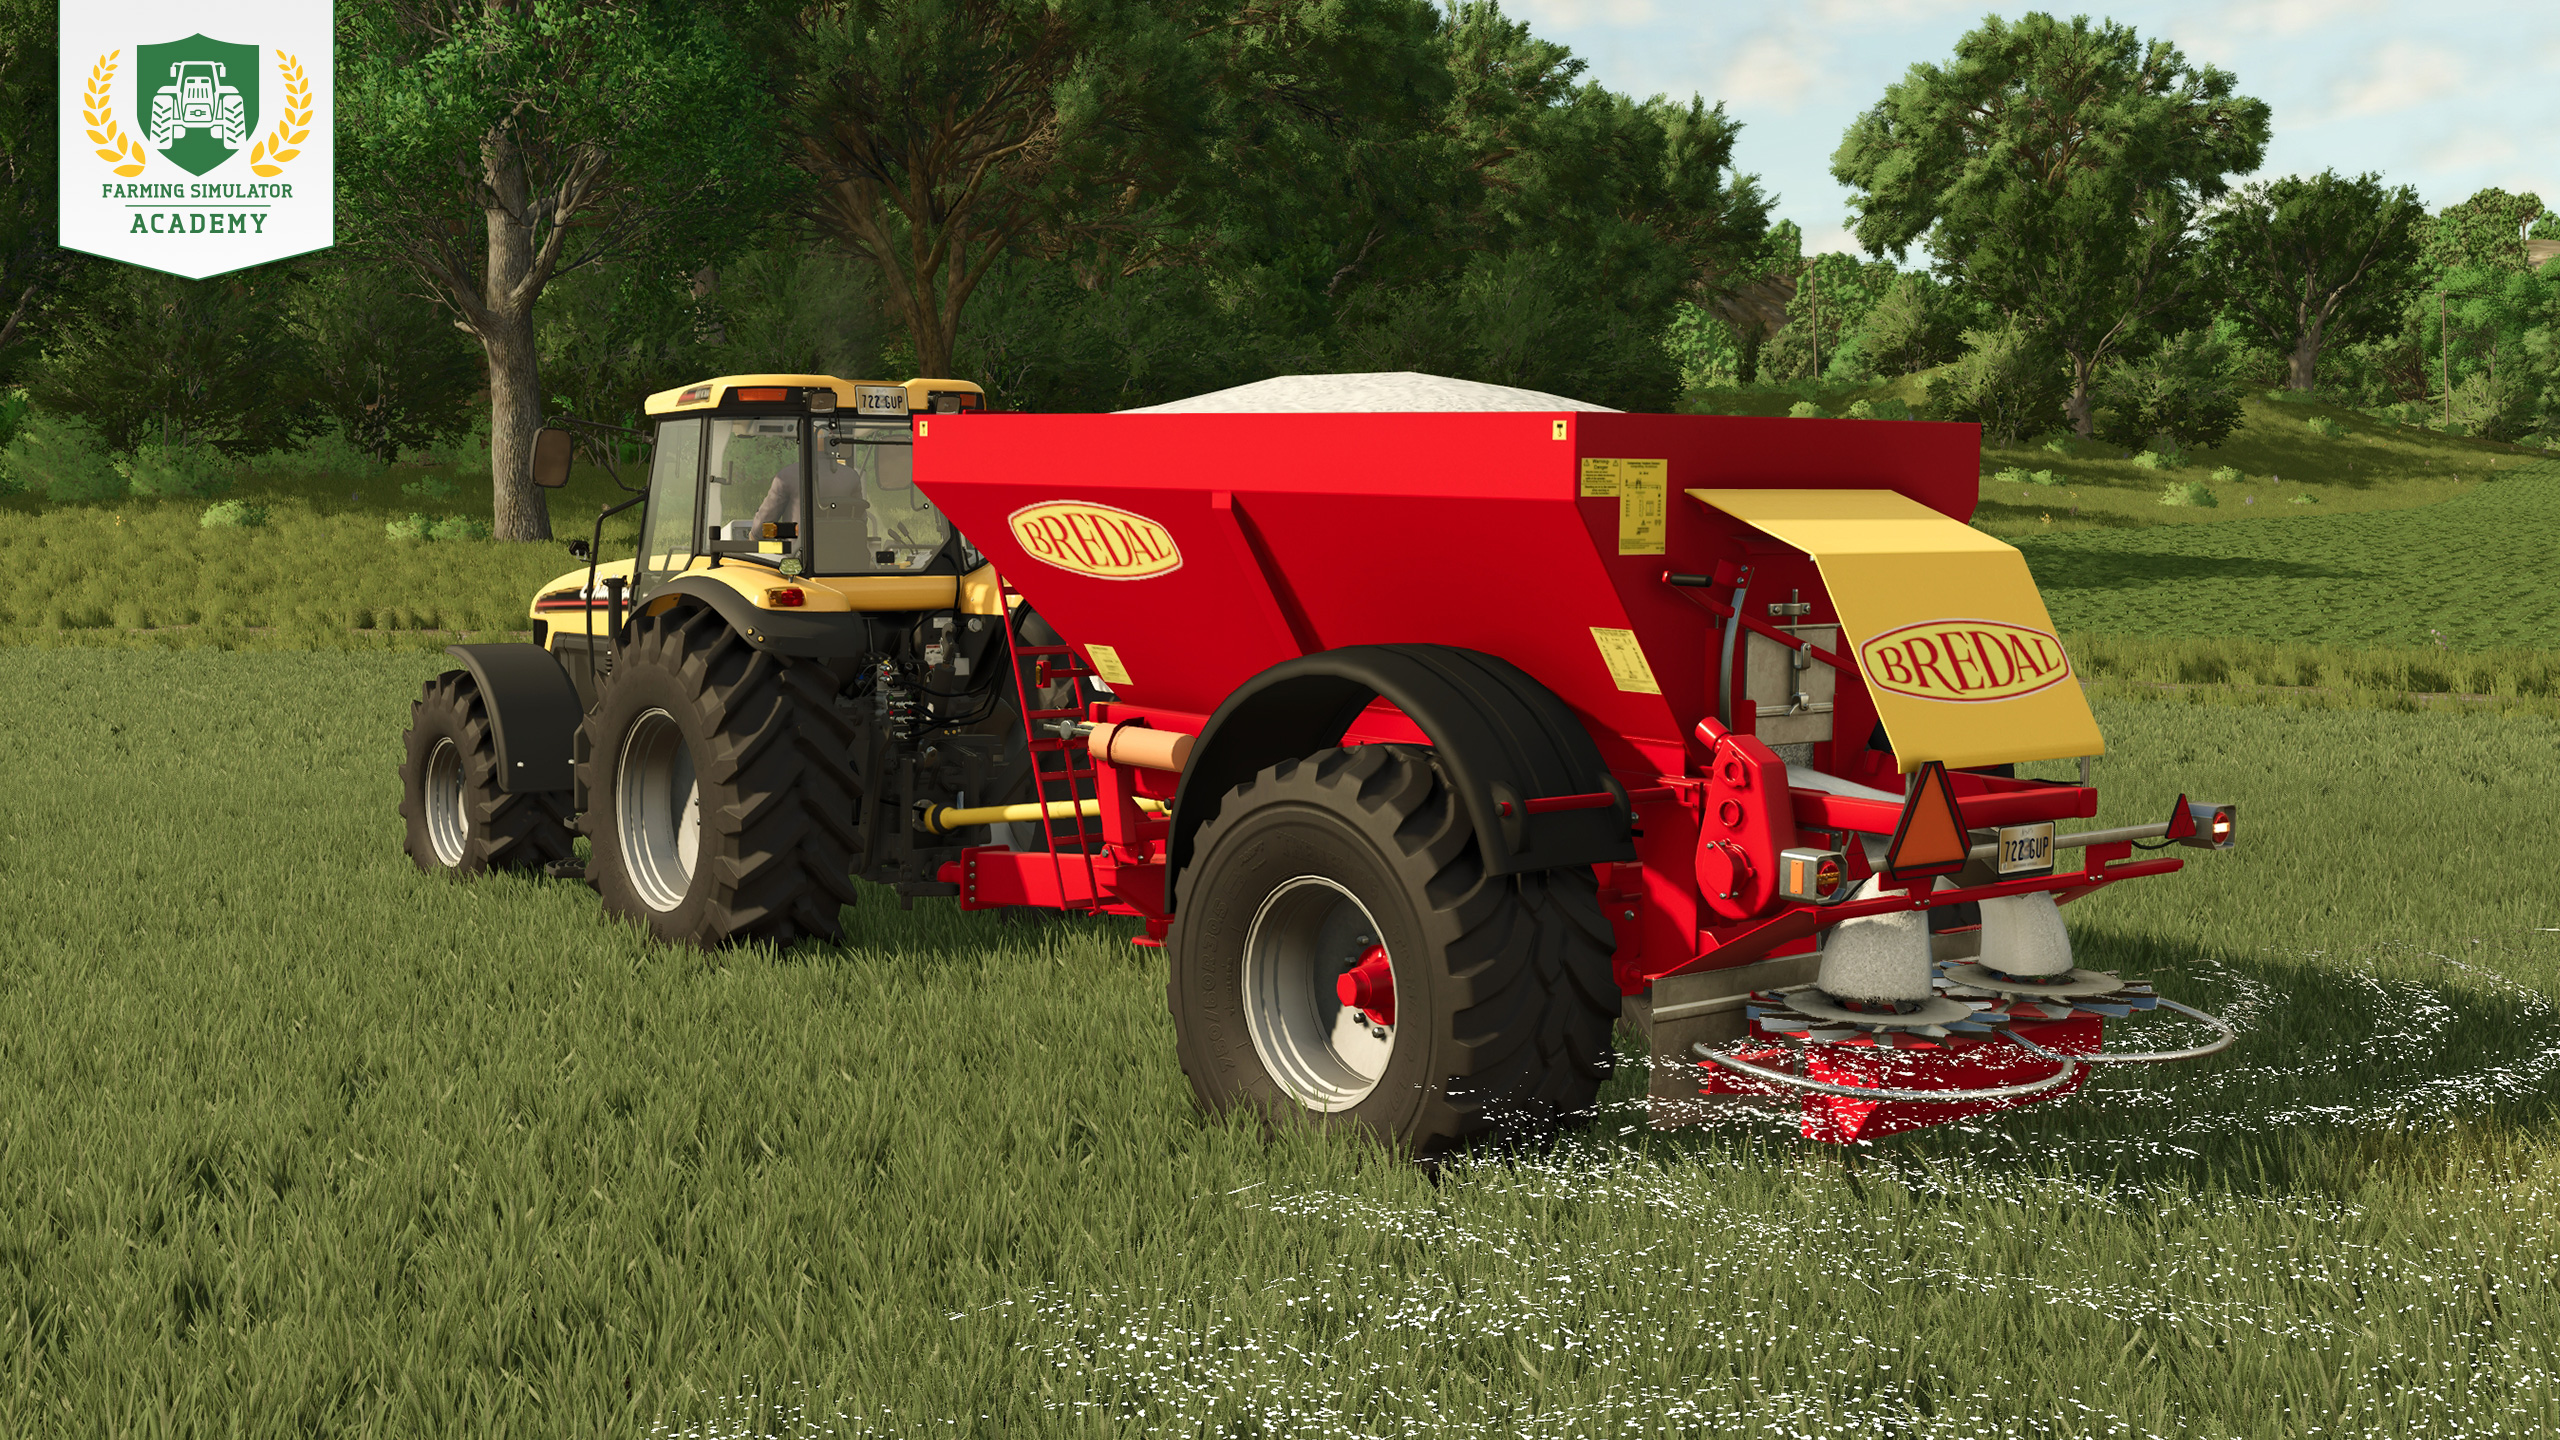
Apply fertilizer to improve your yield. You can fertilize twice during one crop cycle, but there must be a growth stage between both applications. For beginners, solid fertilizer with a spreader is a simple option.
Want the full rundown? Read our fertilizing guide.
Step 6: Removing weeds
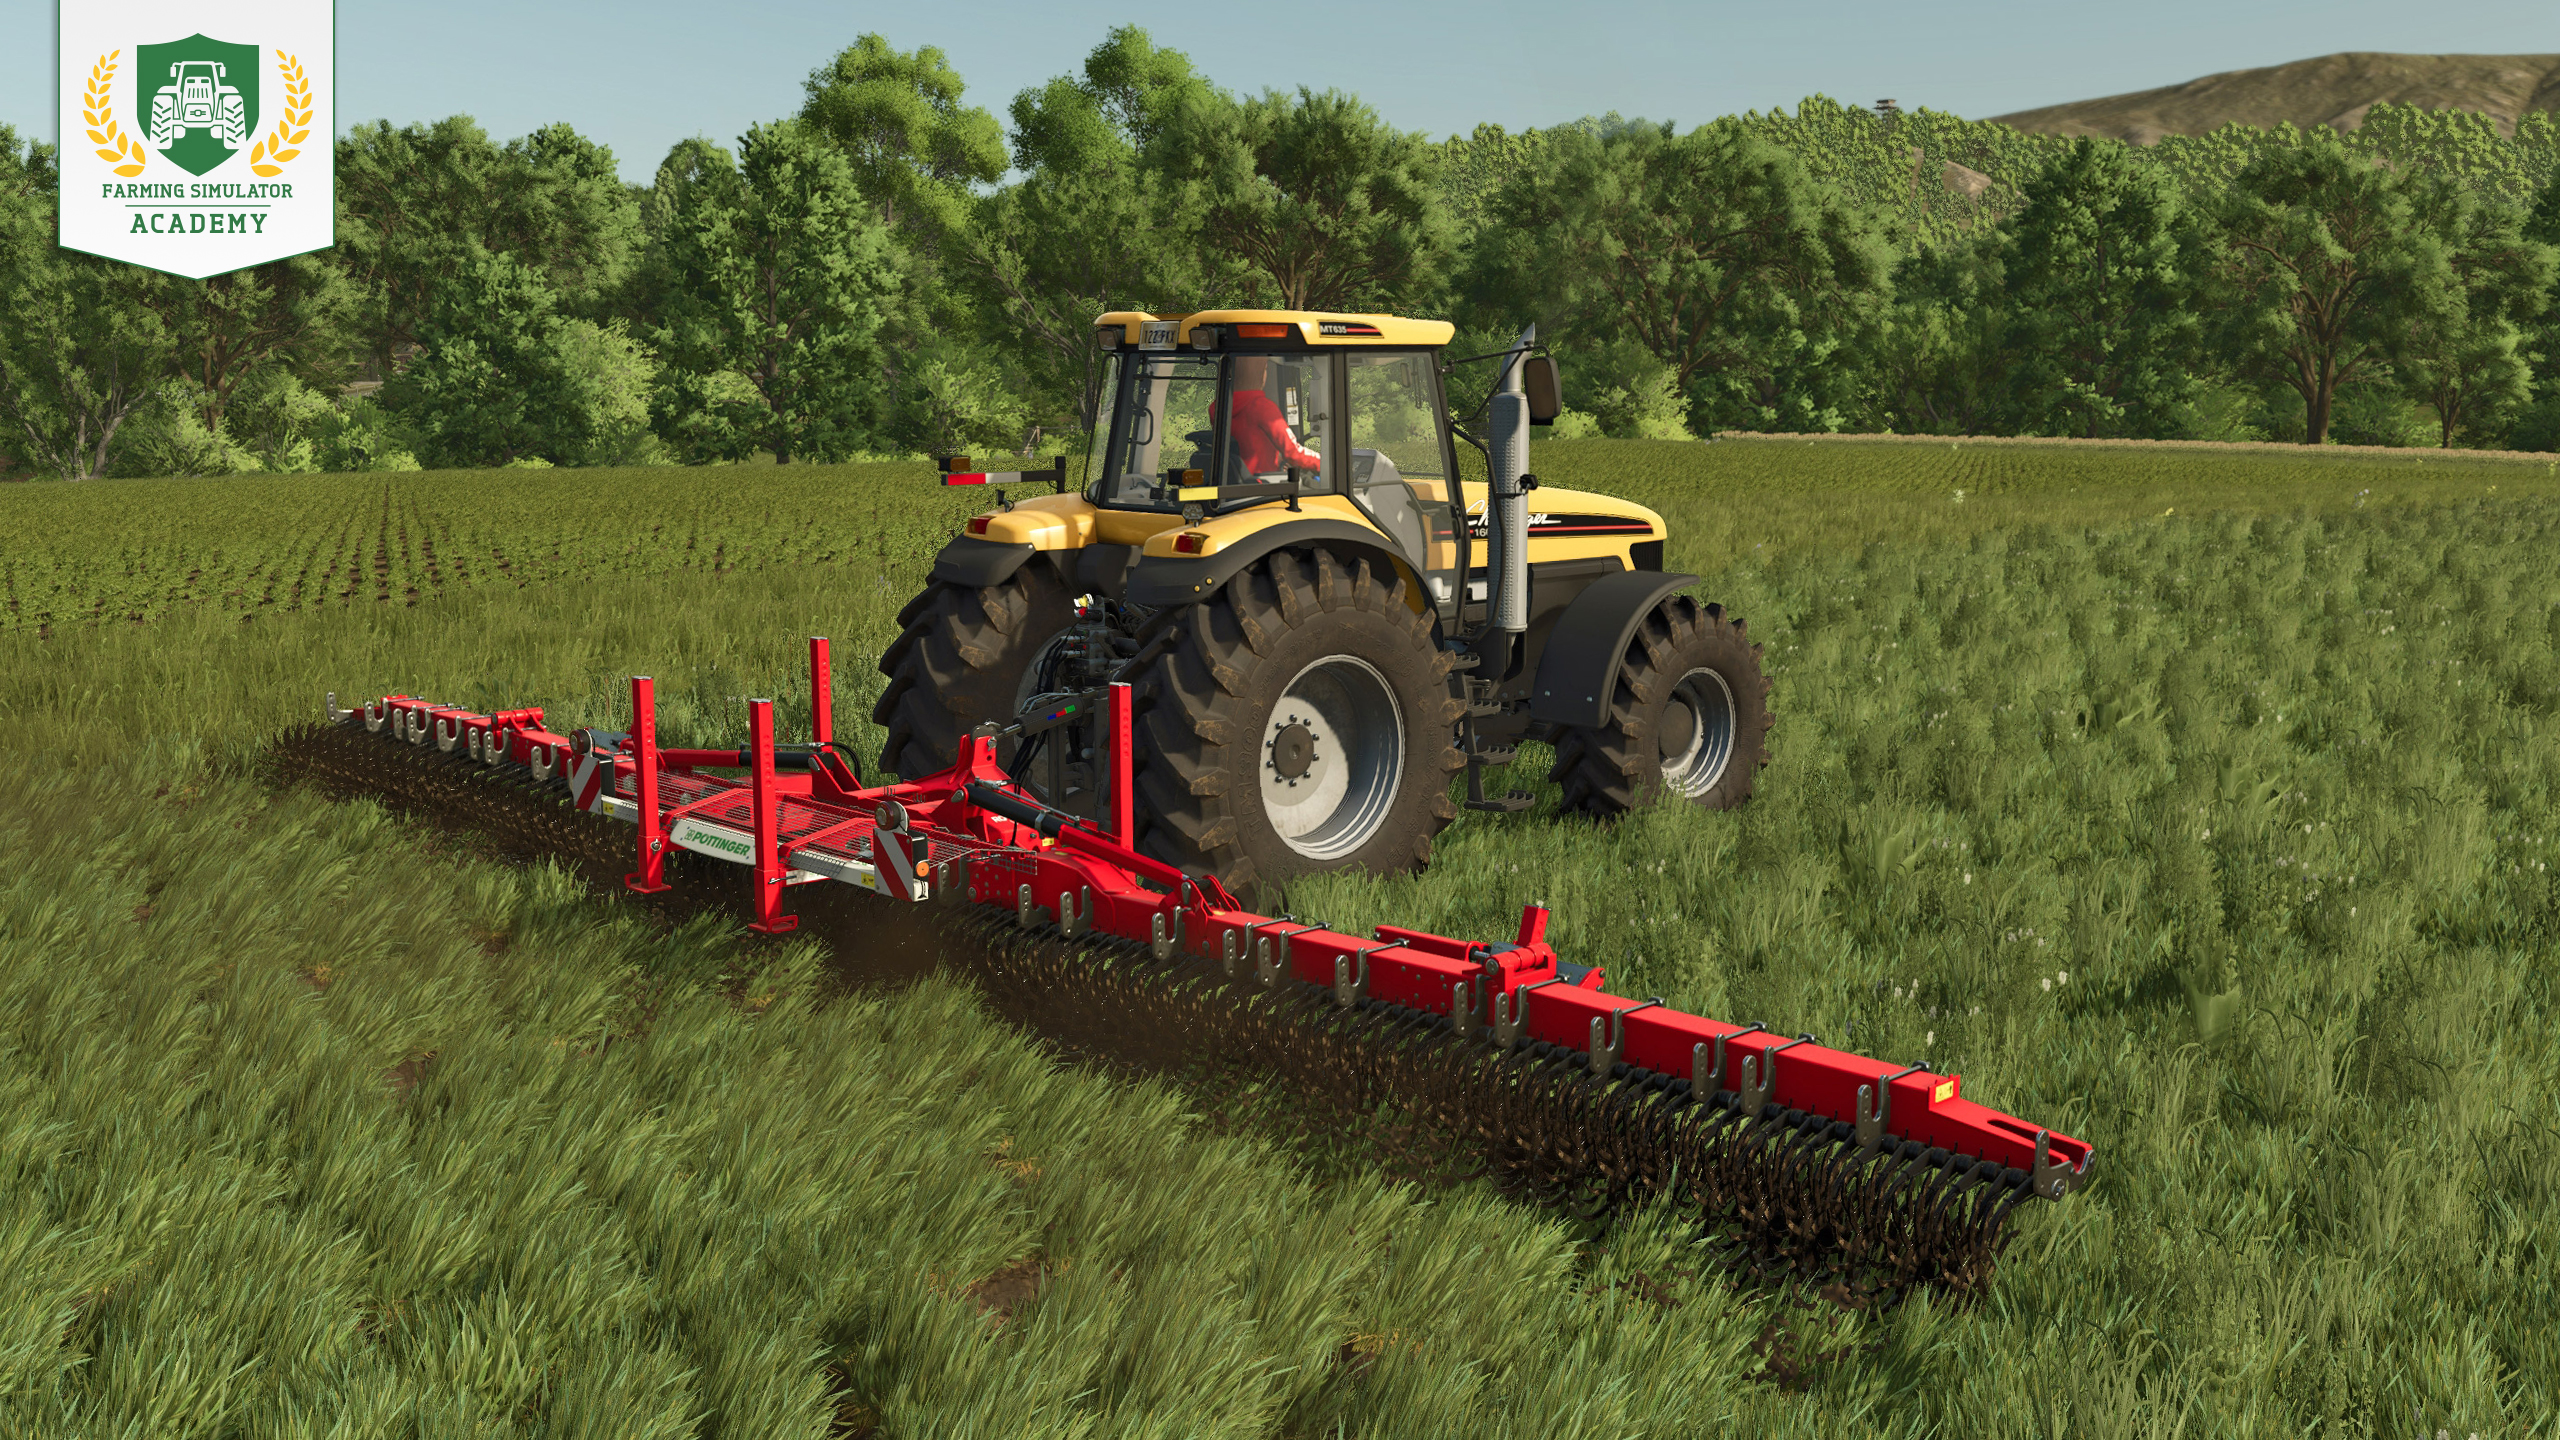
Remove weeds as soon as they appear so they do not reduce your yield. Use the hoe while the weeds are still small enough. If they grow too large, you may need a sprayer and herbicide instead.
Not sure which tool to use? See how weed control works.
Step 7: Harvesting oat
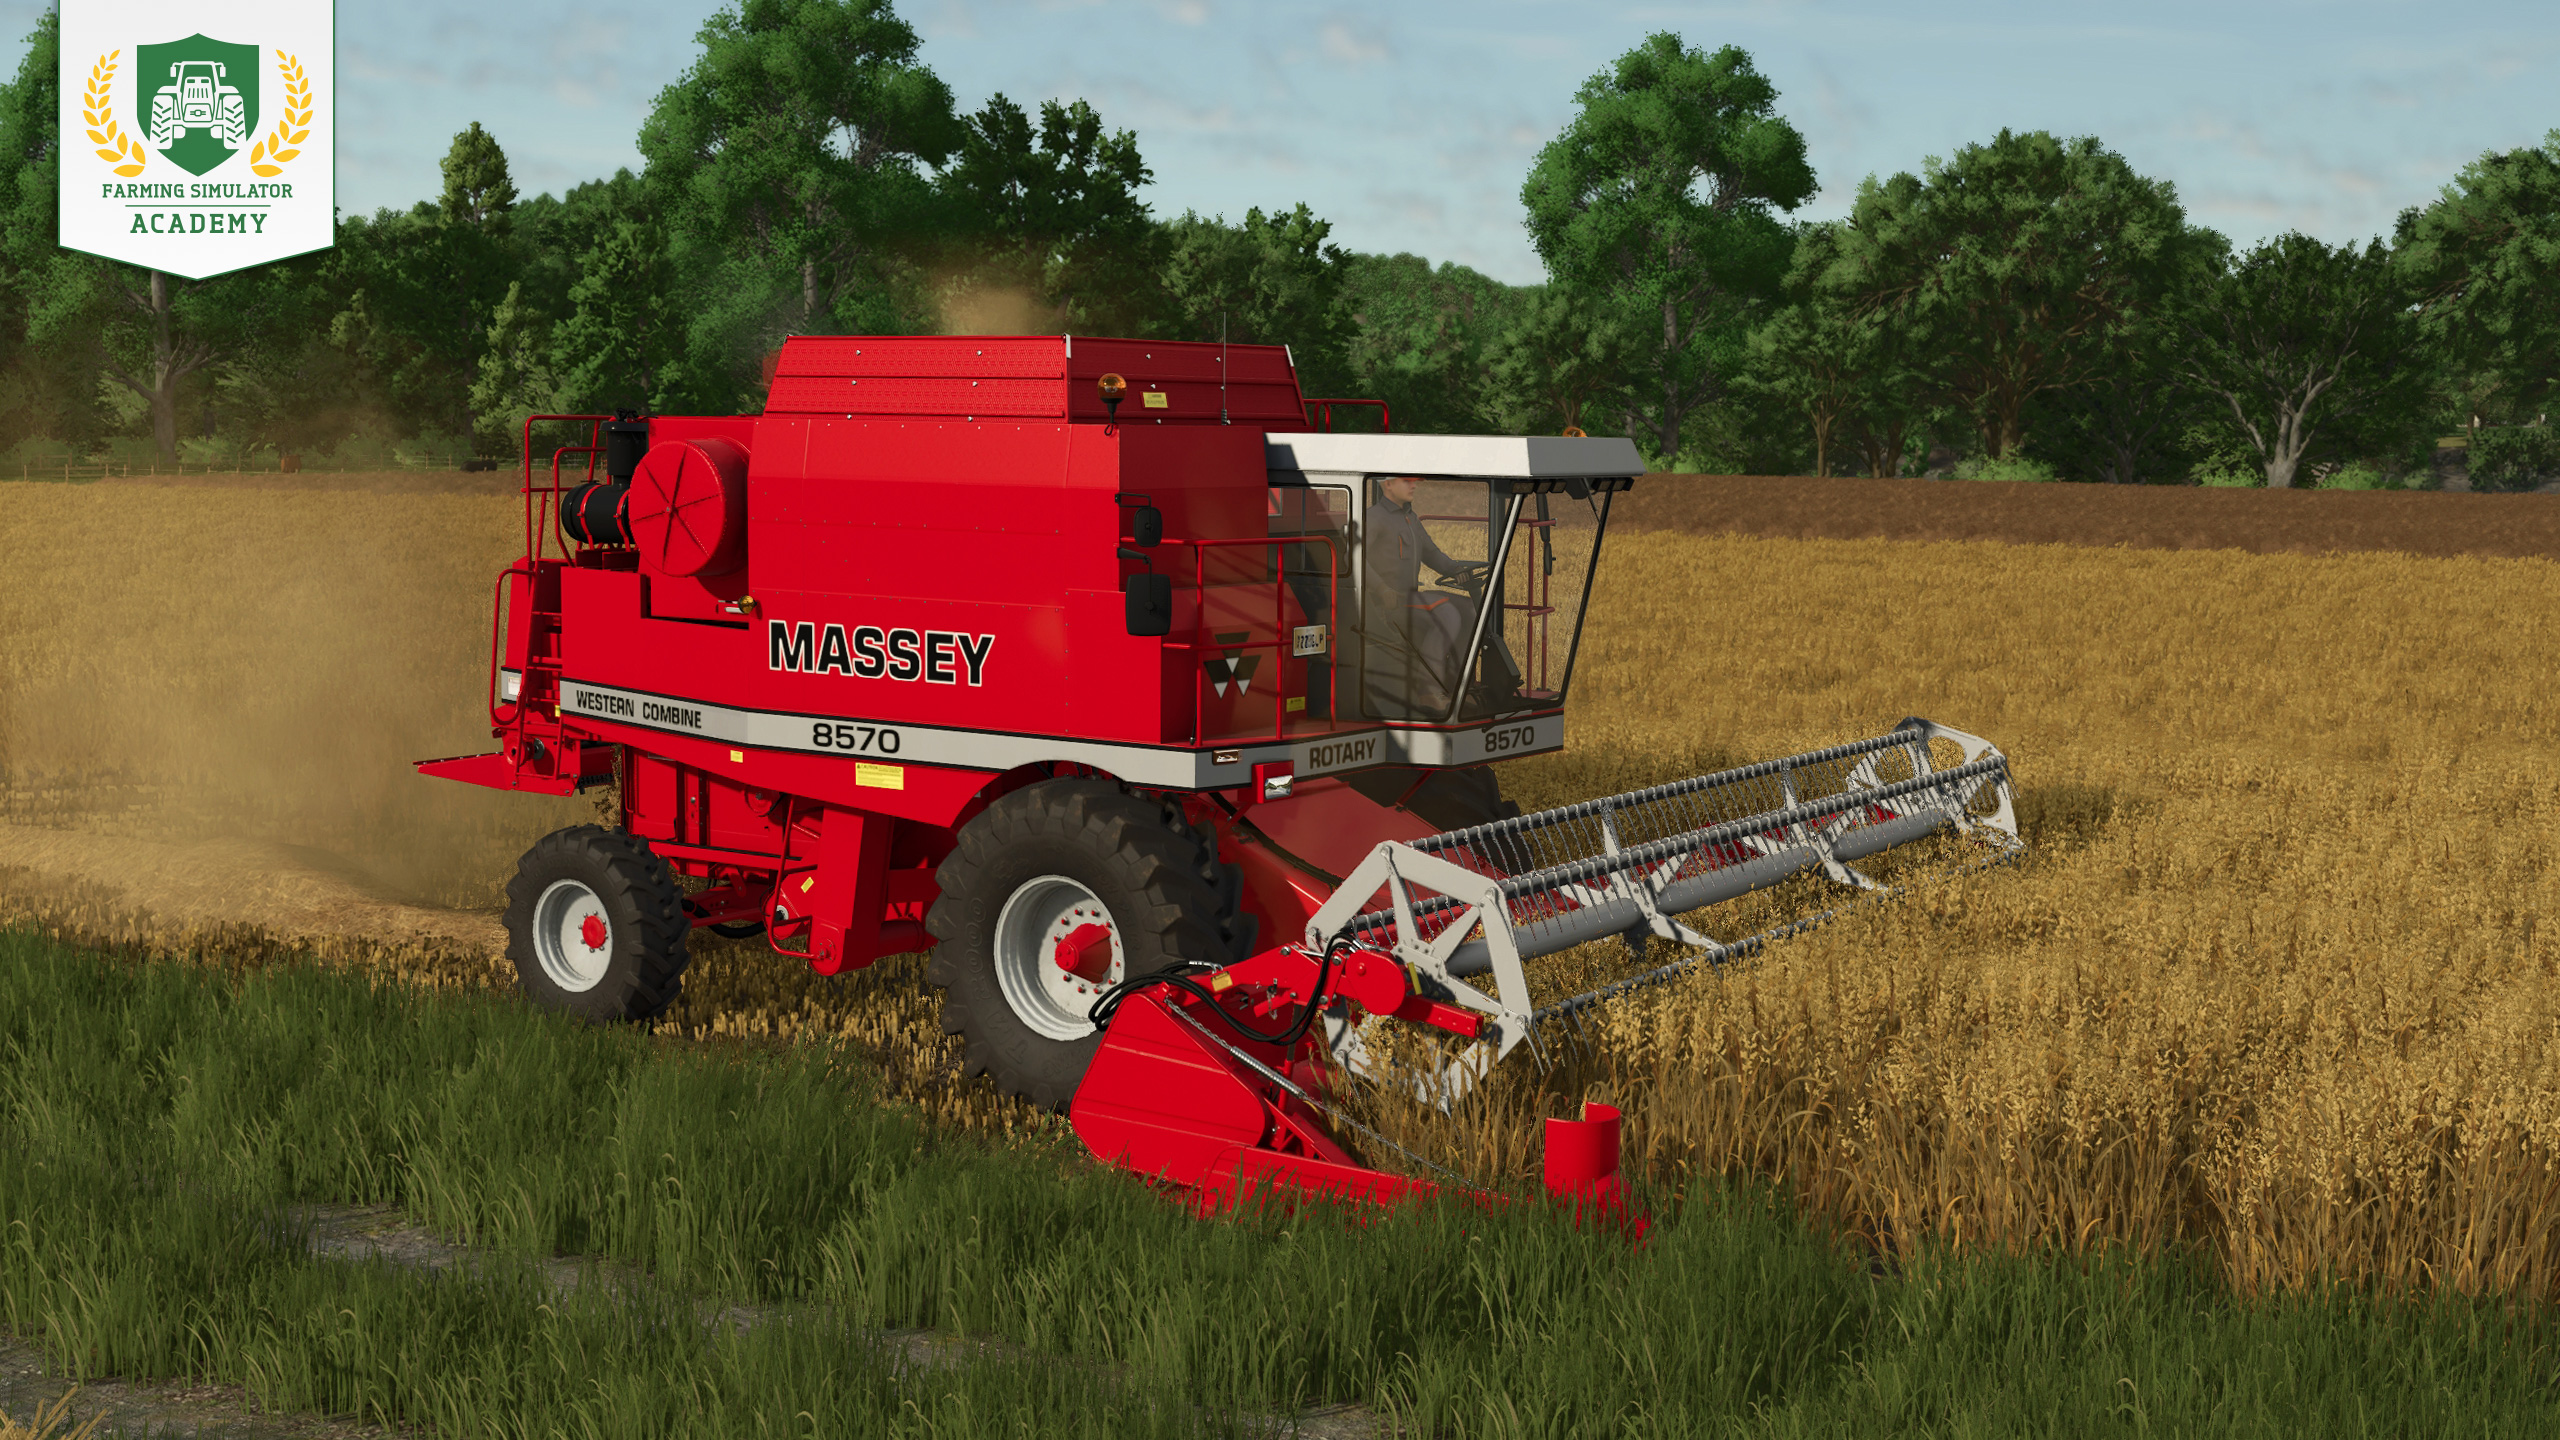
Once the oat is harvest-ready, attach a grain header to your combine harvester and start harvesting. If you also want straw, enable straw swath before you begin. The combine will then leave straw behind while collecting the oat in its grain tank.
Tip! If you need straw for barns or TMR, collecting it during the oat harvest saves you from buying straw later.
Step 8: Selling, storing, or processing oat
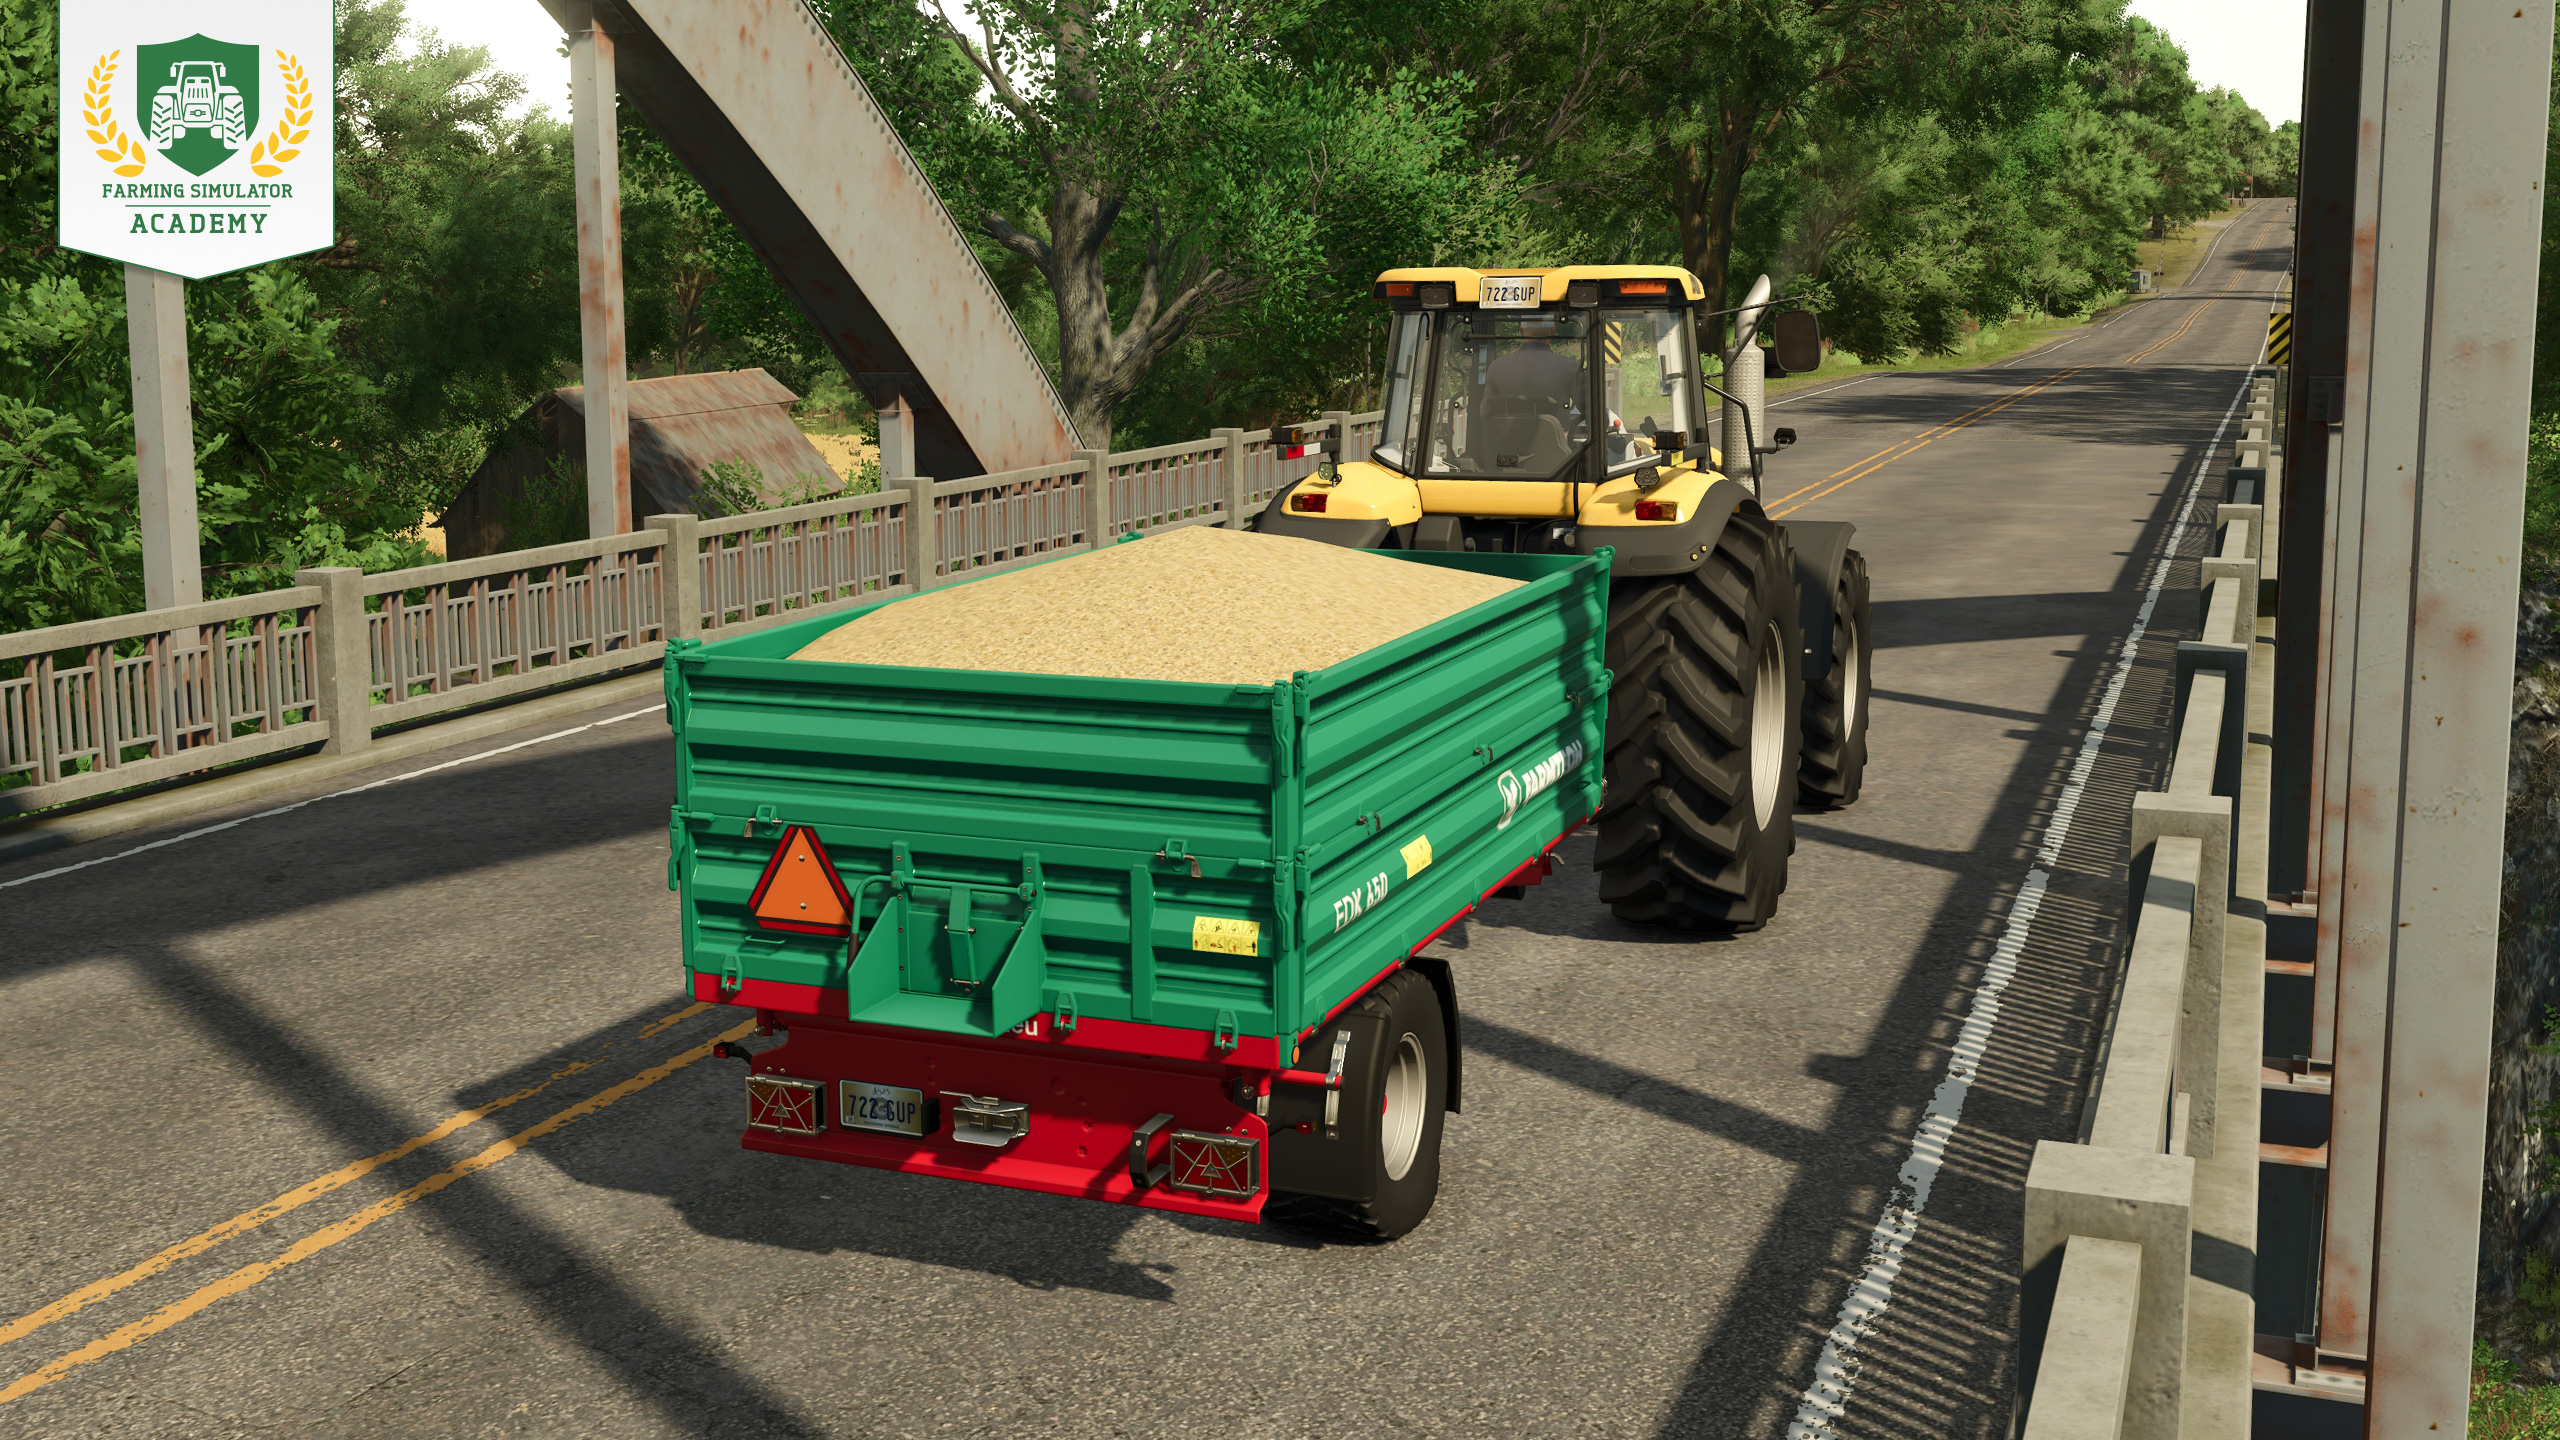
Unload the combine into your trailer and decide what you want to do with the harvest. You can sell oat directly, store it in a silo for later, feed it to your horses, or deliver it to a production facility for processing.
Processing Oat: Products
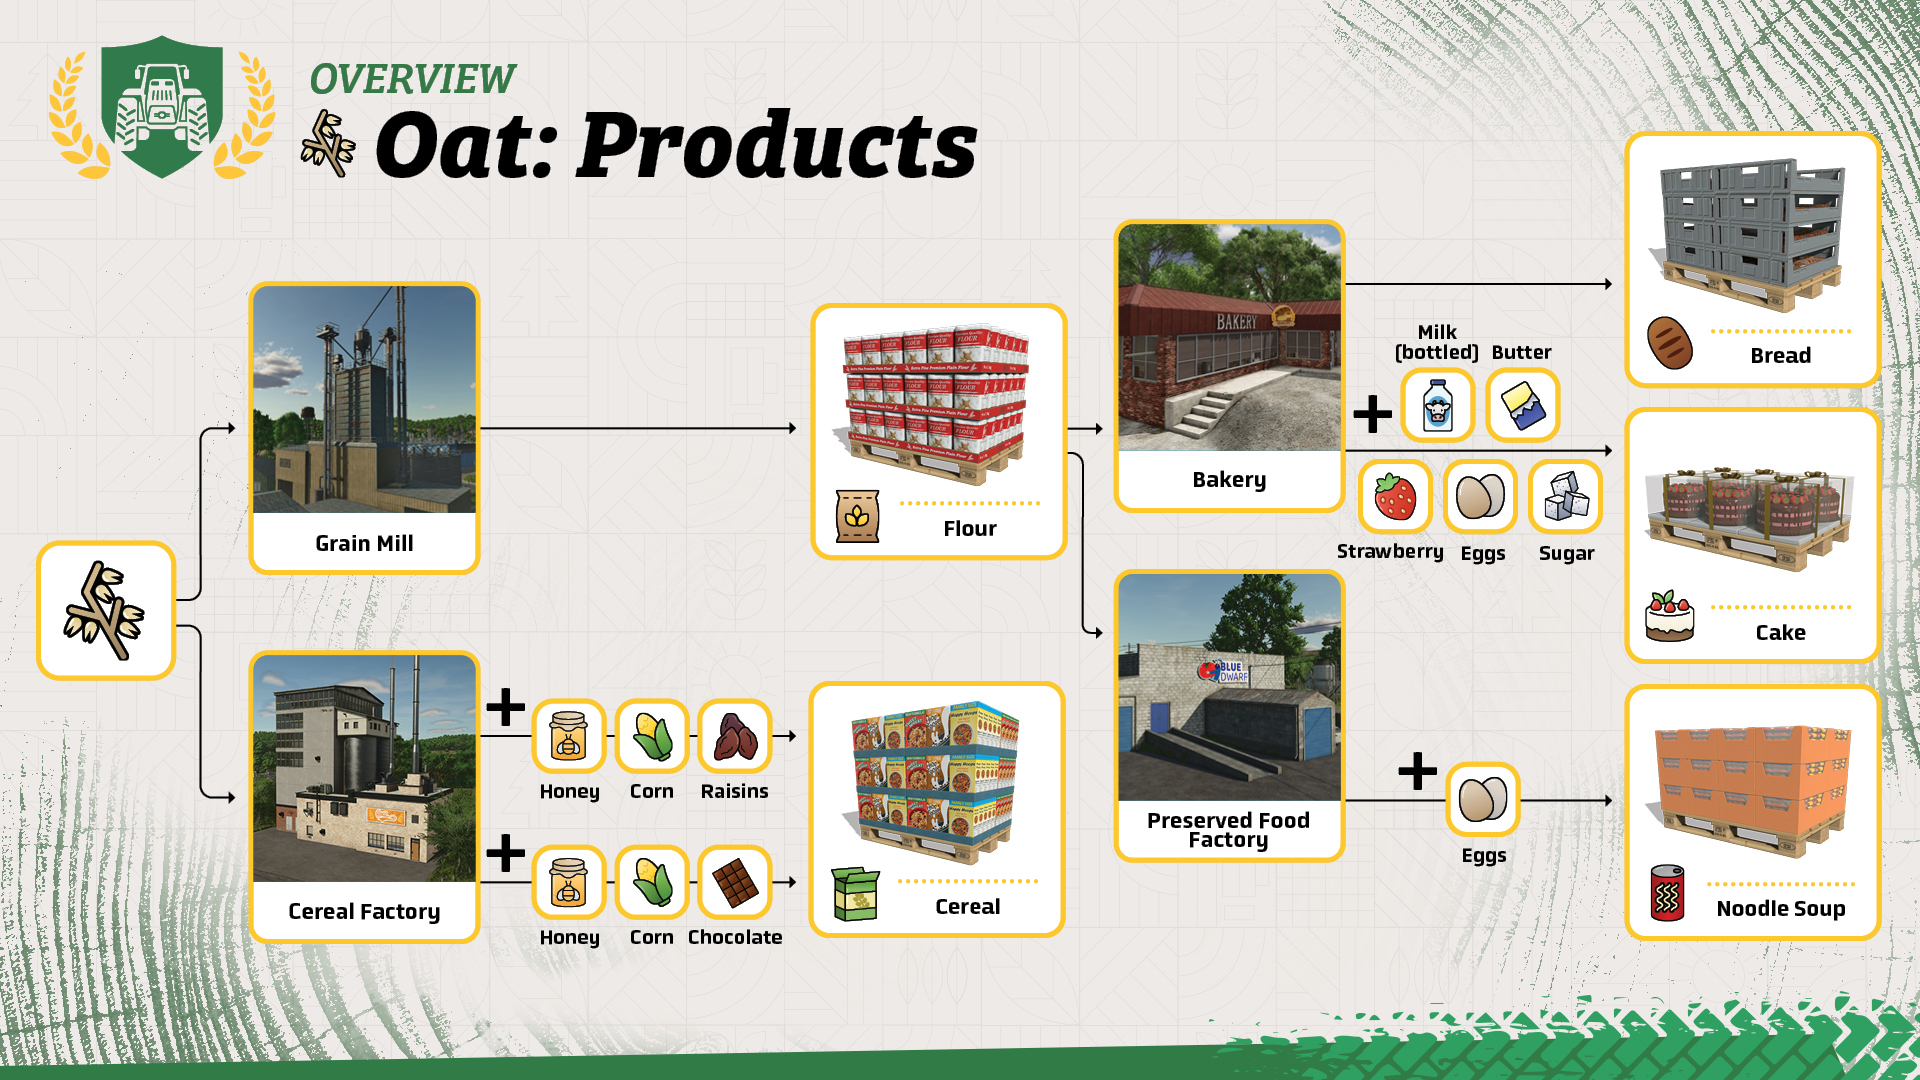
Instead of selling oat directly, you can use it in production chains. Deliver it to a grain mill to produce flour, or combine it with the required additional ingredients at the cereal factory to make cereal. Check the production recipe before delivering everything you need.
Well Done!
Congratulations! You now know the basics of growing and harvesting oat in Farming Simulator. When you’re ready, continue with the next Farming Simulator Academy lesson!


So, has Beans & Alpacas won you over yet? 🦙 LAST CHANCE to save 10% when you preorder the FS25: Beans & Alpacas Expansion before its October 27 launch! 🎉 Your next farming adventure awaits! 🚜 🔗 https://t.co/j2gGuWNKjz https://t.co/jxabPgbI33
One last Factsheet Friday before launch! 🚜 Discover John Deere, Mercedes-Benz, Randon, New Holland & Stara equipment coming with Beans & Alpacas on October 27. Check out the final batch! 🌱 🔗 https://t.co/KGeOIzHeIa https://t.co/MgoHm1OKfr

The countdown continues! 🦙 Join Benni and Stefan Maurus for our FS25: Beans & Alpacas Pre-Release Show on October 22 at 6 PM CEST. Get a closer look at the expansion ahead of its October 27 launch! Tune in on YouTube! 📺 🔗 https://t.co/NKgUwdoMza https://t.co/n9Yv9rvg2l

Ready for Bale Race? 🚜 We’re teaming up with Fendt at the 99th National FFA Convention & Expo! Join us in Indianapolis, Indiana, October 21–24, 2026, and put your Farming Simulator skills to the test. See you there! 👋 https://t.co/UqFCTpMqdK

Social Media


So, has Beans & Alpacas won you over yet? 🦙 LAST CHANCE to save 10% when you preorder the FS25: Beans & Alpacas Expansion before its October 27 launch! 🎉 Your next farming adventure awaits! 🚜 🔗 https://t.co/j2gGuWNKjz https://t.co/jxabPgbI33


