-

-
 Argentina (en)
-
 Australia (en)
-
 Belgien (de)
-
Belgique (fr)
-
België (en)
-
 Brasil (en)
-
 Canada (en)
-
Canada (fr)
-
 Česko (en)
-
 Chile (en)
-
 Danmark (en)
-
 Deutschland (de)
-
 España (en)
-
 France (fr)
-
 Hrvatska (en)
-
 Ireland (en)
-
 Italia (en)
-
 Magyarország (en)
-
 Nederland (en)
-
 Norge (en)
-
 Österreich (de)
-
 Polska (pl)
-
 Portugal (en)
-
 România (en)
-
 Schweiz (de)
-
 Slovenija (en)
-
 Slovensko (en)
-
 South Africa (en)
-
 Srbija (en)
-
Suisse (fr)
-
 Suomi (en)
-
 Sverige (en)
-
Svizzera (en)
-
 United Kingdom (en)
-
United States (en)
-
 Россия (en)
-
 Україна (en)
-
 日本 (en)
-

[Crops 101] How To Cultivate Olives
![[Crops 101] How To Cultivate Olives](/cms/uploads/news_6a9eda7823358.jpg)
Welcome to your next "Crops 101" lesson of the Farming Simulator Academy! This time, we're growing olives and creating our own olive grove. Olives are cultivated quite differently from most other crops, so let's see how it works!
Note: The video tutorial shows Farming Simulator 22 footage, but most of the game mechanics still work the same way.
What Is Special About Olives?
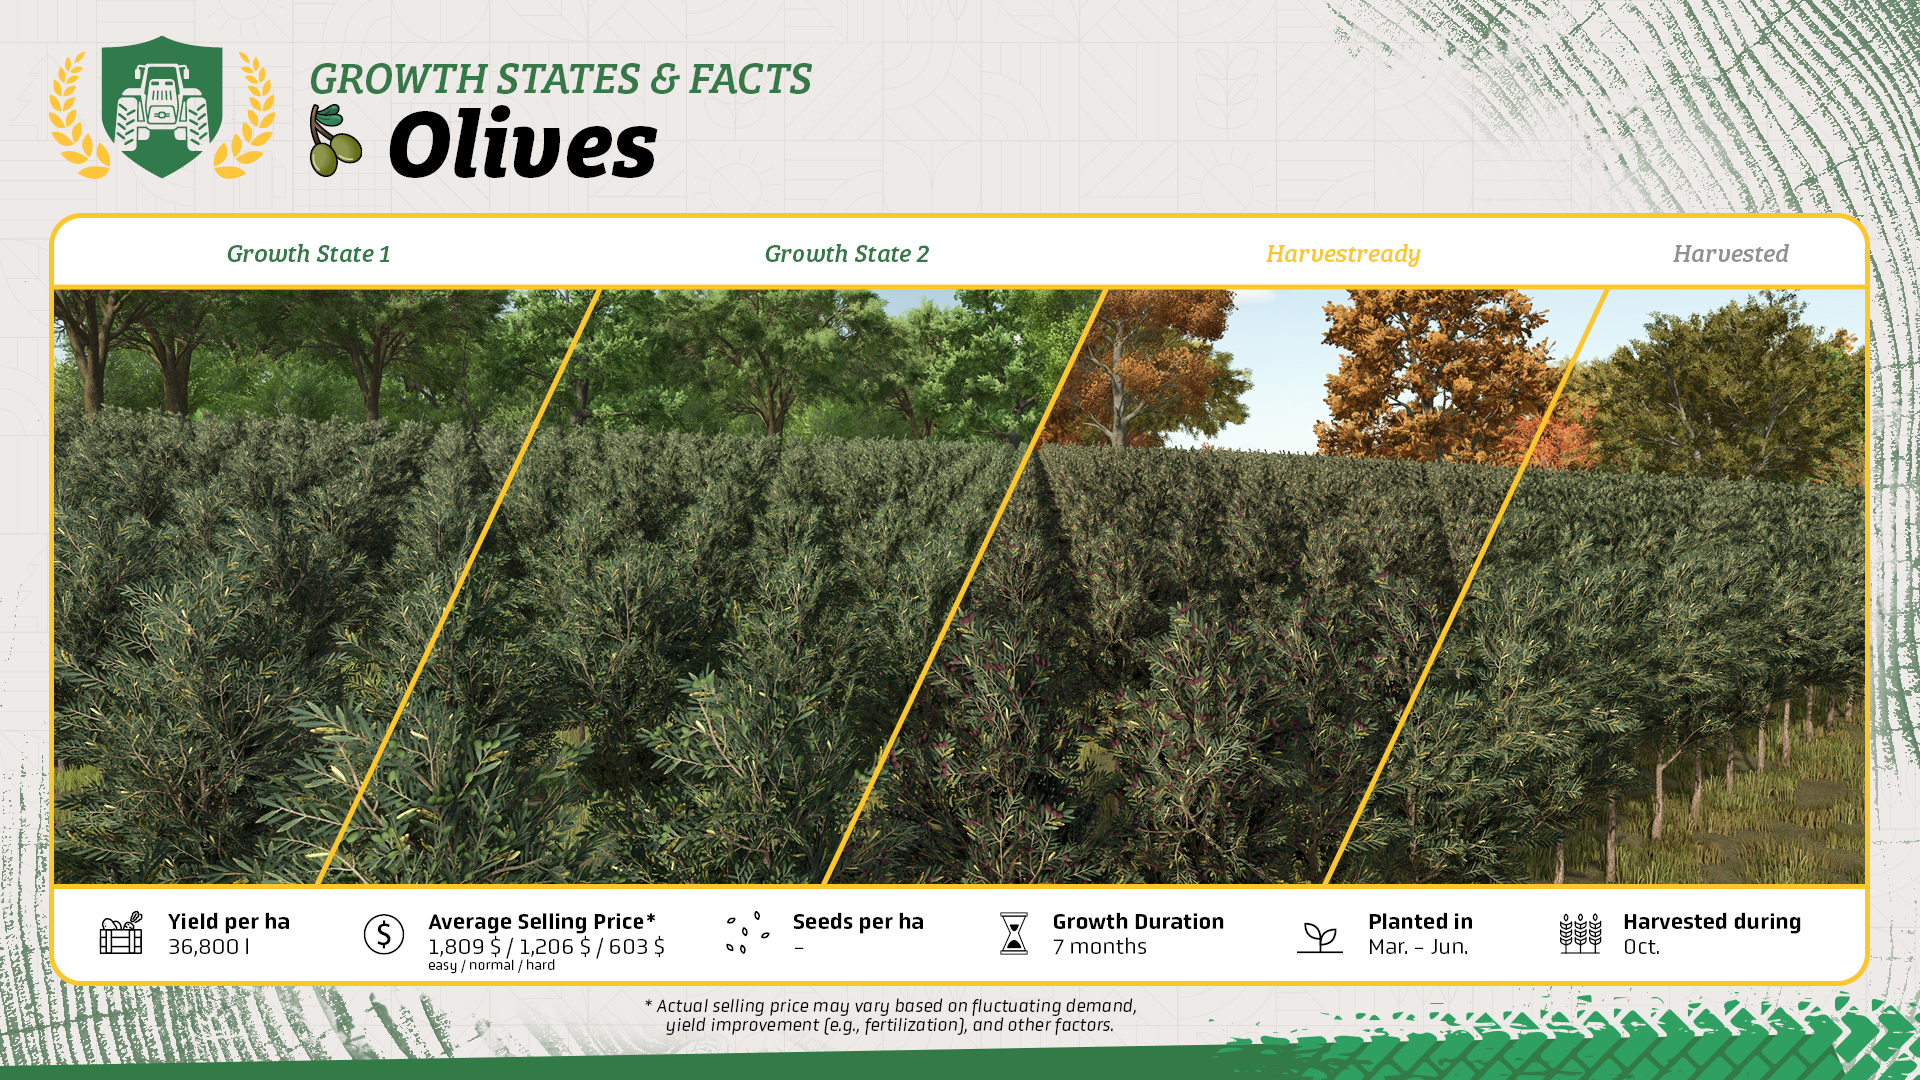
- Unlike most crops, olives aren't sown or planted with a machine. Instead, you place rows of olive trees in build mode.
- The rows are quite narrow, so you'll need specialized equipment to work between the trees.
- Once your olive trees are established, you don't have to place them again every year. They'll remain ready for future growing seasons.
- Unlike grapes you don't have to prune the leaves after harvest.
What You Need For Olives
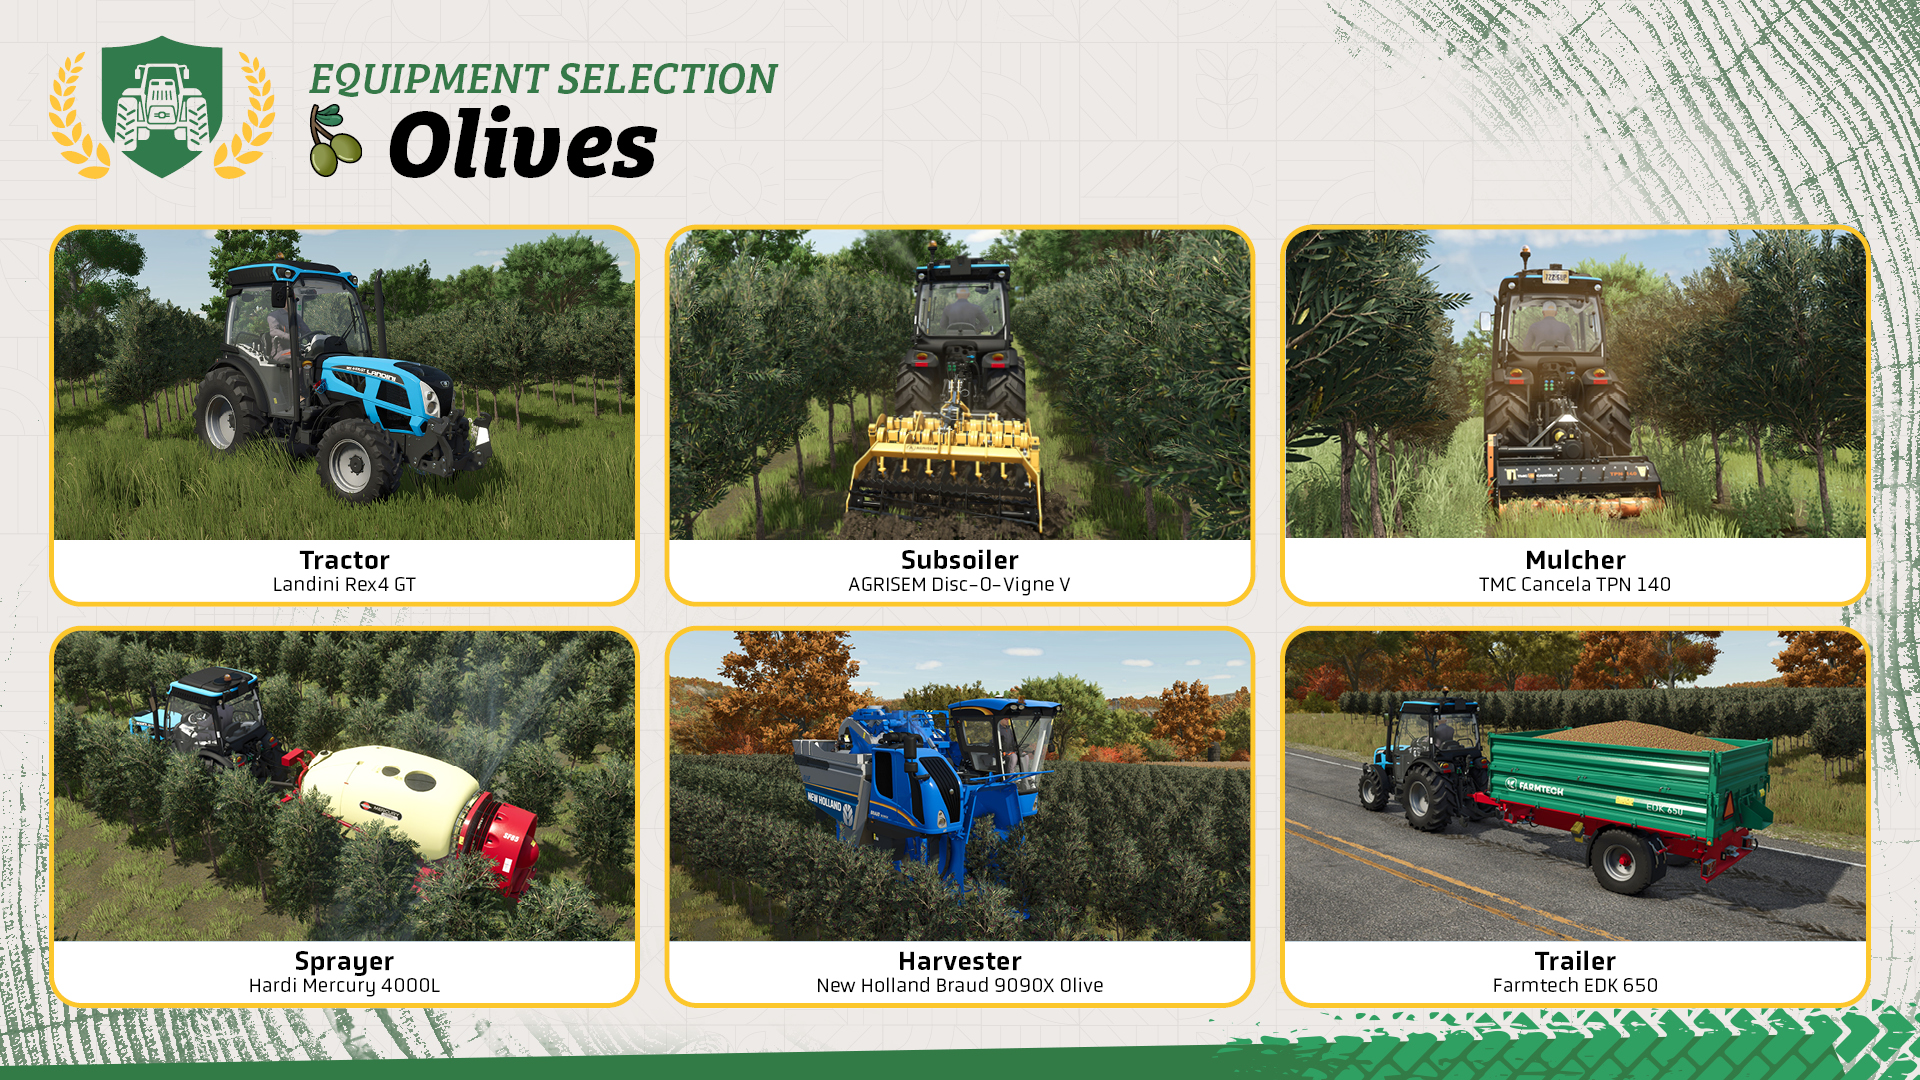
Working between narrow rows of olive trees requires some specialized machinery. Here's what you'll need for your olive grove:
- Tractor: Use a suitably narrow tractor to operate your tools between the rows.
- Subsoiler: Cultivate and loosen the soil between the olive trees.
- Mulcher: Cut back the grass growing between the rows.
- Sprayer: Apply liquid fertilizer to increase the yield of your olives.
- Olive harvester: Harvest the ripe olives from the trees.
- Trailer: Transport your harvested olives to a selling point or production facility.
Let's Get To Work!
First, choose a suitable area for your olive grove. It doesn't have to be a regular field, so you can also use other open areas on your land. With seasonal growth enabled, olive trees can only be placed between March and May.
Step 1: Placing olive trees
Open build mode and go to the "Production" tab. Select the "Orchards" section, where you'll find olive trees together with grape vines.
- Select olives and click on an open spot to place the beginning of your first row.
- Drag the row across the area and click again to finish it.
- For the next row, move the cursor away from the first one until the silhouette appears again. This indicates the minimum distance at which another row can be placed.
- Repeat the process until your olive grove has reached the size you want.
Step 2: Cultivating the field
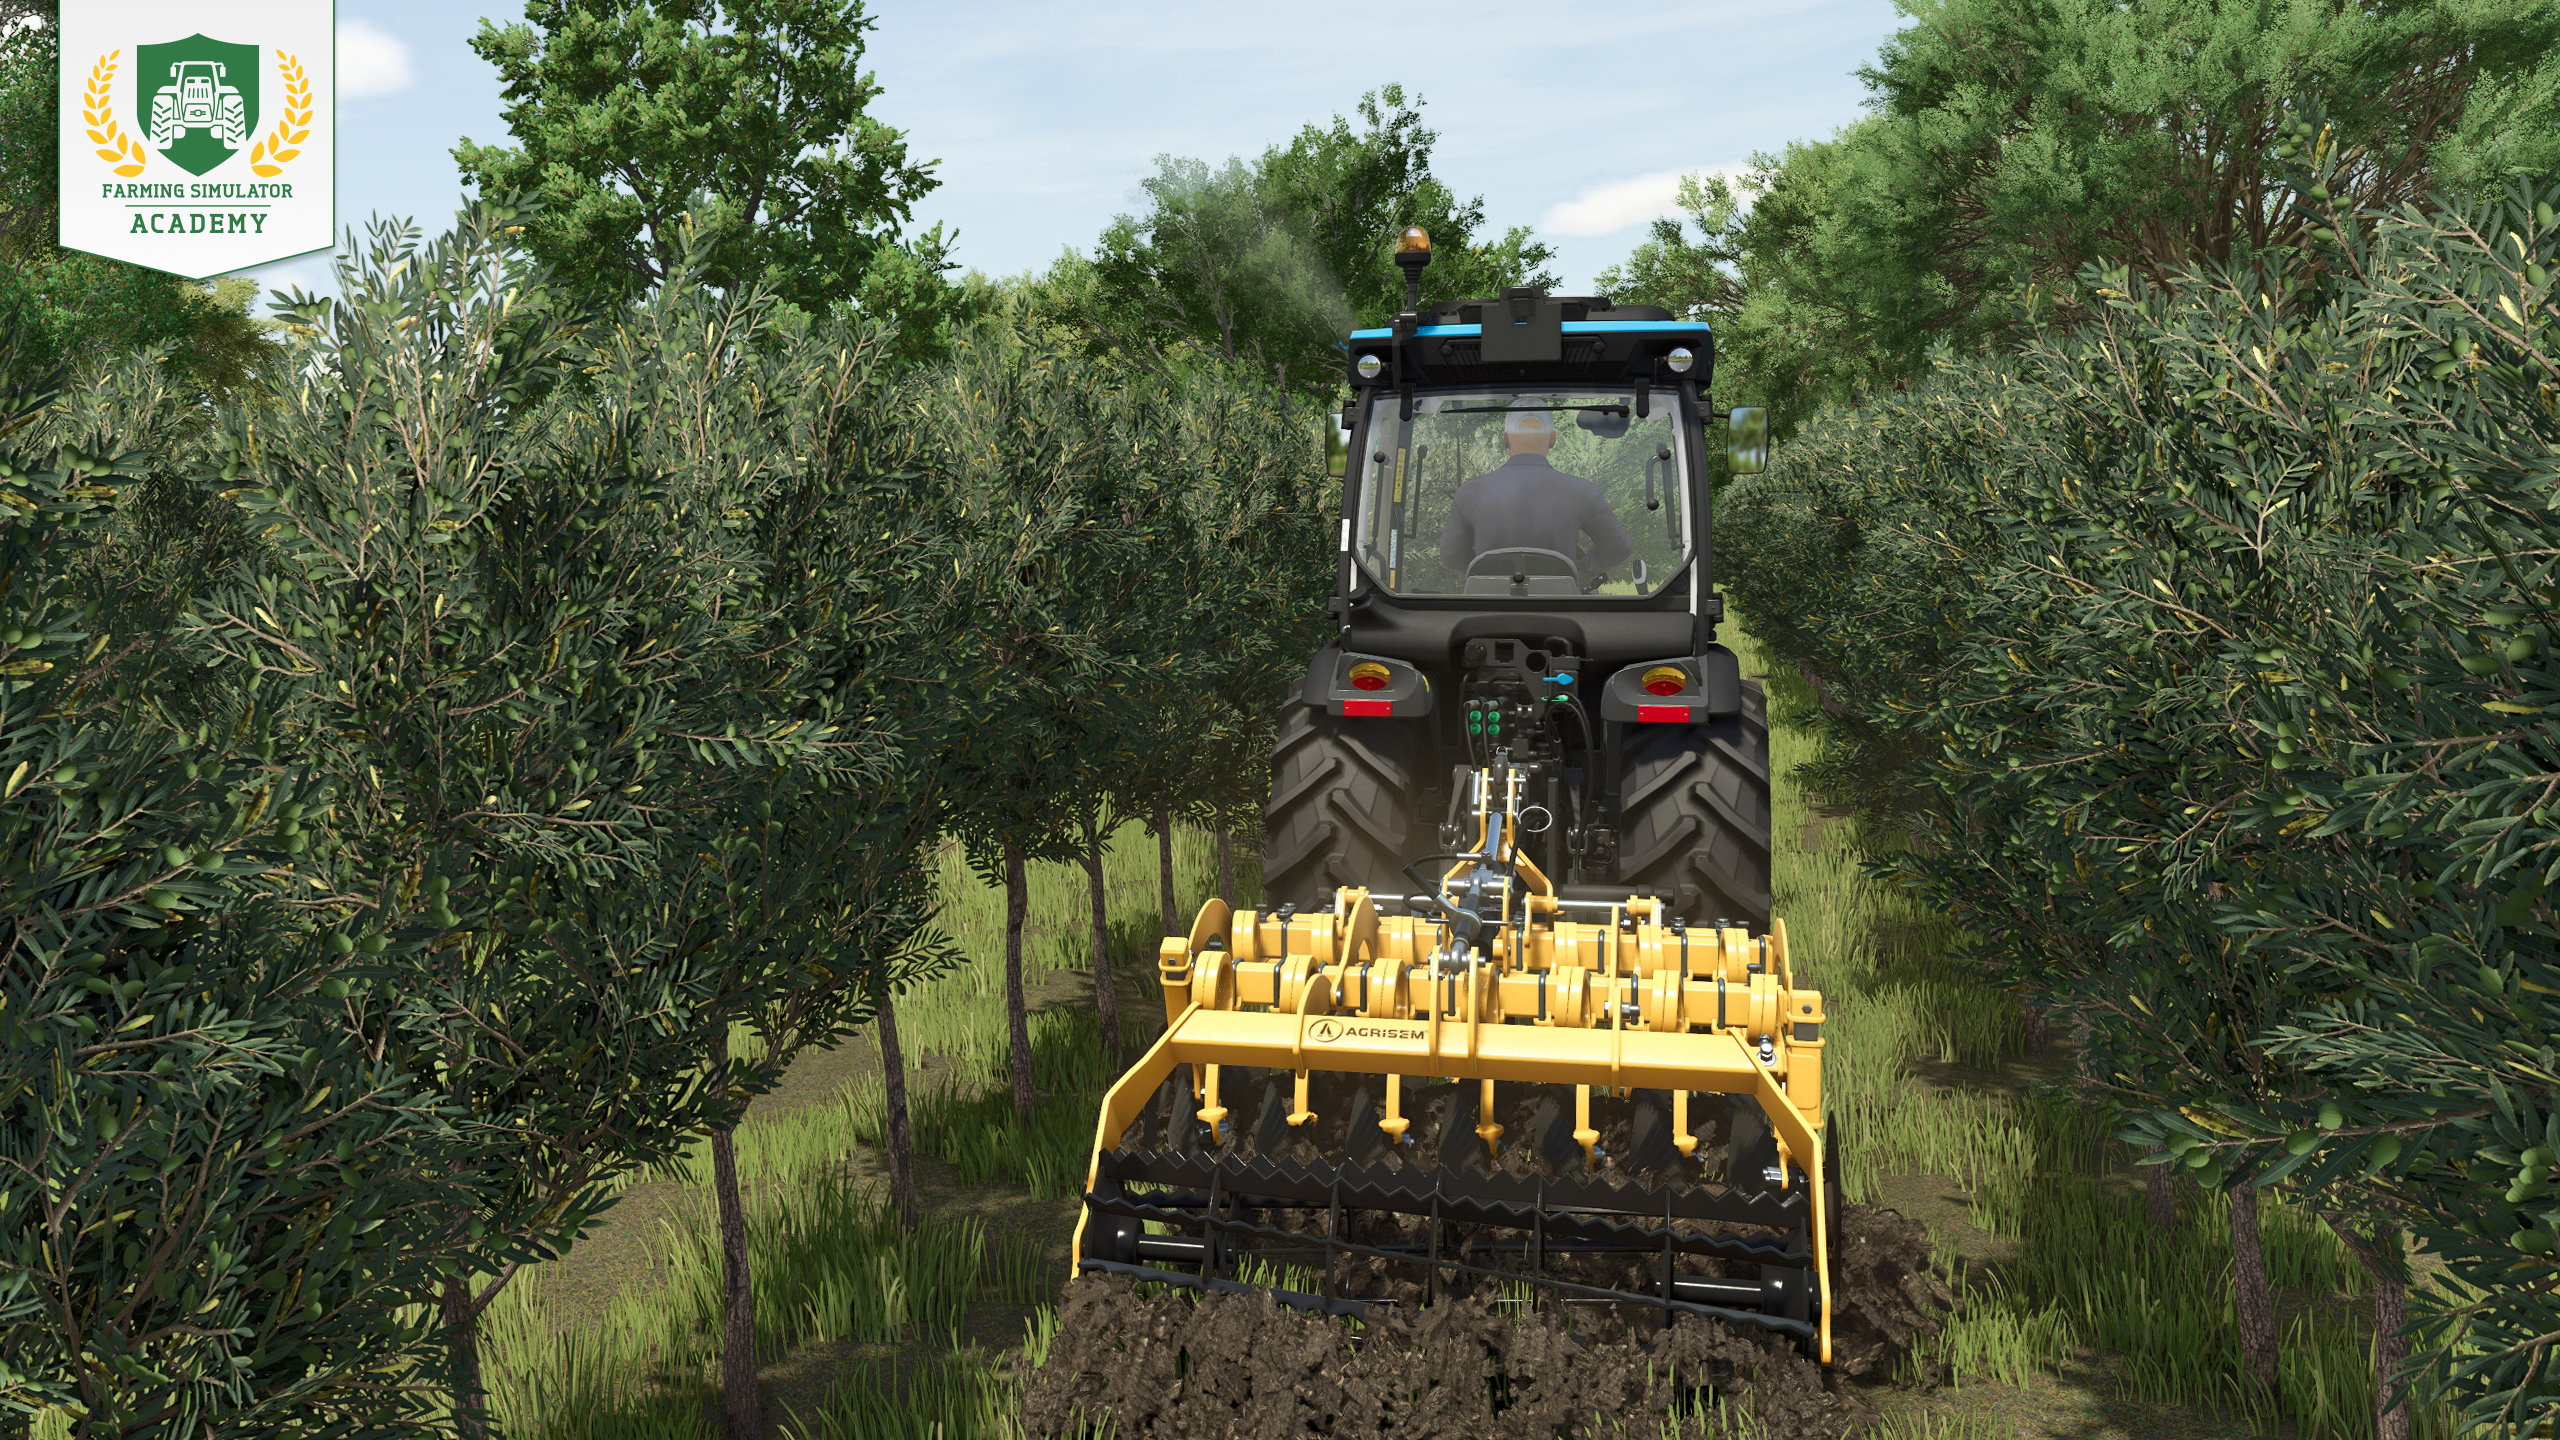
Attach the narrow subsoiler to your tractor and carefully maneuver between the rows of olive trees. Lower the tool and cultivate the soil one row at a time. Be especially careful when turning at the ends of the rows so you don't get caught on the trees.
Take a closer look at the different tools for working the soil.
Step 3: Mulching the ground
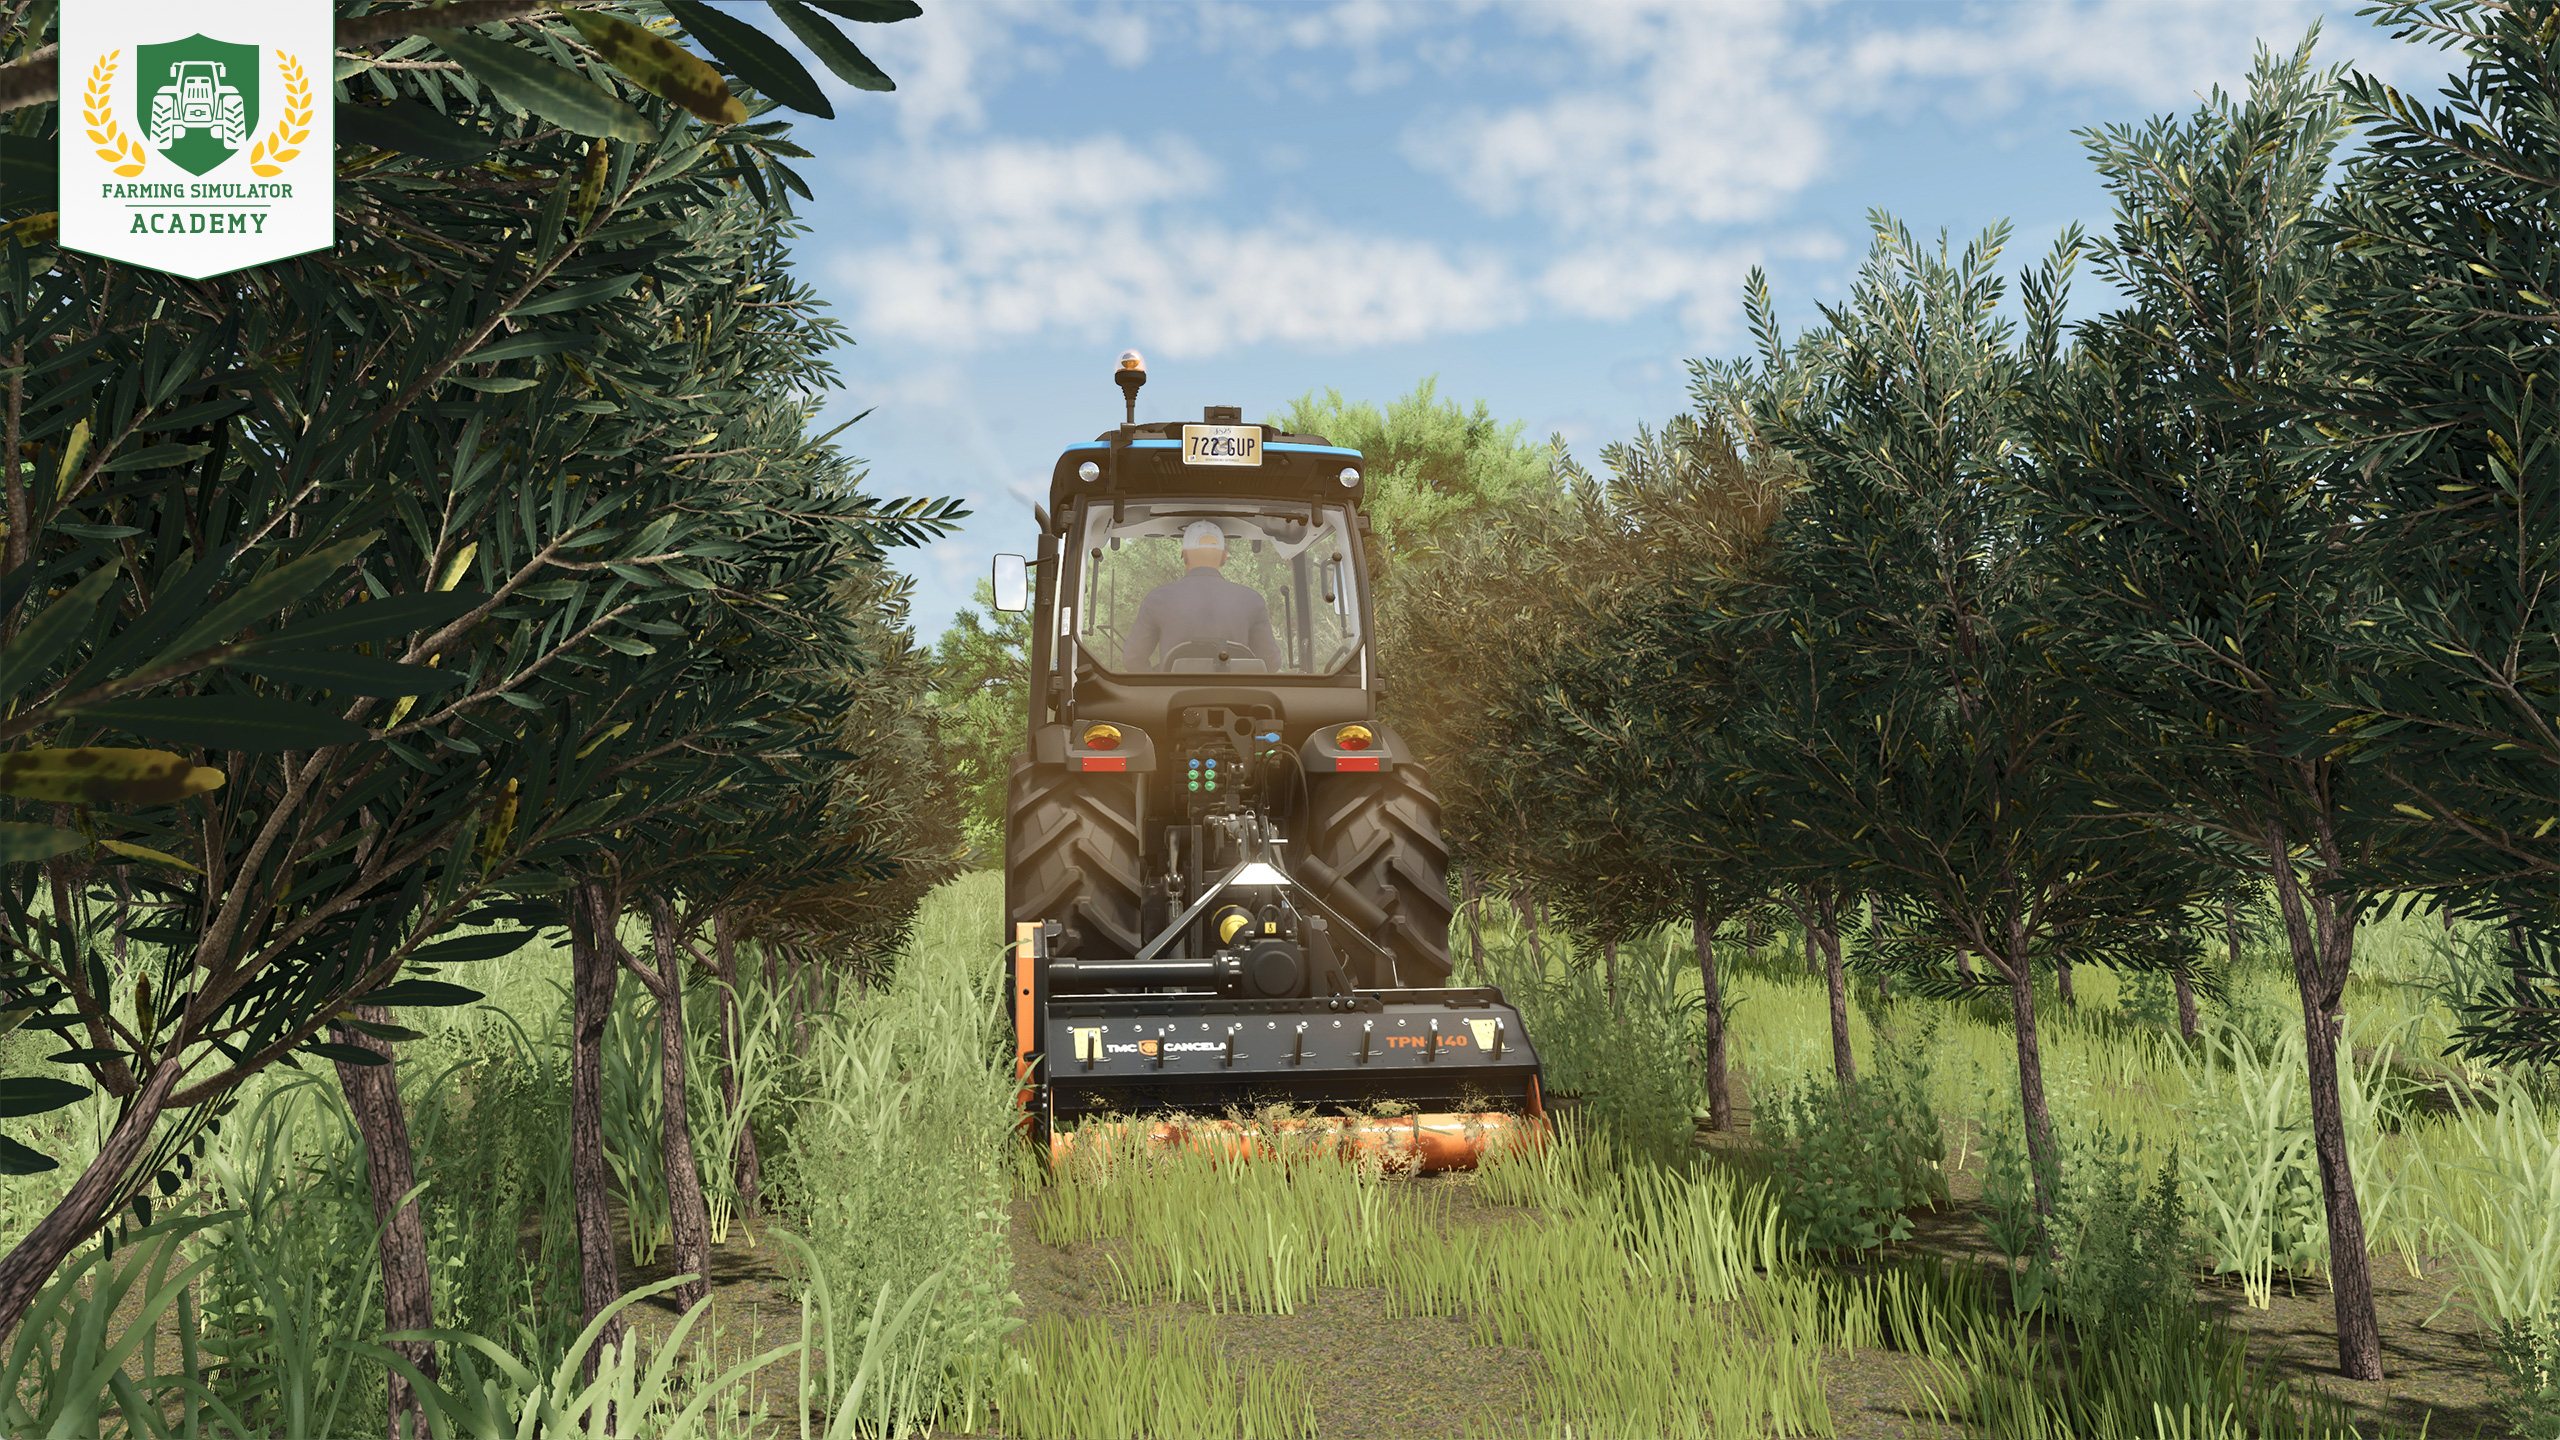
Grass will eventually start growing between the olive trees. Attach the mulcher to your tractor, lower it, and turn it on. Drive along each row to cut the grass back and keep the ground between your trees clear.
Want to find out more about mulching?
Step 4: Applying fertilizer
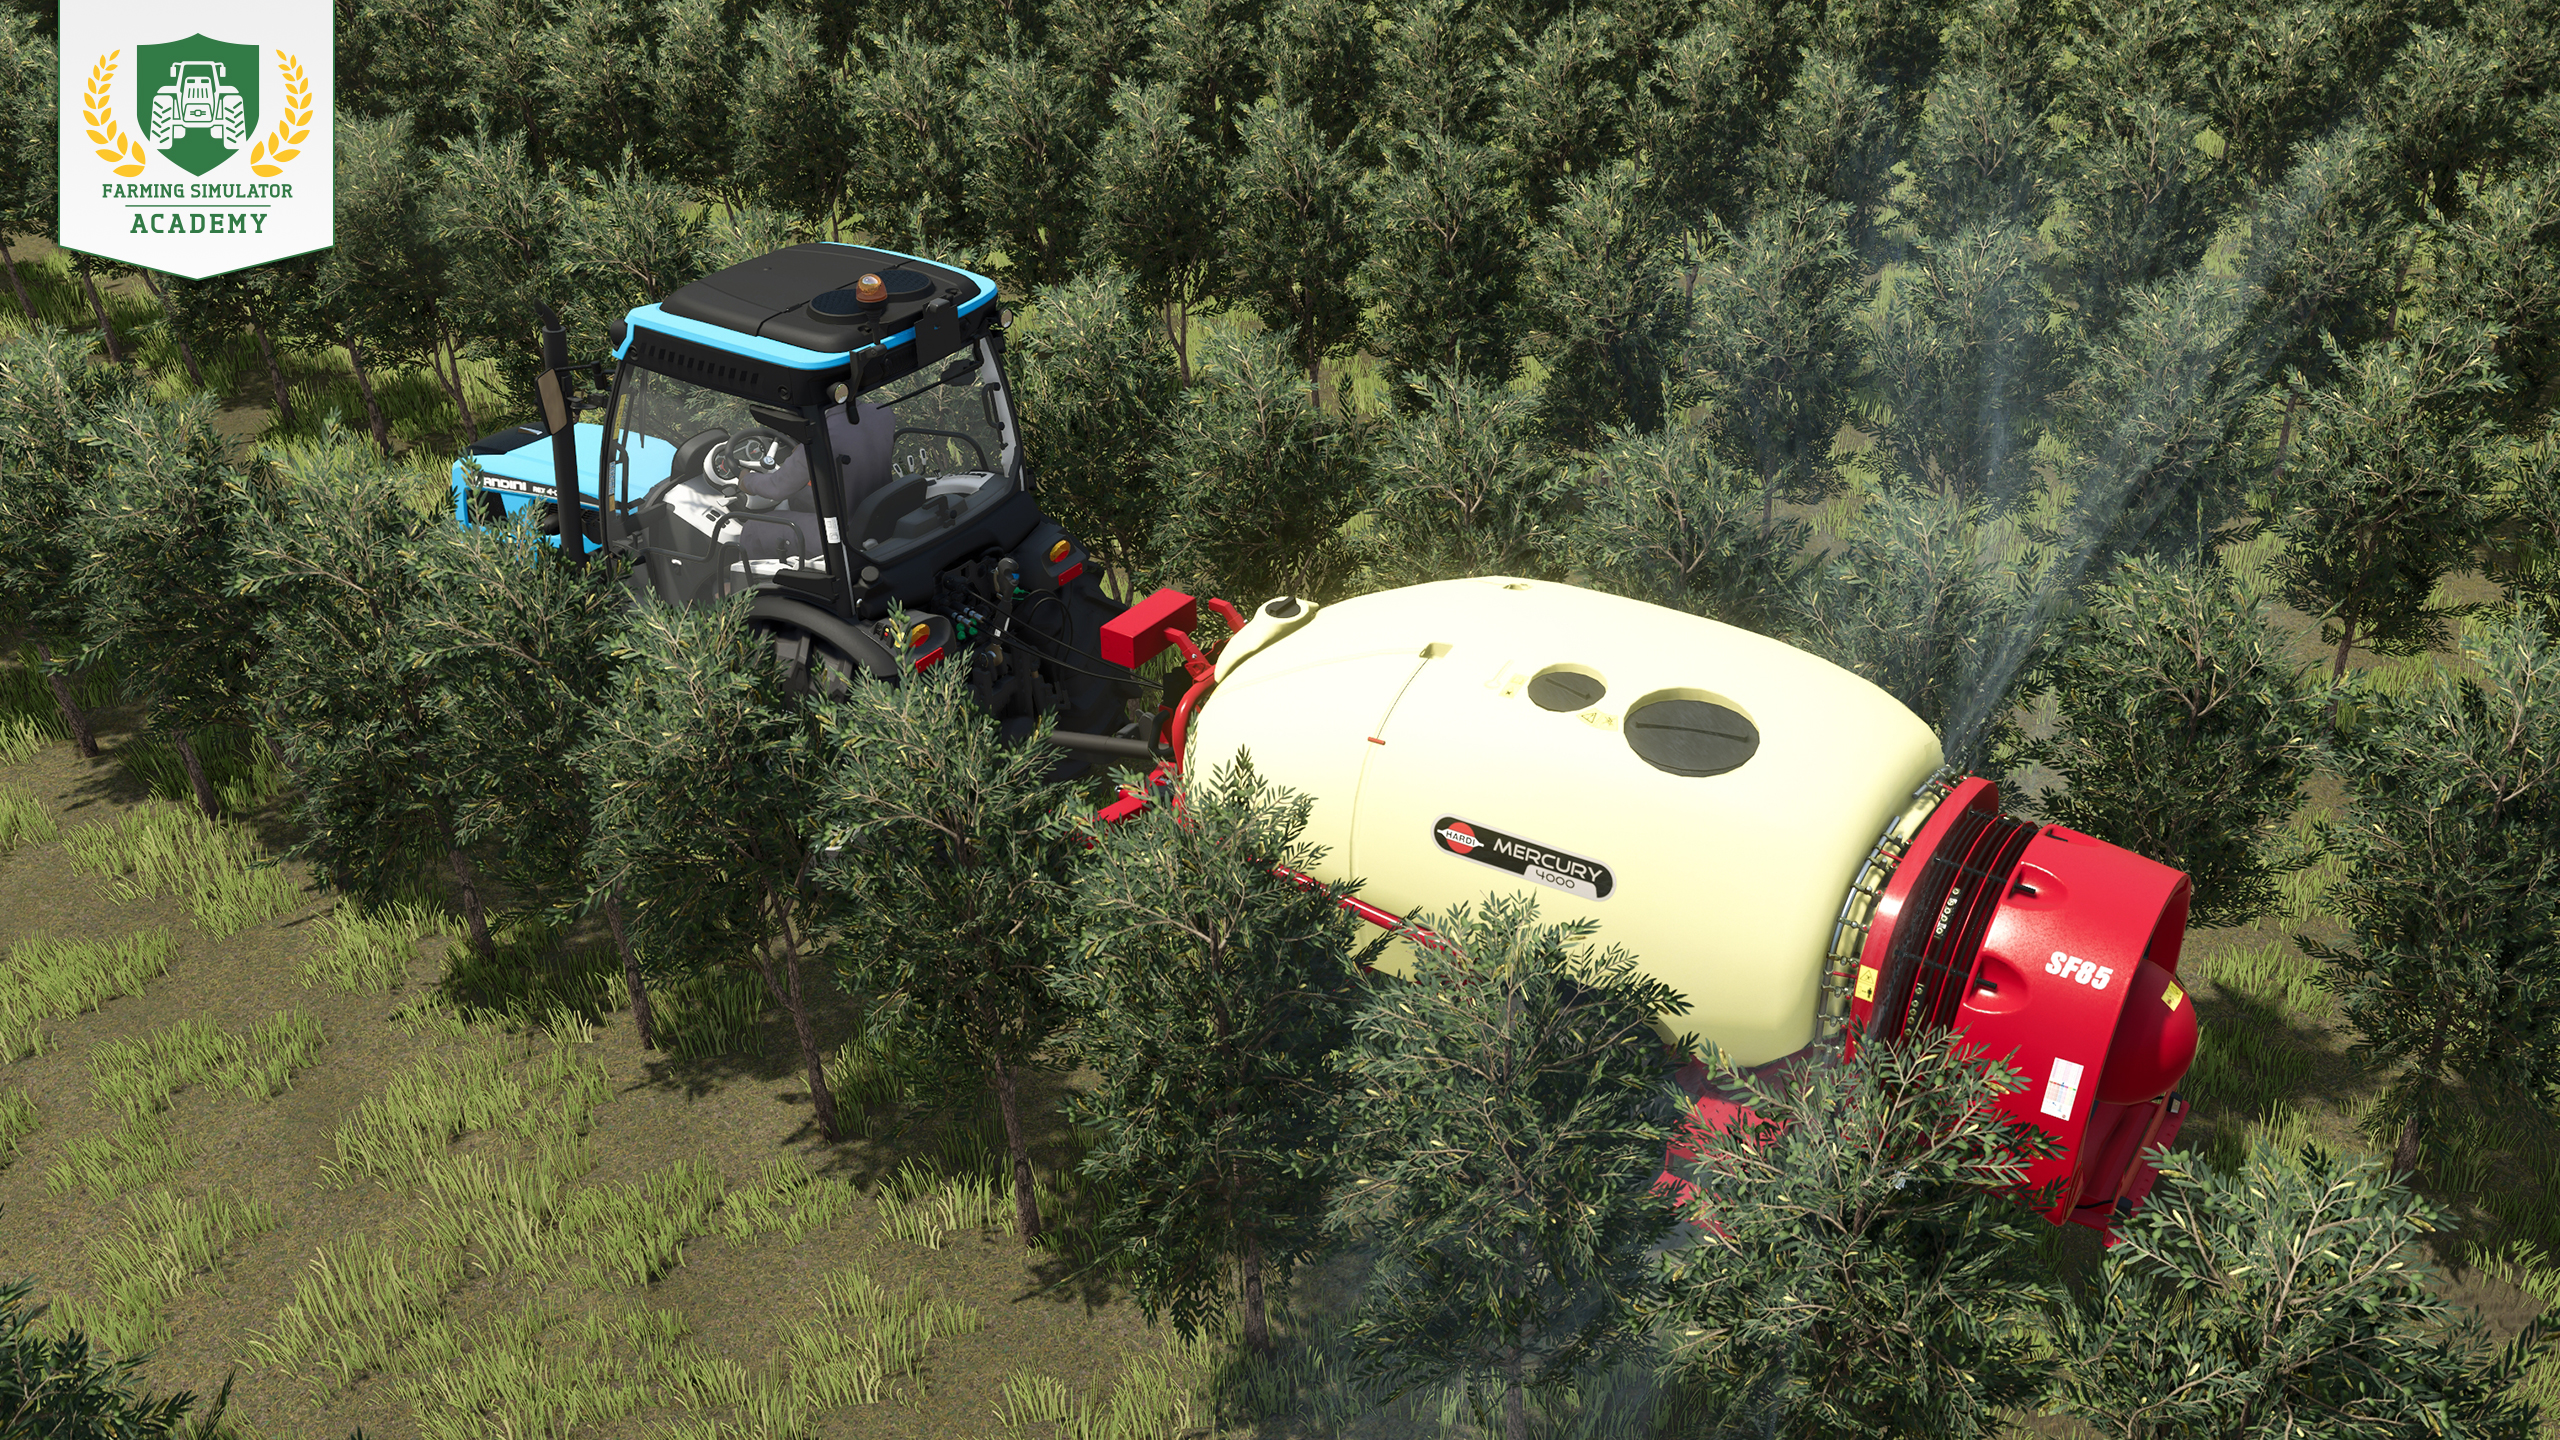
Fertilizer helps you get a better yield from your olive trees. Buy liquid fertilizer from the pallets section of the shop, attach the sprayer to your tractor, and refill it. Then drive between the rows, turn on the sprayer, and fertilize the trees one row at a time. For full fertilization, apply fertilizer again after the trees have advanced by one growth stage.
Read more about fertilizer and the different ways to apply it.
Step 5: Harvesting the olives
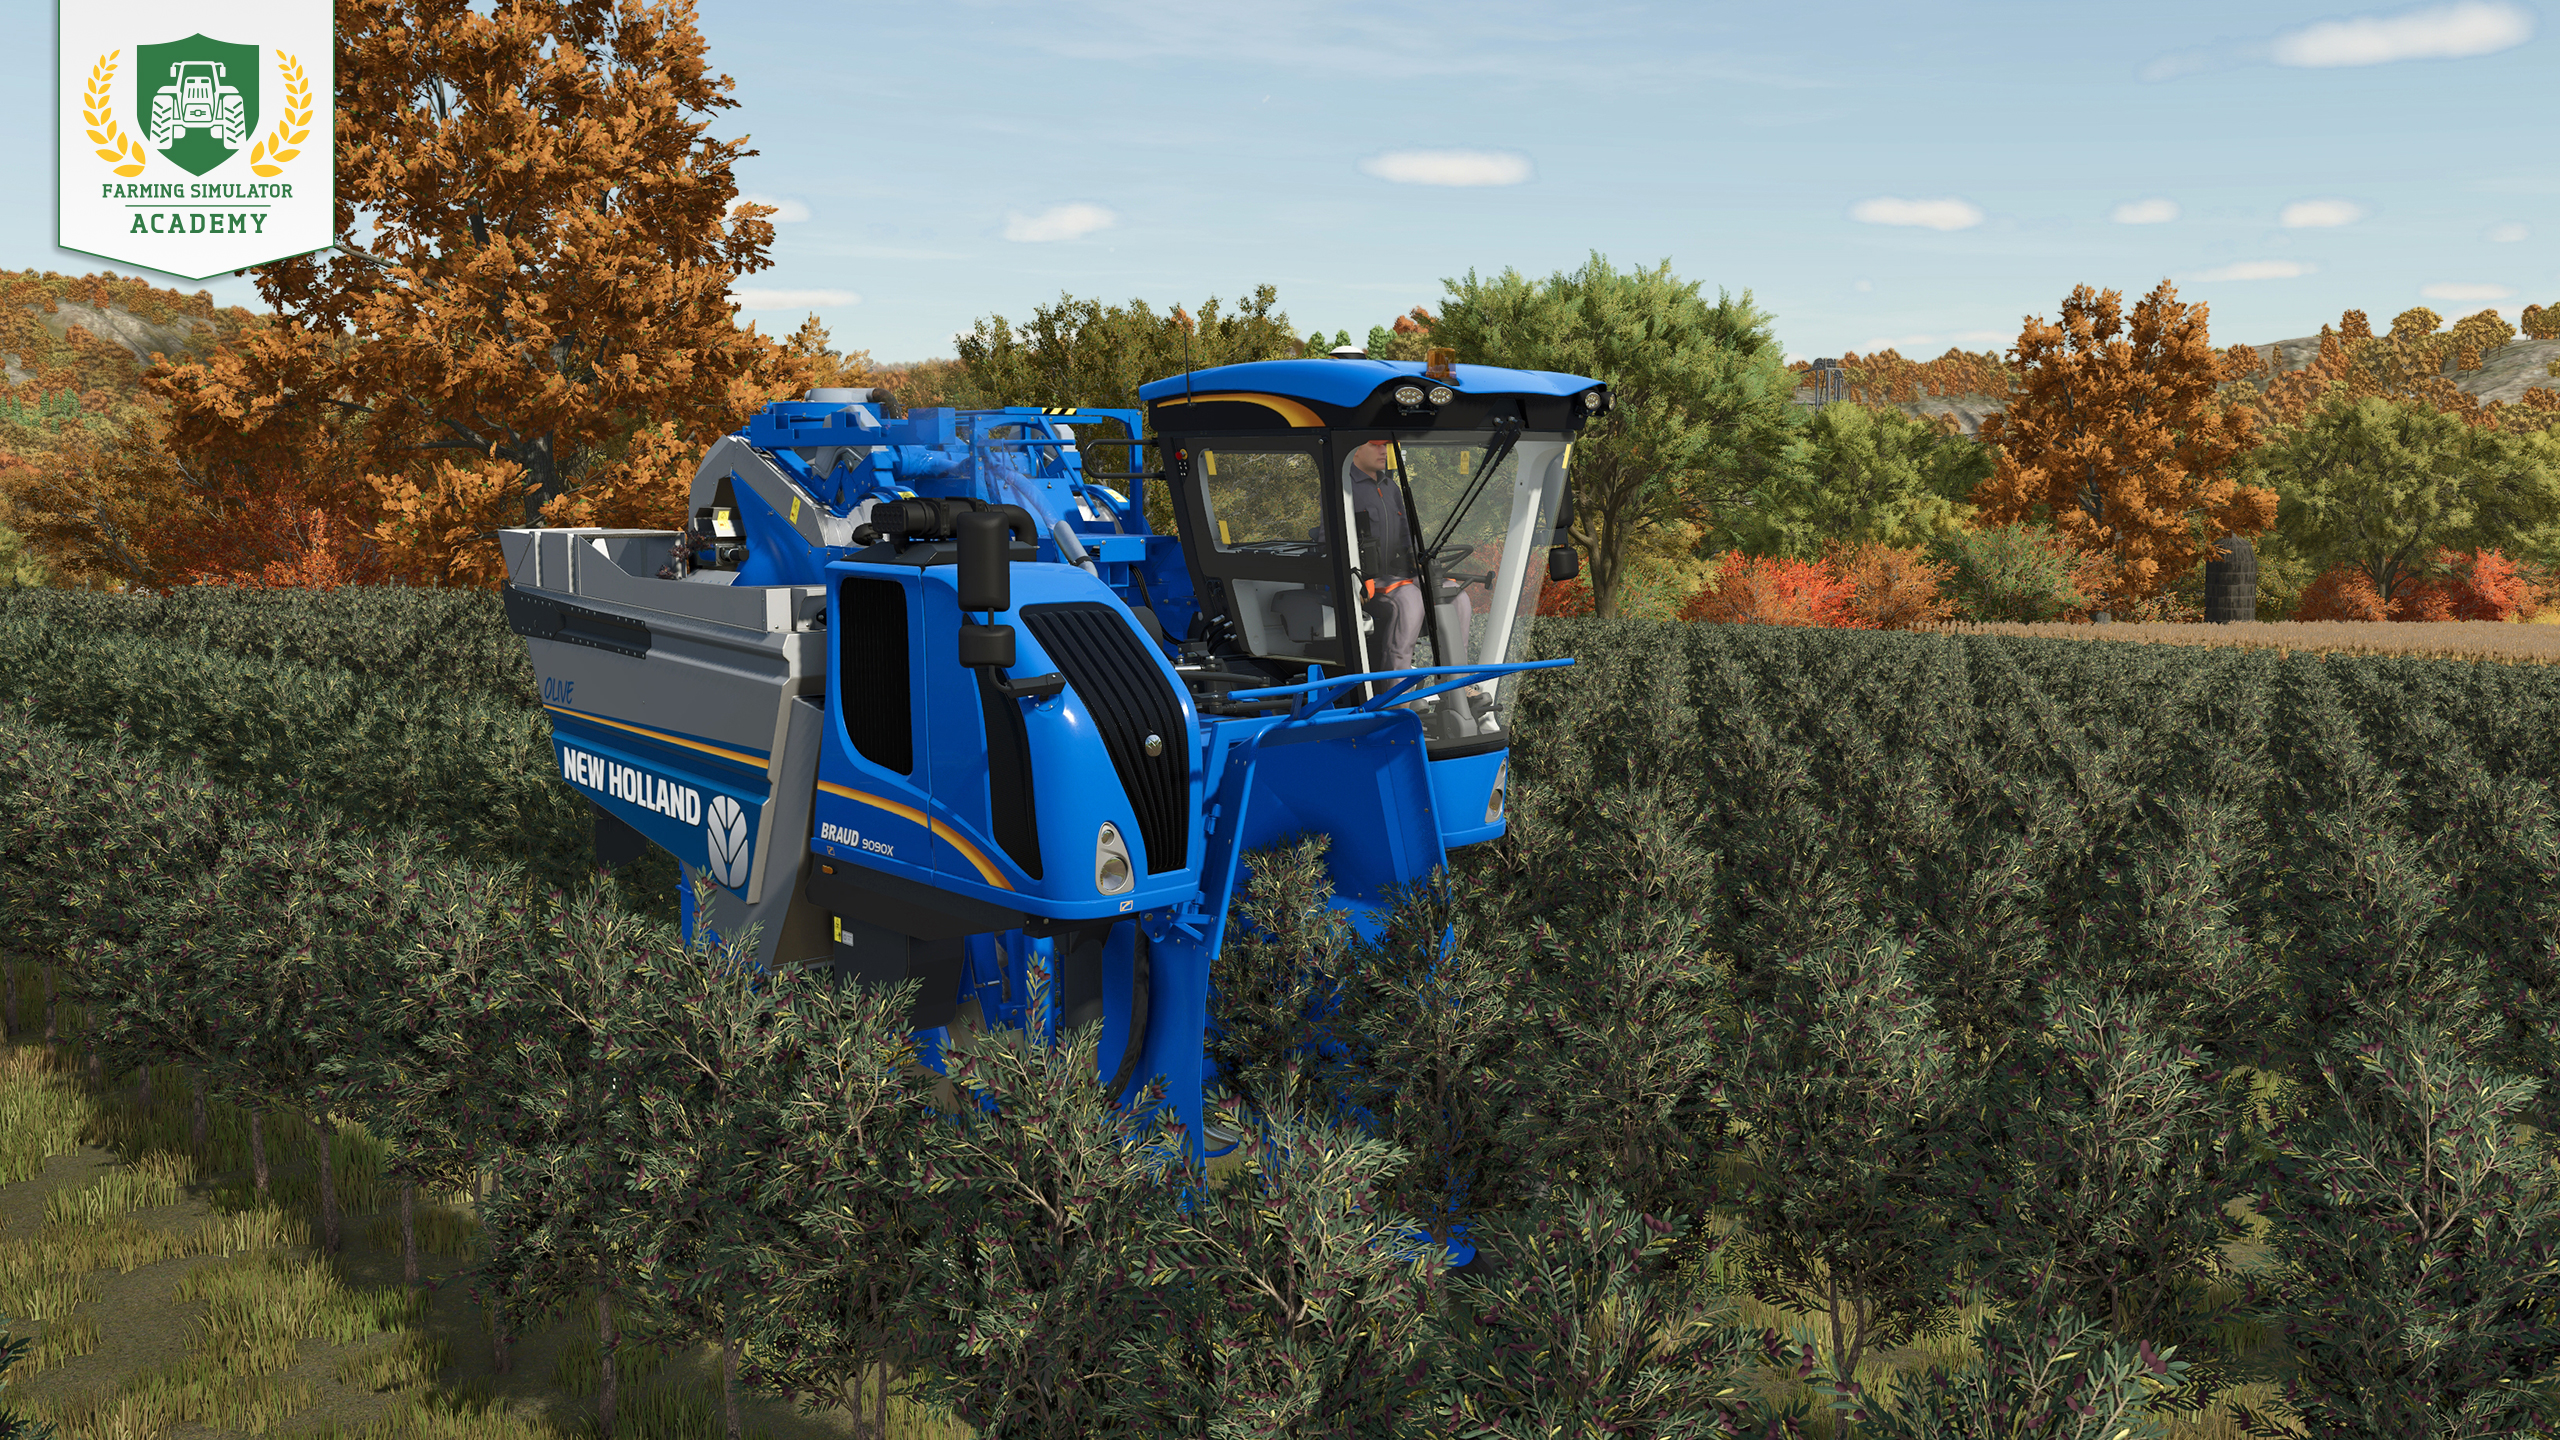
Once the olives are ripe, it's time to use the special olive harvester. With seasonal growth enabled, make sure to collect them before they've withered in November.
Unfold the harvester, turn it on, and line it up carefully with the first row. The trees pass through the center of the machine, so make sure you're properly centered before moving forward. Drive straight along each row and continue harvesting until the tank needs to be emptied.
Step 6: Selling the olives
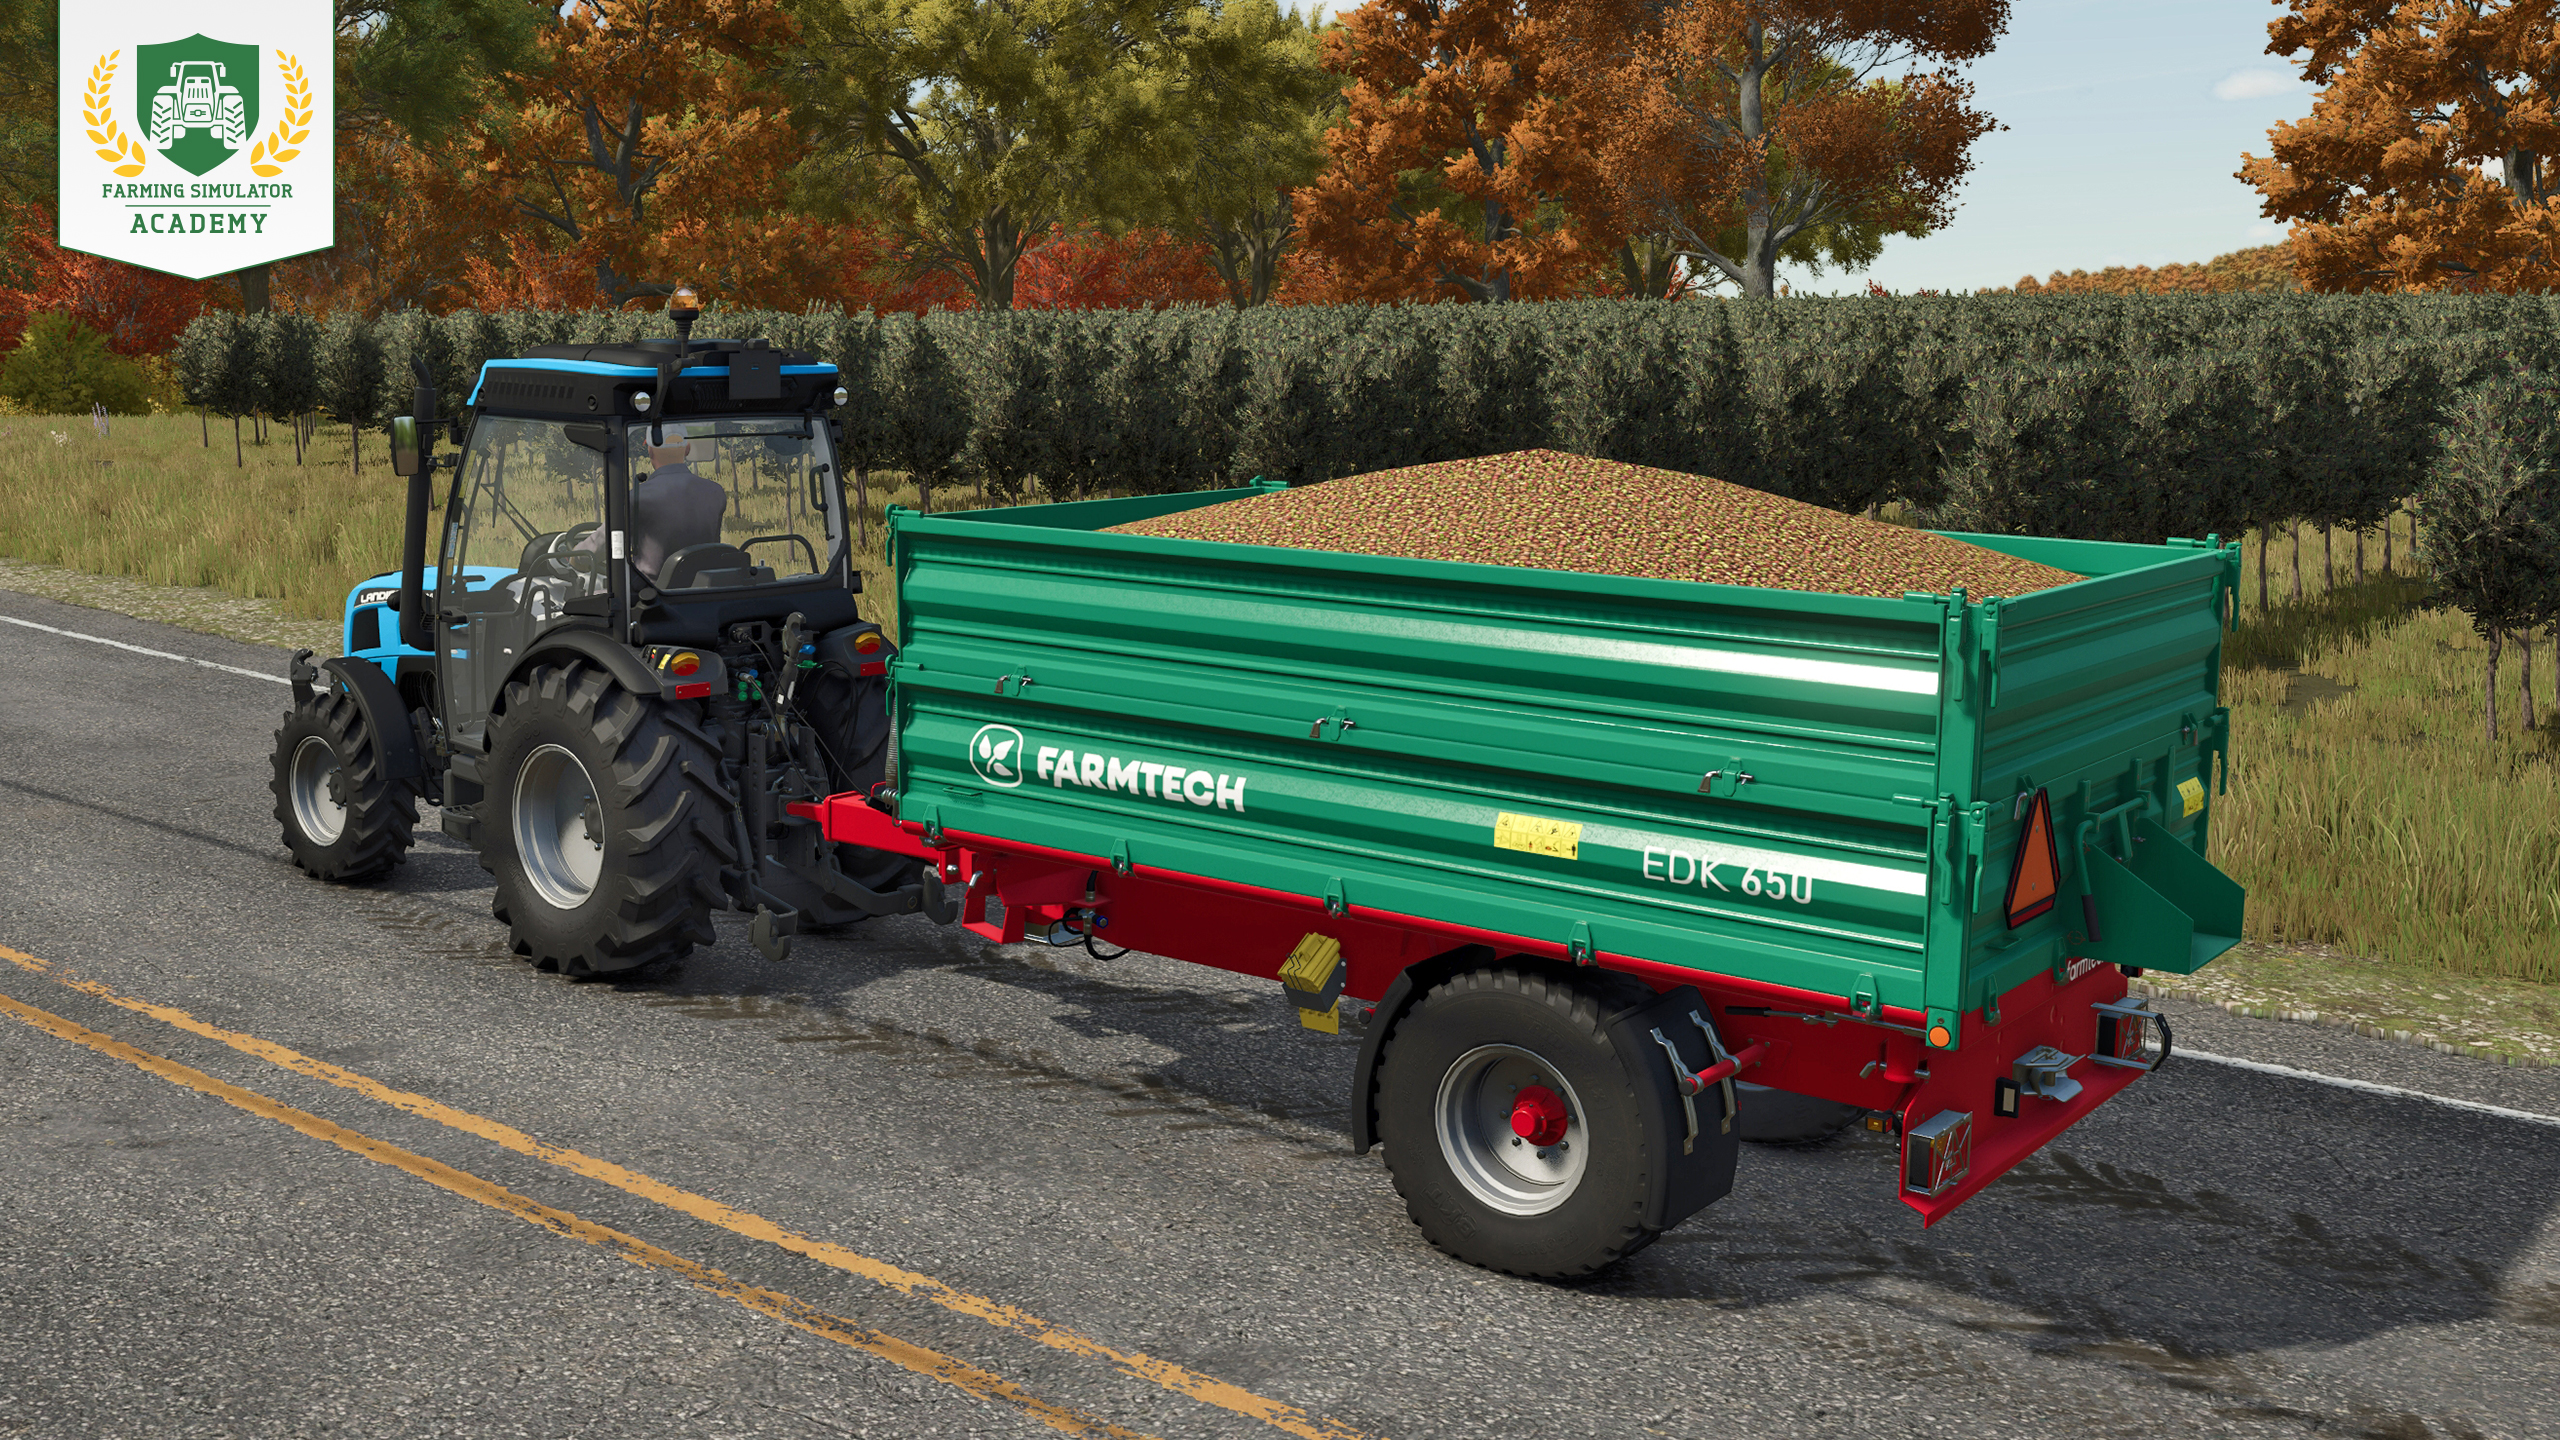
Drive the harvester up to your trailer and position its rear unloading side above it. Start overloading to transfer the harvested olives into the trailer. Check the prices screen to find a suitable selling point and deliver your harvest there. Alternatively, take the olives to the oil mill if you want to process them instead of selling them directly.
Processing Olives: Products
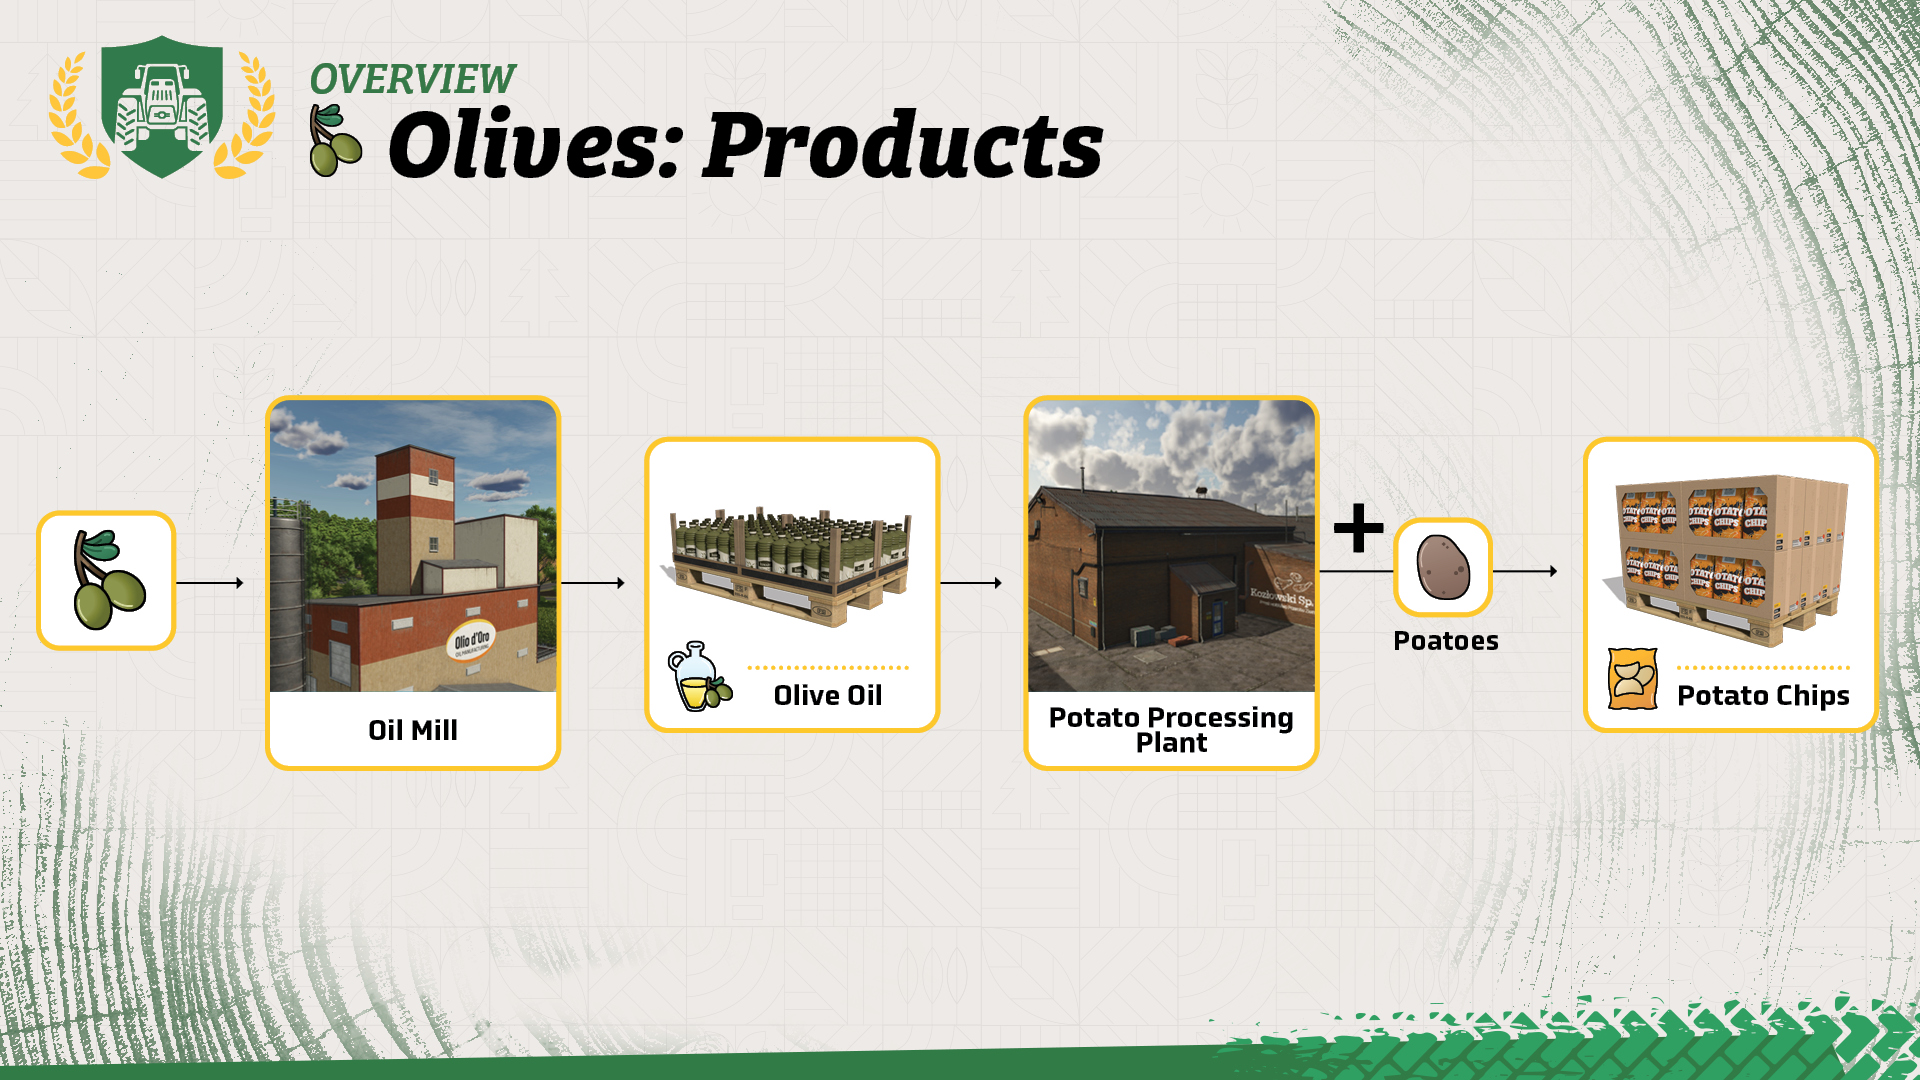
Instead of selling your olives directly, you can deliver them to the oil mill and process them into olive oil. The finished olive oil can then be sold for additional income.
Well Done!
Congratulations! You now know the basics of growing and harvesting olives in Farming Simulator. When you're ready, continue with the next Farming Simulator Academy lesson!


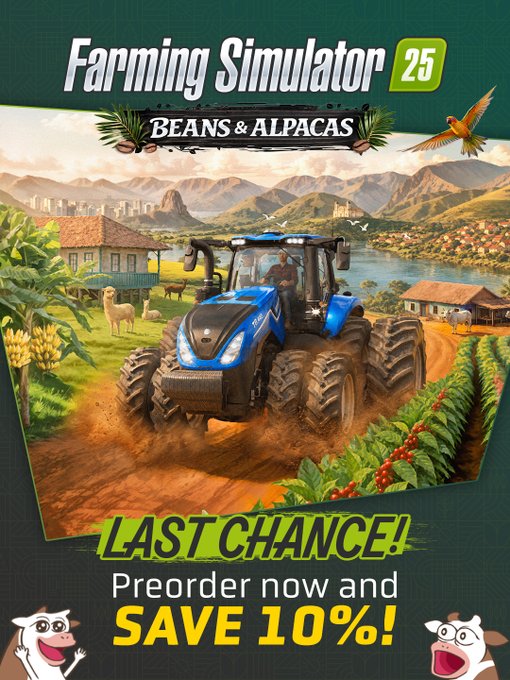
So, has Beans & Alpacas won you over yet? 🦙 LAST CHANCE to save 10% when you preorder the FS25: Beans & Alpacas Expansion before its October 27 launch! 🎉 Your next farming adventure awaits! 🚜 🔗 https://t.co/j2gGuWNKjz https://t.co/jxabPgbI33
One last Factsheet Friday before launch! 🚜 Discover John Deere, Mercedes-Benz, Randon, New Holland & Stara equipment coming with Beans & Alpacas on October 27. Check out the final batch! 🌱 🔗 https://t.co/KGeOIzHeIa https://t.co/MgoHm1OKfr

The countdown continues! 🦙 Join Benni and Stefan Maurus for our FS25: Beans & Alpacas Pre-Release Show on October 22 at 6 PM CEST. Get a closer look at the expansion ahead of its October 27 launch! Tune in on YouTube! 📺 🔗 https://t.co/NKgUwdoMza https://t.co/n9Yv9rvg2l

Ready for Bale Race? 🚜 We’re teaming up with Fendt at the 99th National FFA Convention & Expo! Join us in Indianapolis, Indiana, October 21–24, 2026, and put your Farming Simulator skills to the test. See you there! 👋 https://t.co/UqFCTpMqdK

Social Media


So, has Beans & Alpacas won you over yet? 🦙 LAST CHANCE to save 10% when you preorder the FS25: Beans & Alpacas Expansion before its October 27 launch! 🎉 Your next farming adventure awaits! 🚜 🔗 https://t.co/j2gGuWNKjz https://t.co/jxabPgbI33


