-

-
 Argentina (en)
-
 Australia (en)
-
 Belgien (de)
-
Belgique (fr)
-
België (en)
-
 Brasil (en)
-
 Canada (en)
-
Canada (fr)
-
 Česko (en)
-
 Chile (en)
-
 Danmark (en)
-
 Deutschland (de)
-
 España (en)
-
 France (fr)
-
 Hrvatska (en)
-
 Ireland (en)
-
 Italia (en)
-
 Magyarország (en)
-
 Nederland (en)
-
 Norge (en)
-
 Österreich (de)
-
 Polska (pl)
-
 Portugal (en)
-
 România (en)
-
 Schweiz (de)
-
 Slovenija (en)
-
 Slovensko (en)
-
 South Africa (en)
-
 Srbija (en)
-
Suisse (fr)
-
 Suomi (en)
-
 Sverige (en)
-
Svizzera (en)
-
 United Kingdom (en)
-
United States (en)
-
 Россия (en)
-
 Україна (en)
-
 日本 (en)
-

[Crops 101] How To Sow & Harvest Red Beet / Beetroot
![[Crops 101] How To Sow & Harvest Red Beet / Beetroot](/cms/uploads/news_6a9edaf81739c.jpg)
Welcome to your next “Crops 101” lesson of the Farming Simulator Academy! This time, we’re focusing on red beet, also known as beetroot. We’ll show you how to plant, harvest, and process this root crop.
What Is Special About Red Beet?
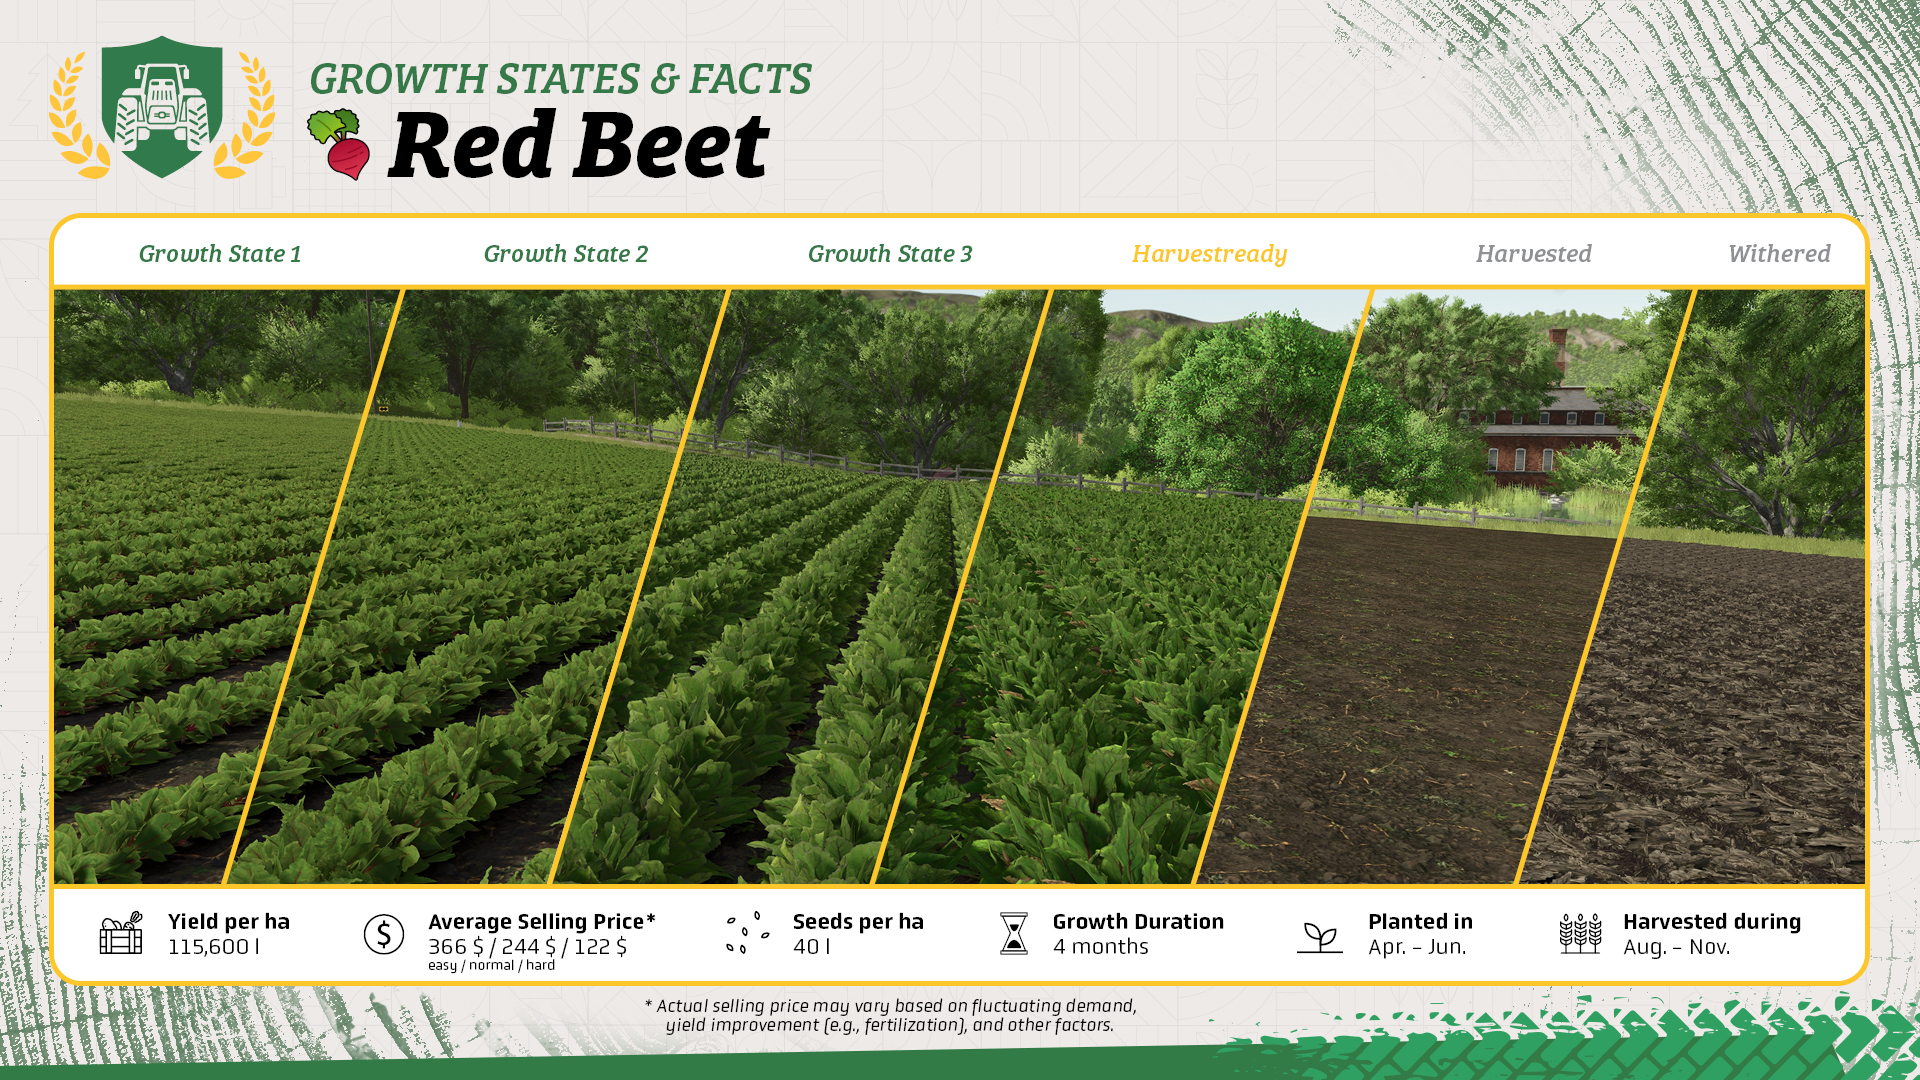
- Some of you have noticed the different names. That’s because of the difference of British English (beetroot) and American English (red beet). In some regions, one is more common than the other. No matter the word, we are always talking about the same crop.
- After harvesting red beet, the field needs to be plowed again to avoid a yield penalty.
- You can shape ridges before planting if you want. This is optional, but it counts as one fertilization stage and helps you achieve the maximum yield.
- Red beet cannot be stored in a regular silo. You can sell it directly, use suitable storage, or process it into other products.
- You can use red beet to feed your pigs and horses.
What You Need For Red Beet
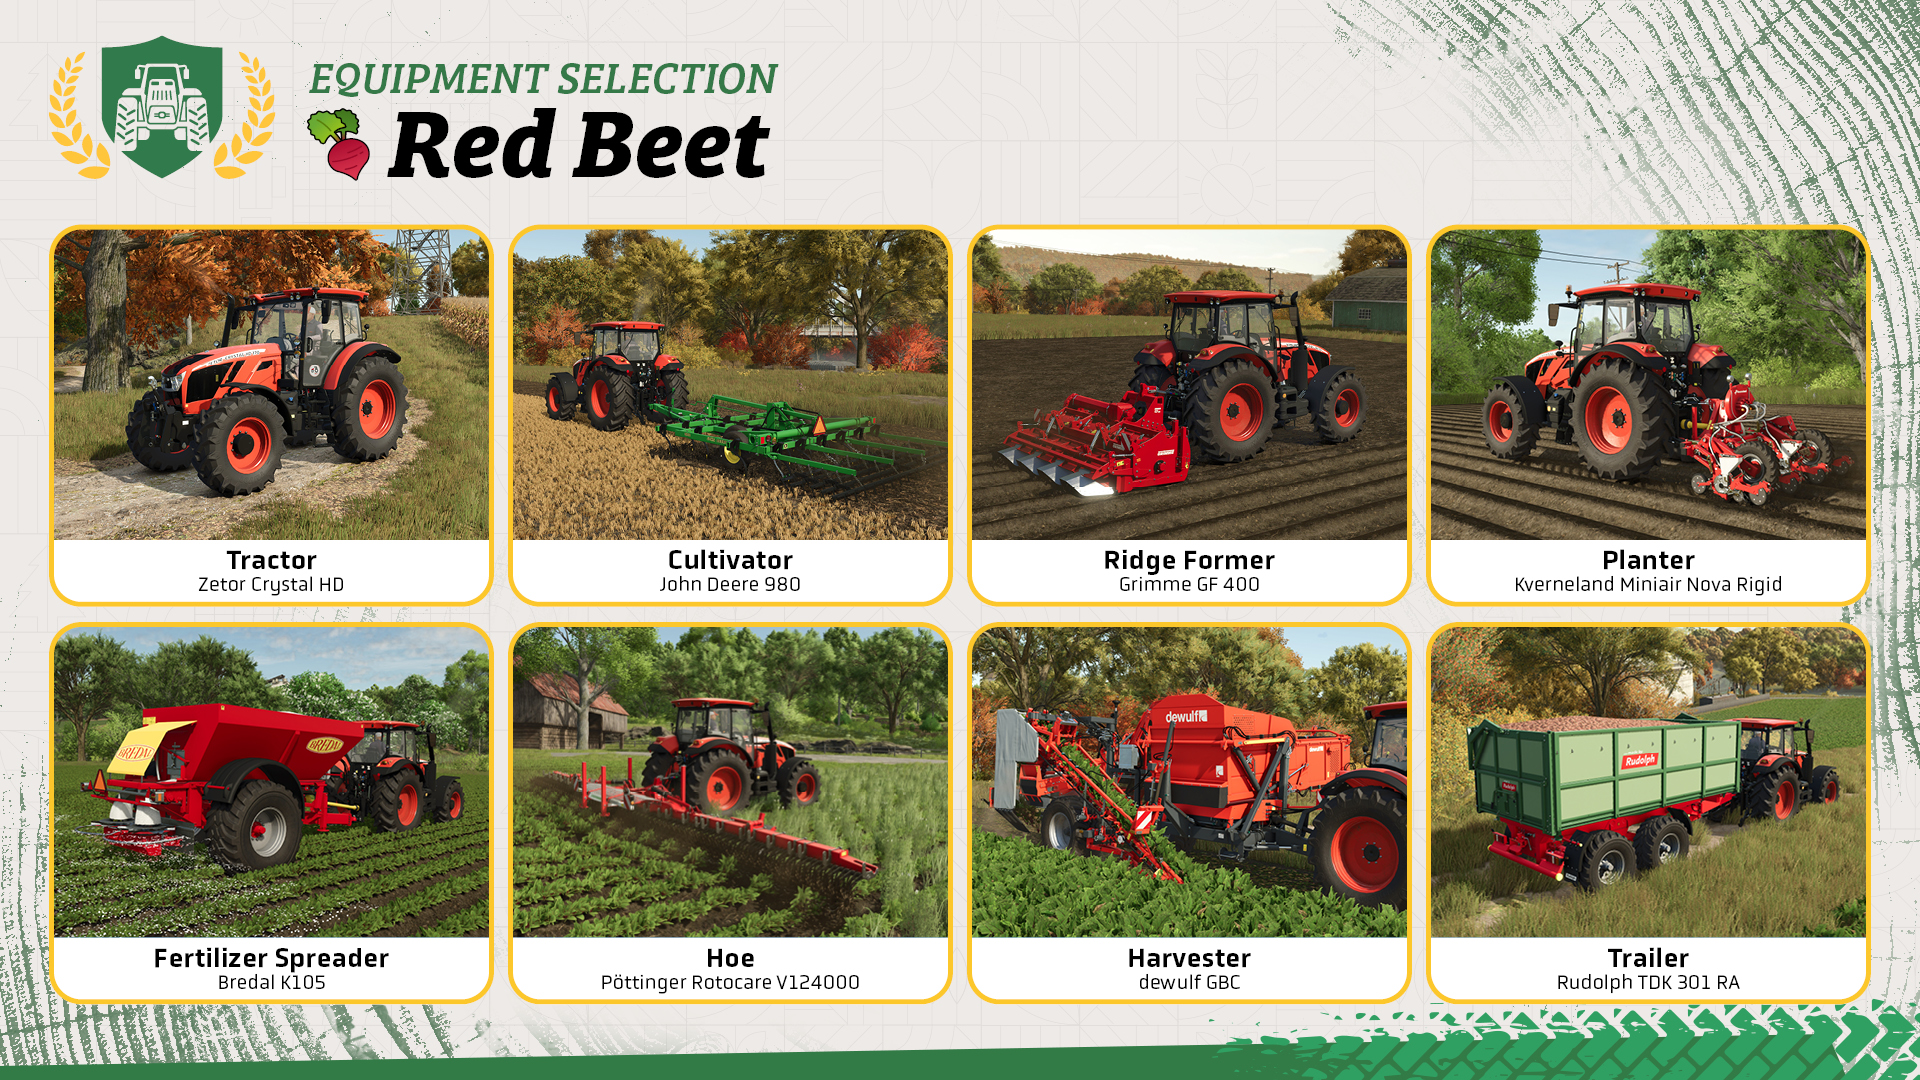
Red beet requires a few specialized machines for planting and harvesting. Some of them are quite expensive, so leasing can be a useful alternative if you only need them occasionally.
- Tractor: Operates most of the equipment you need for growing red beet.
- Cultivator: Prepares the soil before planting.
- Ridge former: Creates ridges before planting. Using it counts as one fertilization stage and improves your potential yield.
- Planter: Plants red beet and needs to be filled with seeds.
- Fertilizer spreader: Helps increase your yield. Some models can also spread lime if the field requires it.
- Hoe: Removes weeds while they are still small enough.
- Harvester: A specialized vegetable harvester is needed to harvest red beet.
- Trailer: Carries the harvested red beet to storage, a selling point, or a production facility.
Let’s Get To Work!
If seasonal growth is enabled, you can plant red beet from April until June. The crop can be harvested between August and November.
Step 1: Applying lime
Check the field information before you begin to see whether lime is required. If you are using the Bredal K105 as your fertilizer spreader, you can fill the same machine with lime and spread it across the field.
Step 2: Cultivating the field
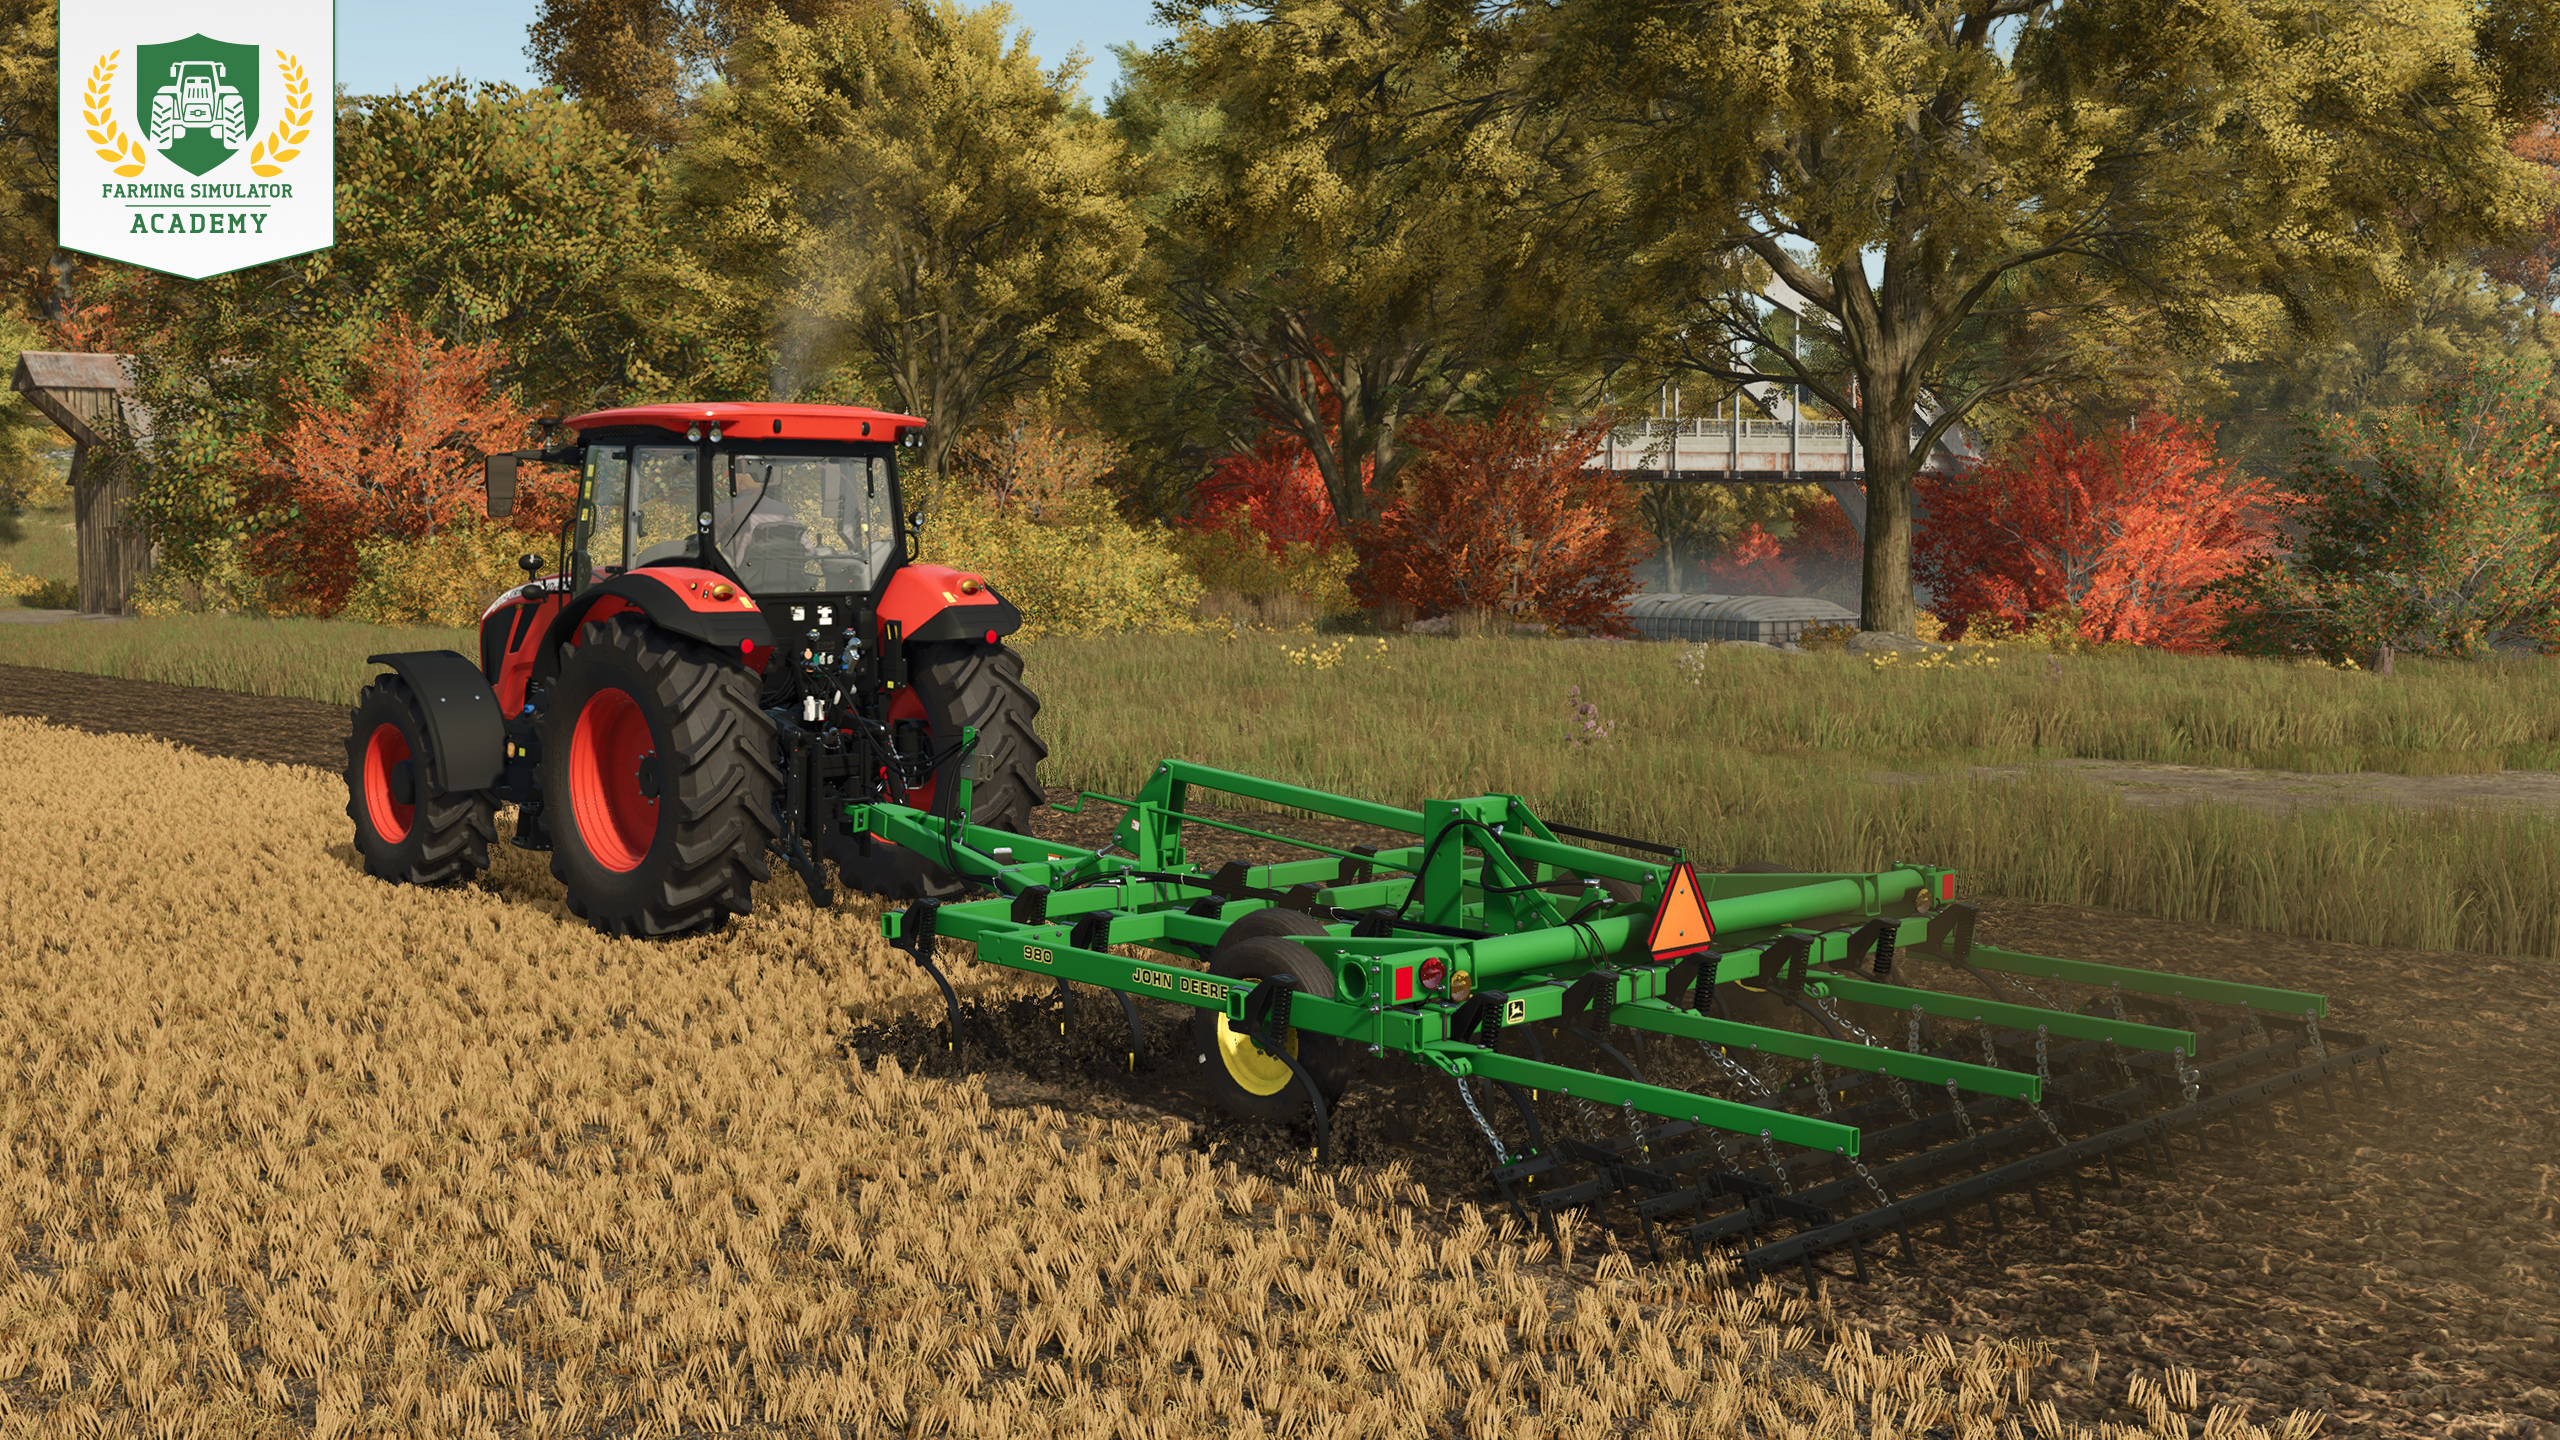
Take a look at the field information first. If plowing is required, use a plow instead. Otherwise, attach your cultivator, lower it into the soil, and work the entire field until it is ready for planting.
Tip! Once you have harvested the red beet, the field needs to be plowed before you plant the next crop because of the deep roots.
Plow or cultivate? The Academy guide explains both.
Step 3: Shaping ridges (optional)
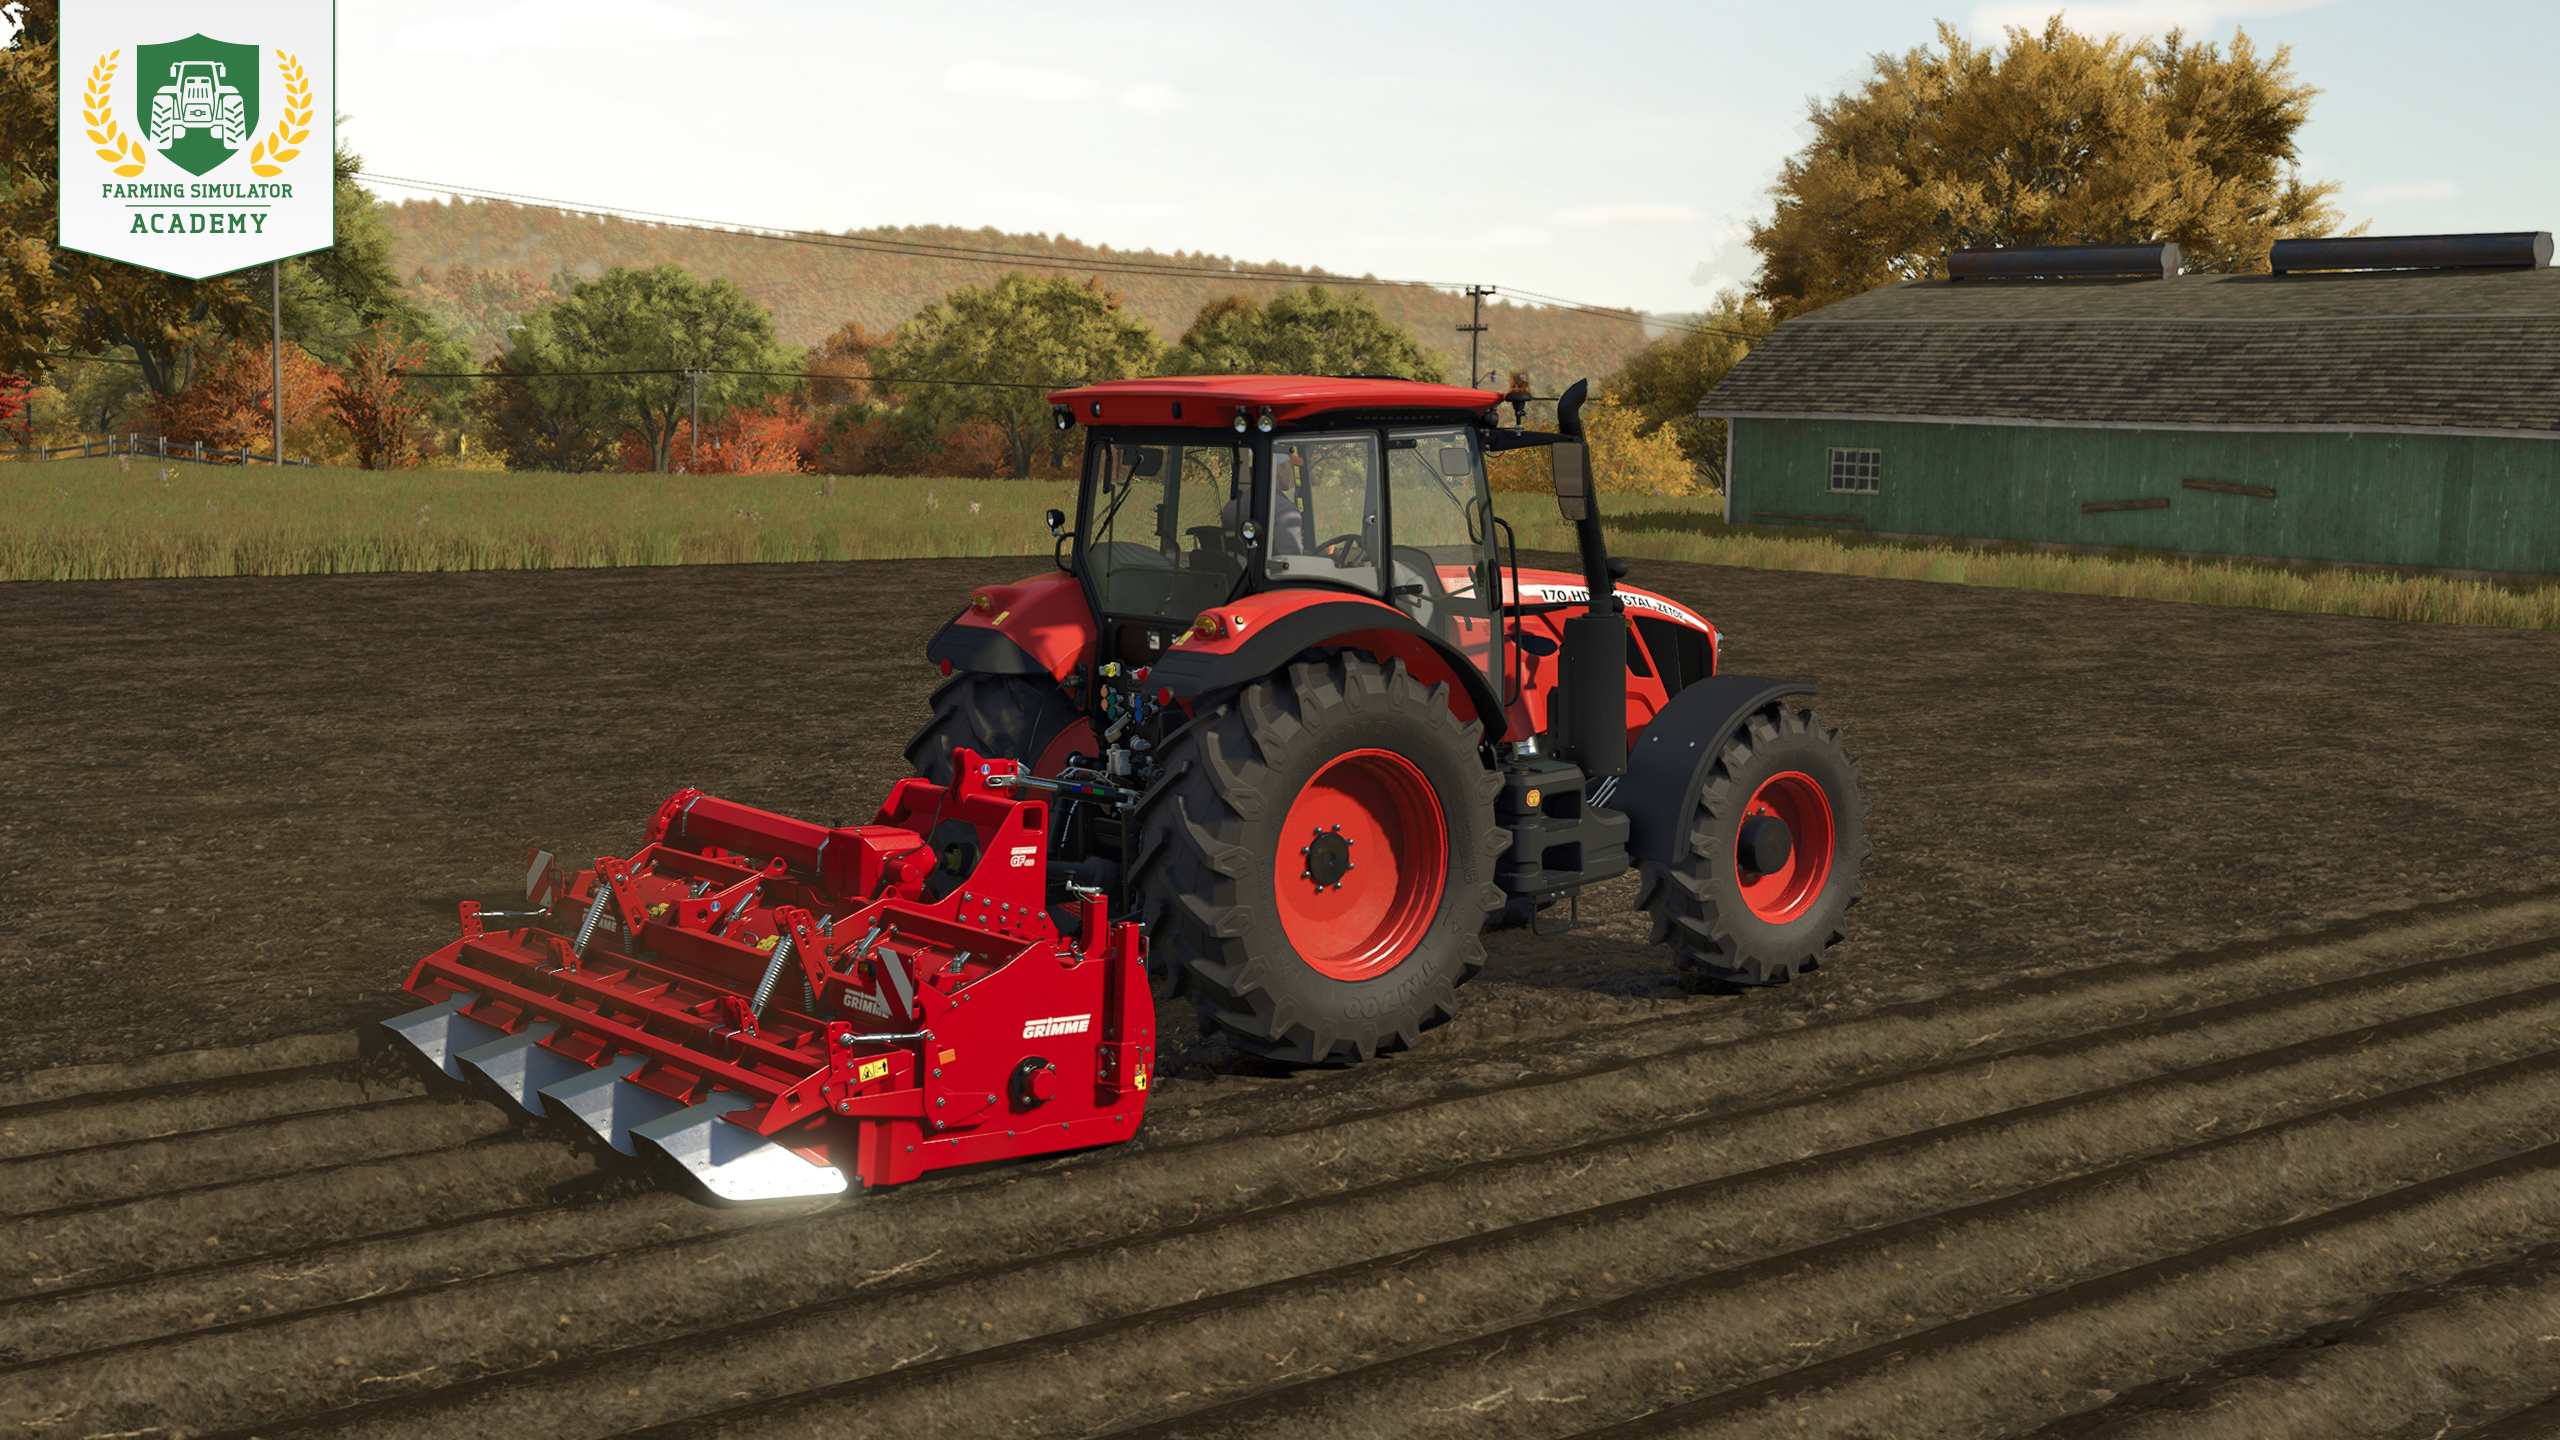
Attach the ridge former to your tractor, lower it onto the field, and create parallel ridges until the whole area is covered. This step is optional, but it already counts as one fertilization stage. If you leave the ridges out, you can still reach full fertilization by applying fertilizer twice with a growth stage between both applications.
Step 4: Planting red beet
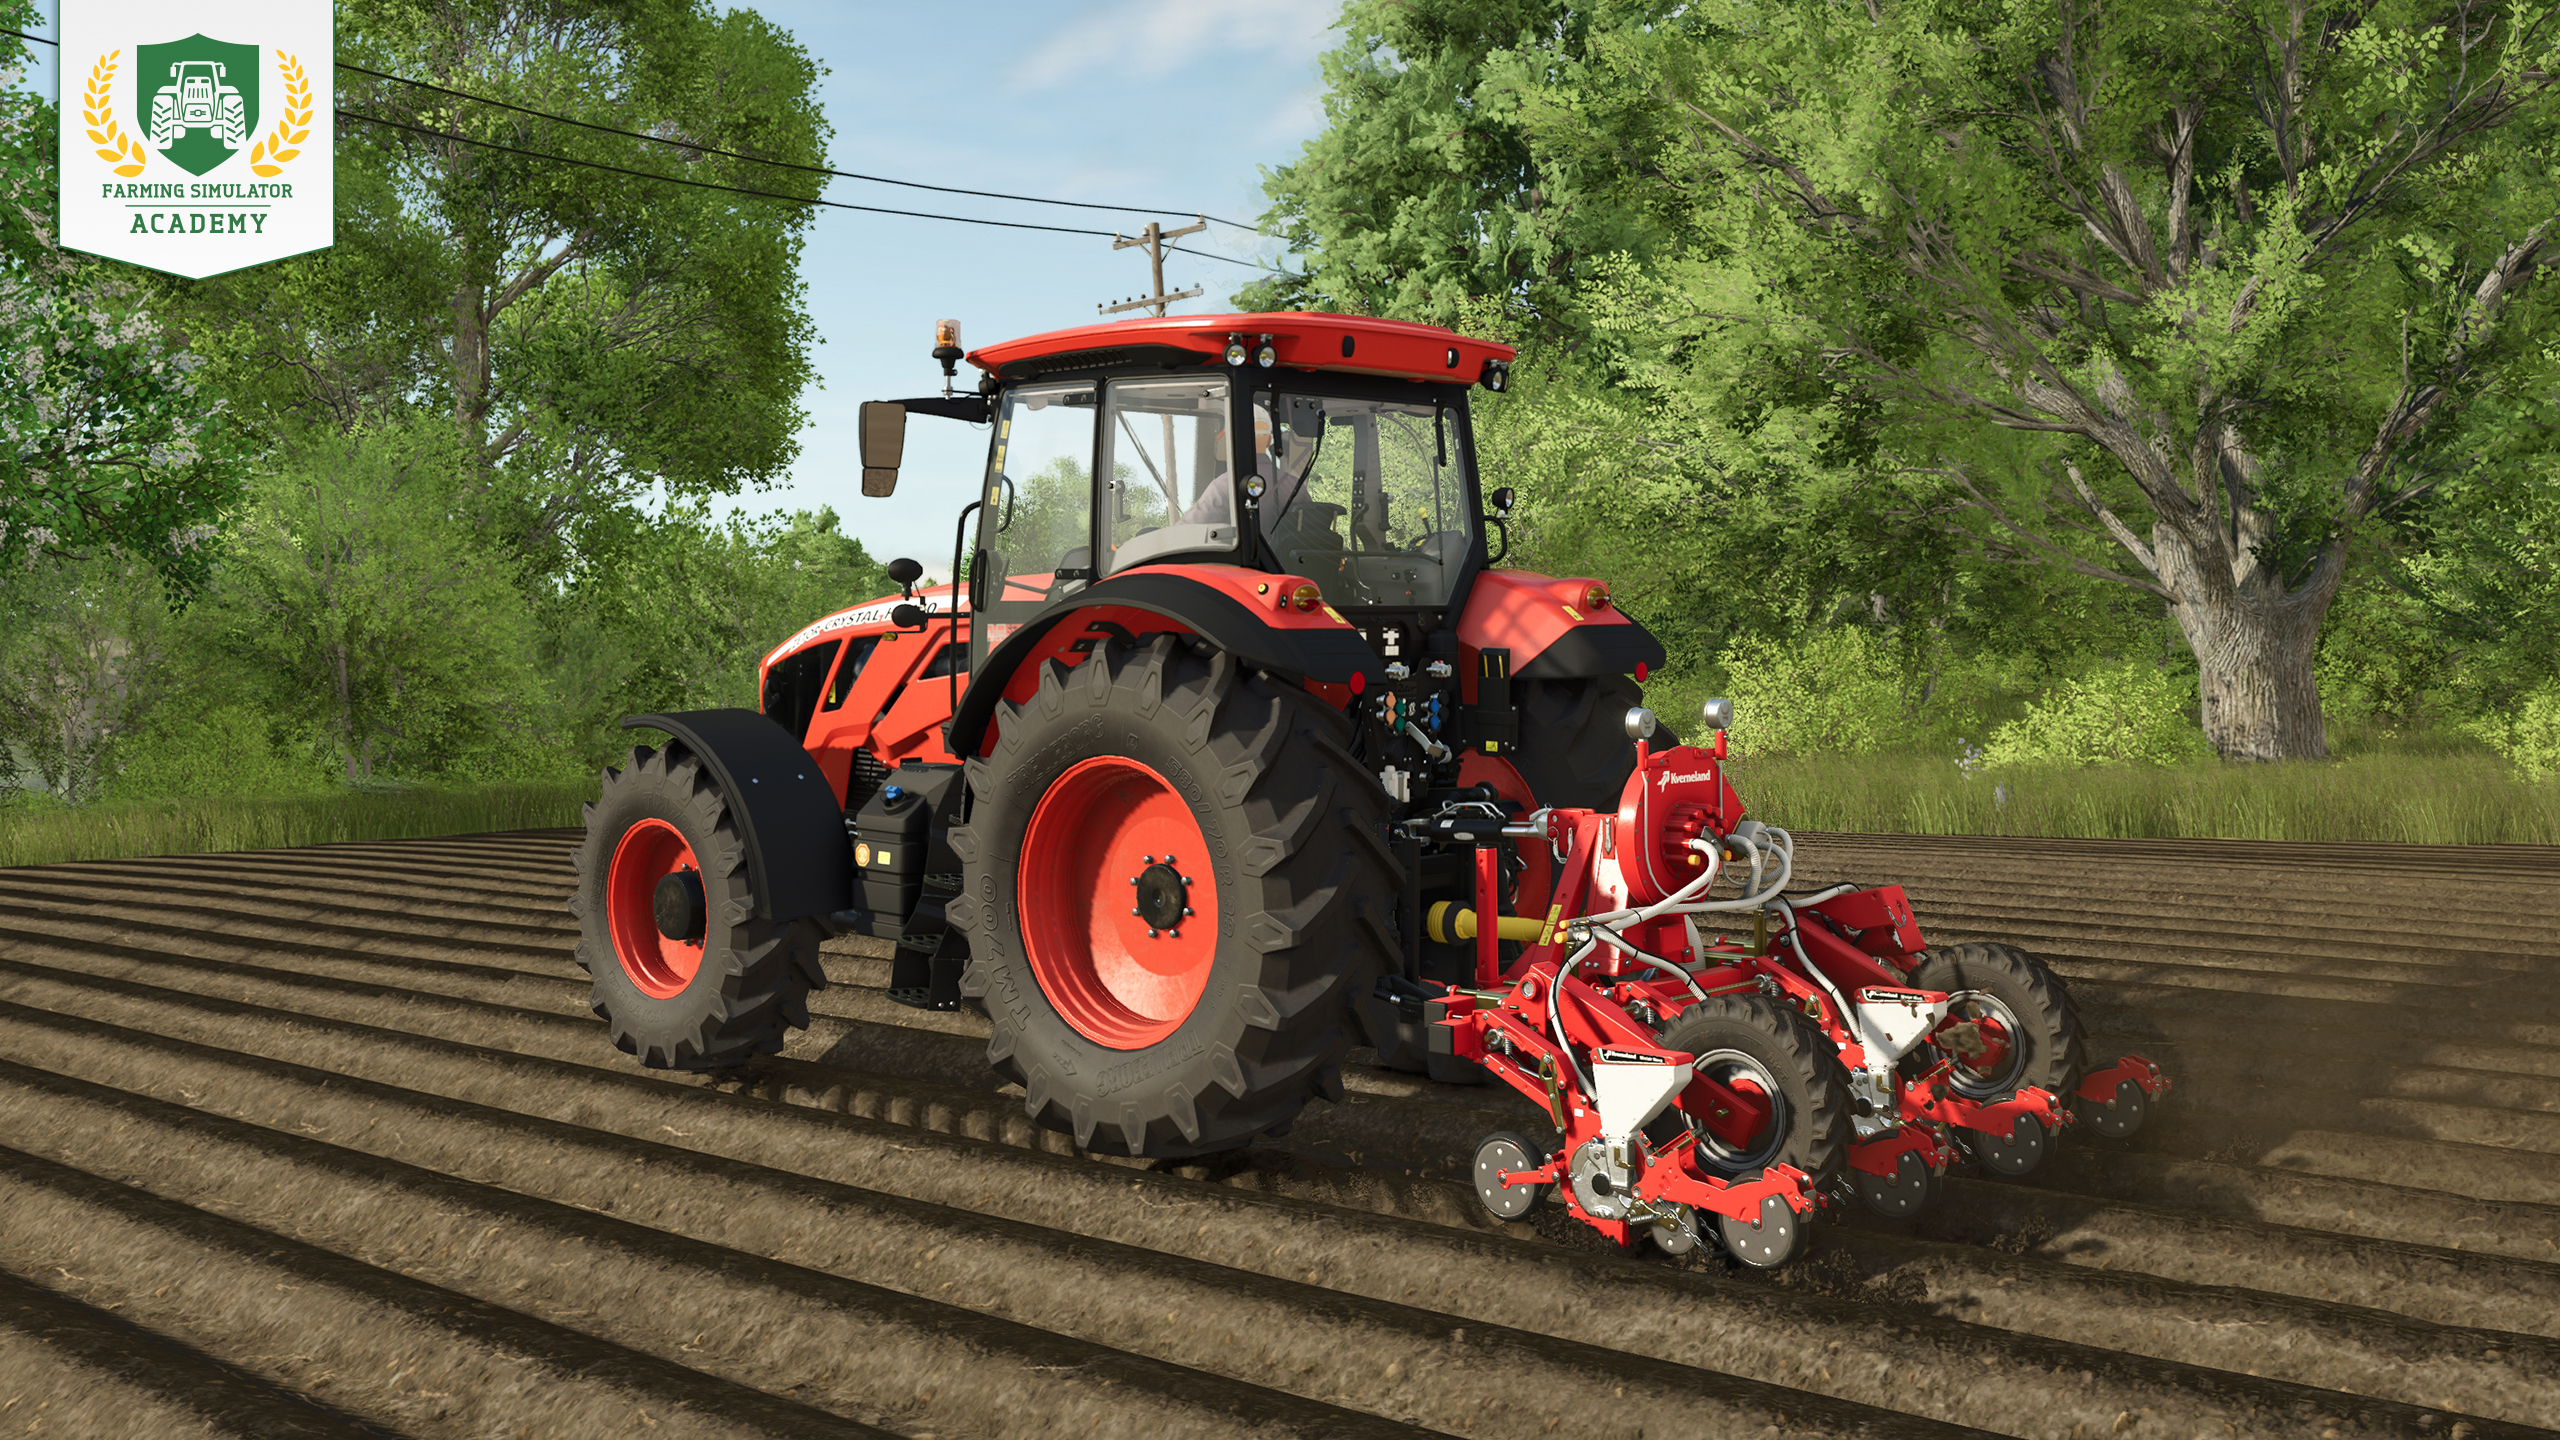
Fill the planter with seeds and select red beet as the crop. Position yourself along one edge of the field, lower and activate the planter, and plant the entire field row by row.
Seeder, planter, seeds: Here’s the full planting guide.
Step 5: Fertilizing
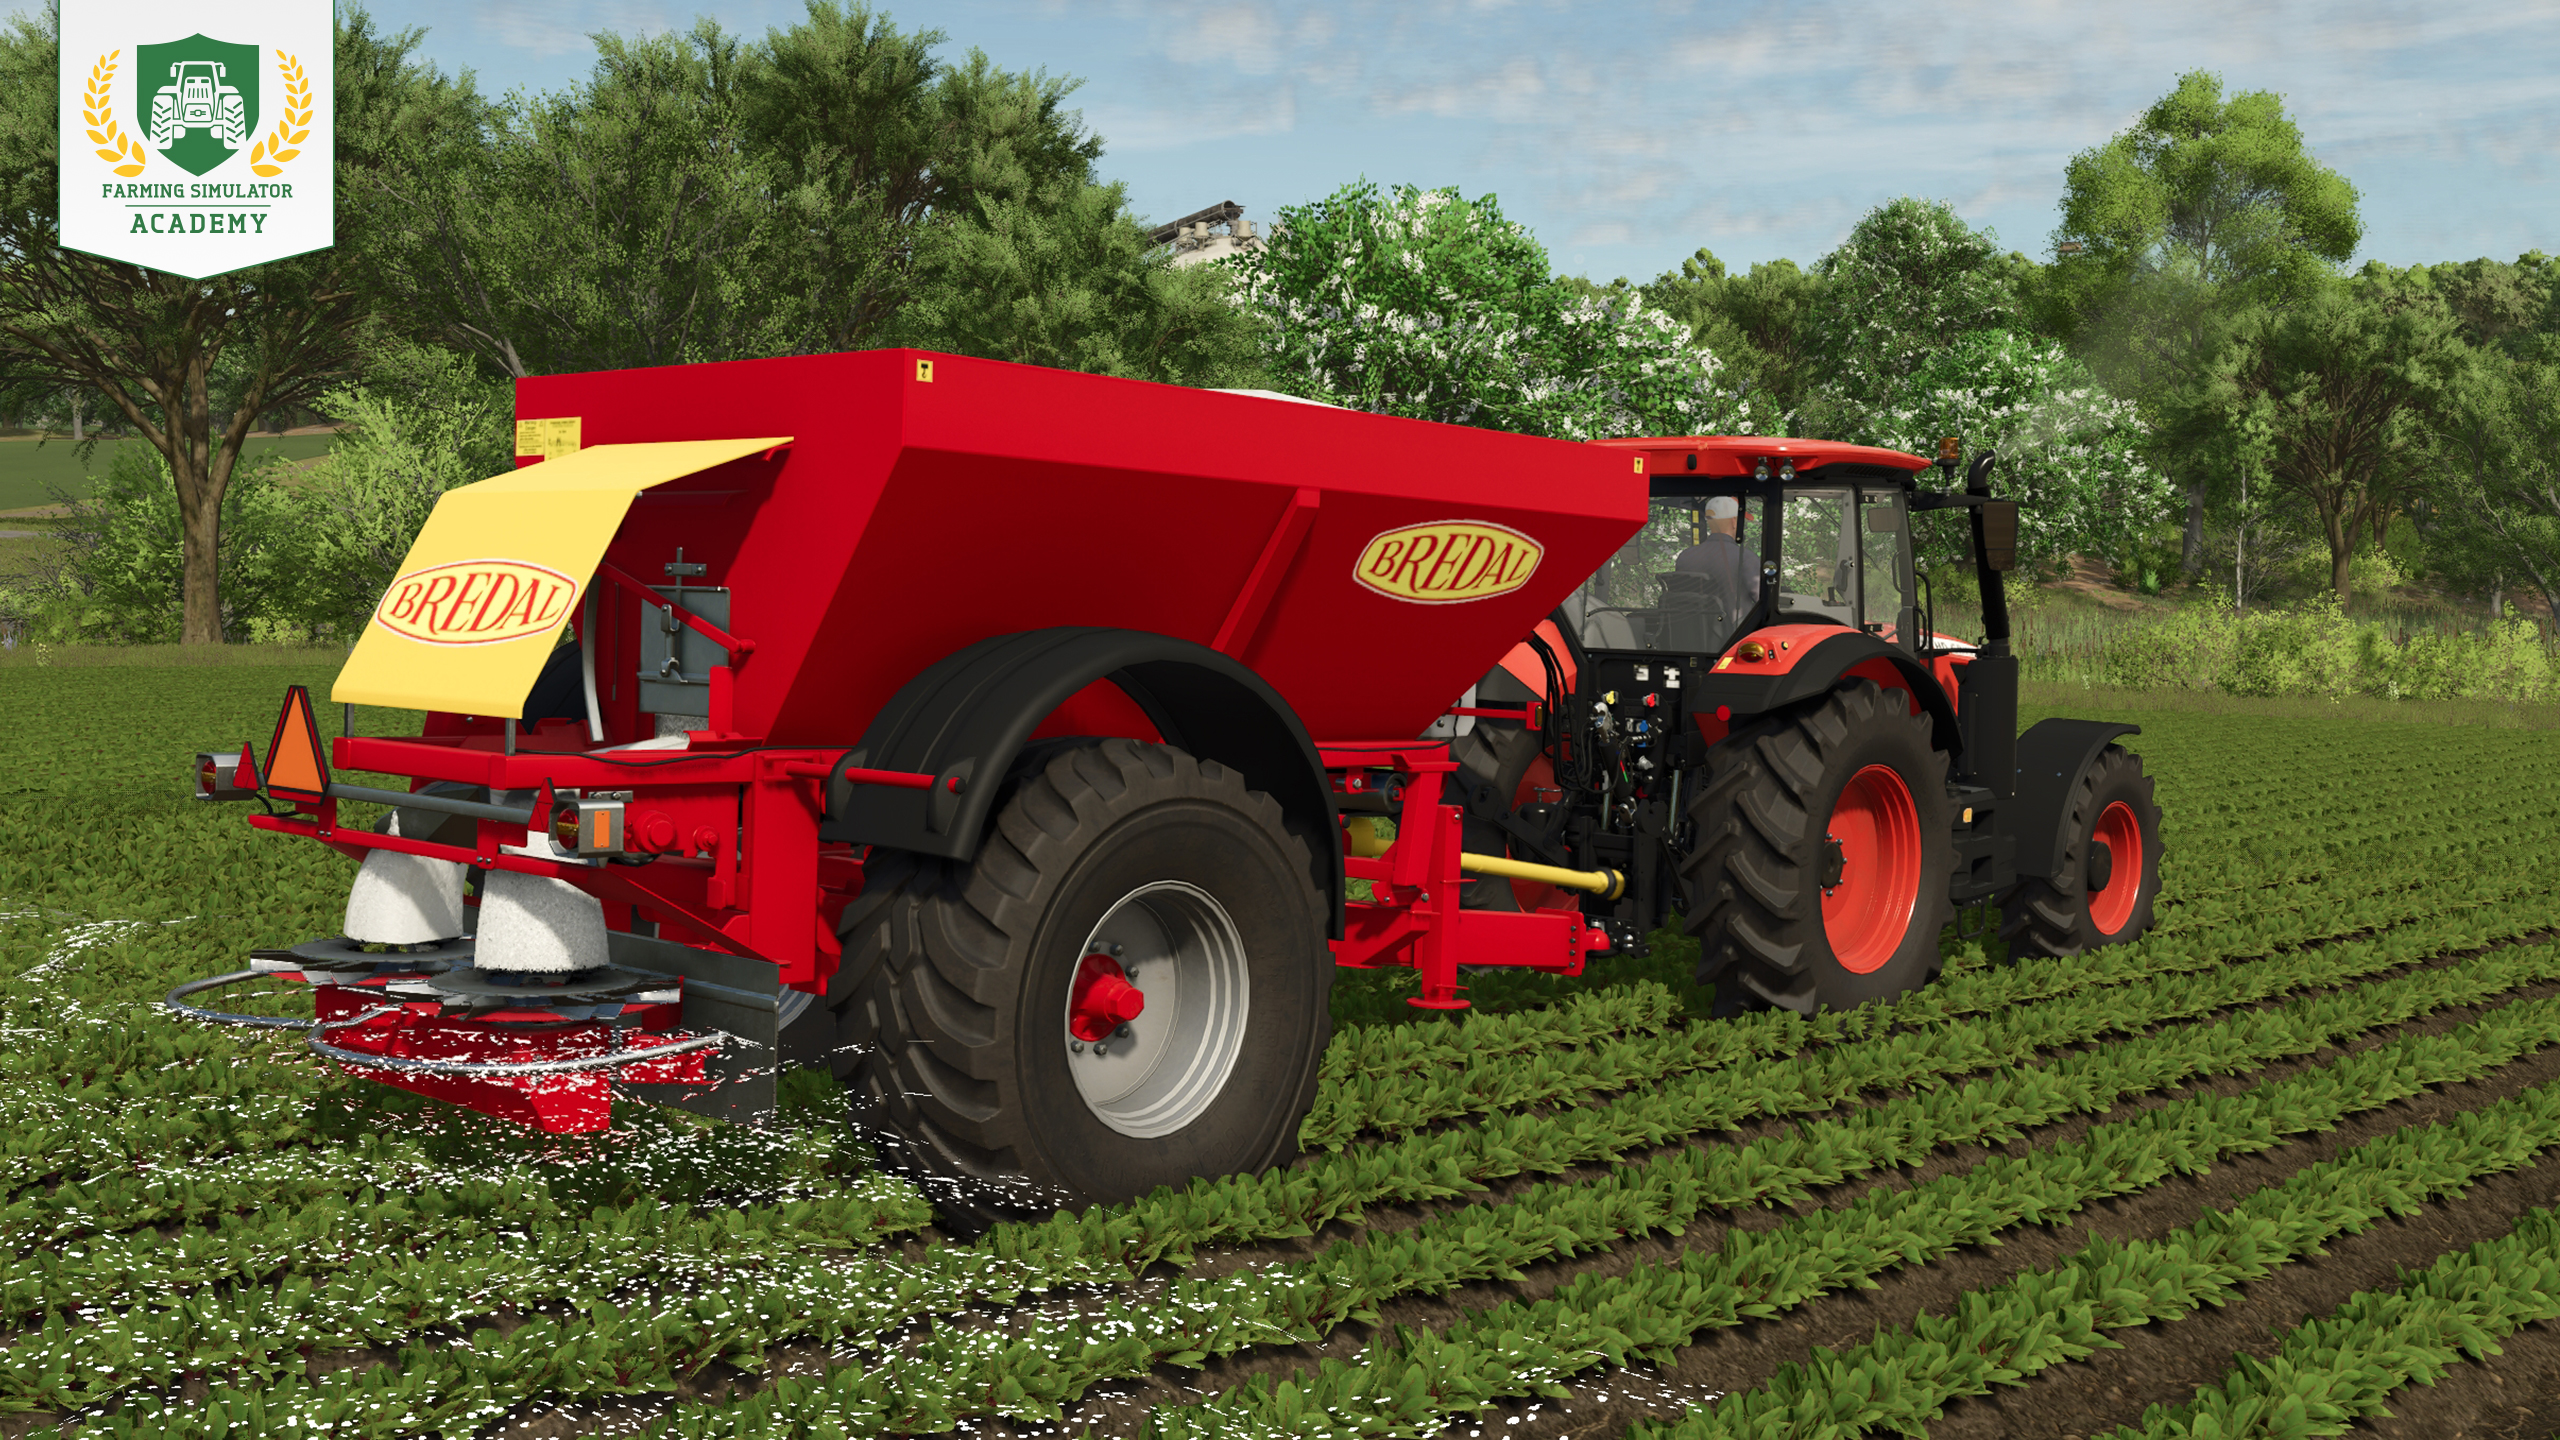
Fill your fertilizer spreader with solid fertilizer and cover the whole field. If you shaped ridges earlier, this application completes the second fertilization stage. Without ridges, wait until the red beet reaches the next growth stage before fertilizing the field a second time.
Tip! If crop destruction is enabled, use narrow tires when driving through the field after the red beet has started growing.
For maximum yield, check our fertilizing tutorial.
Step 6: Removing weeds
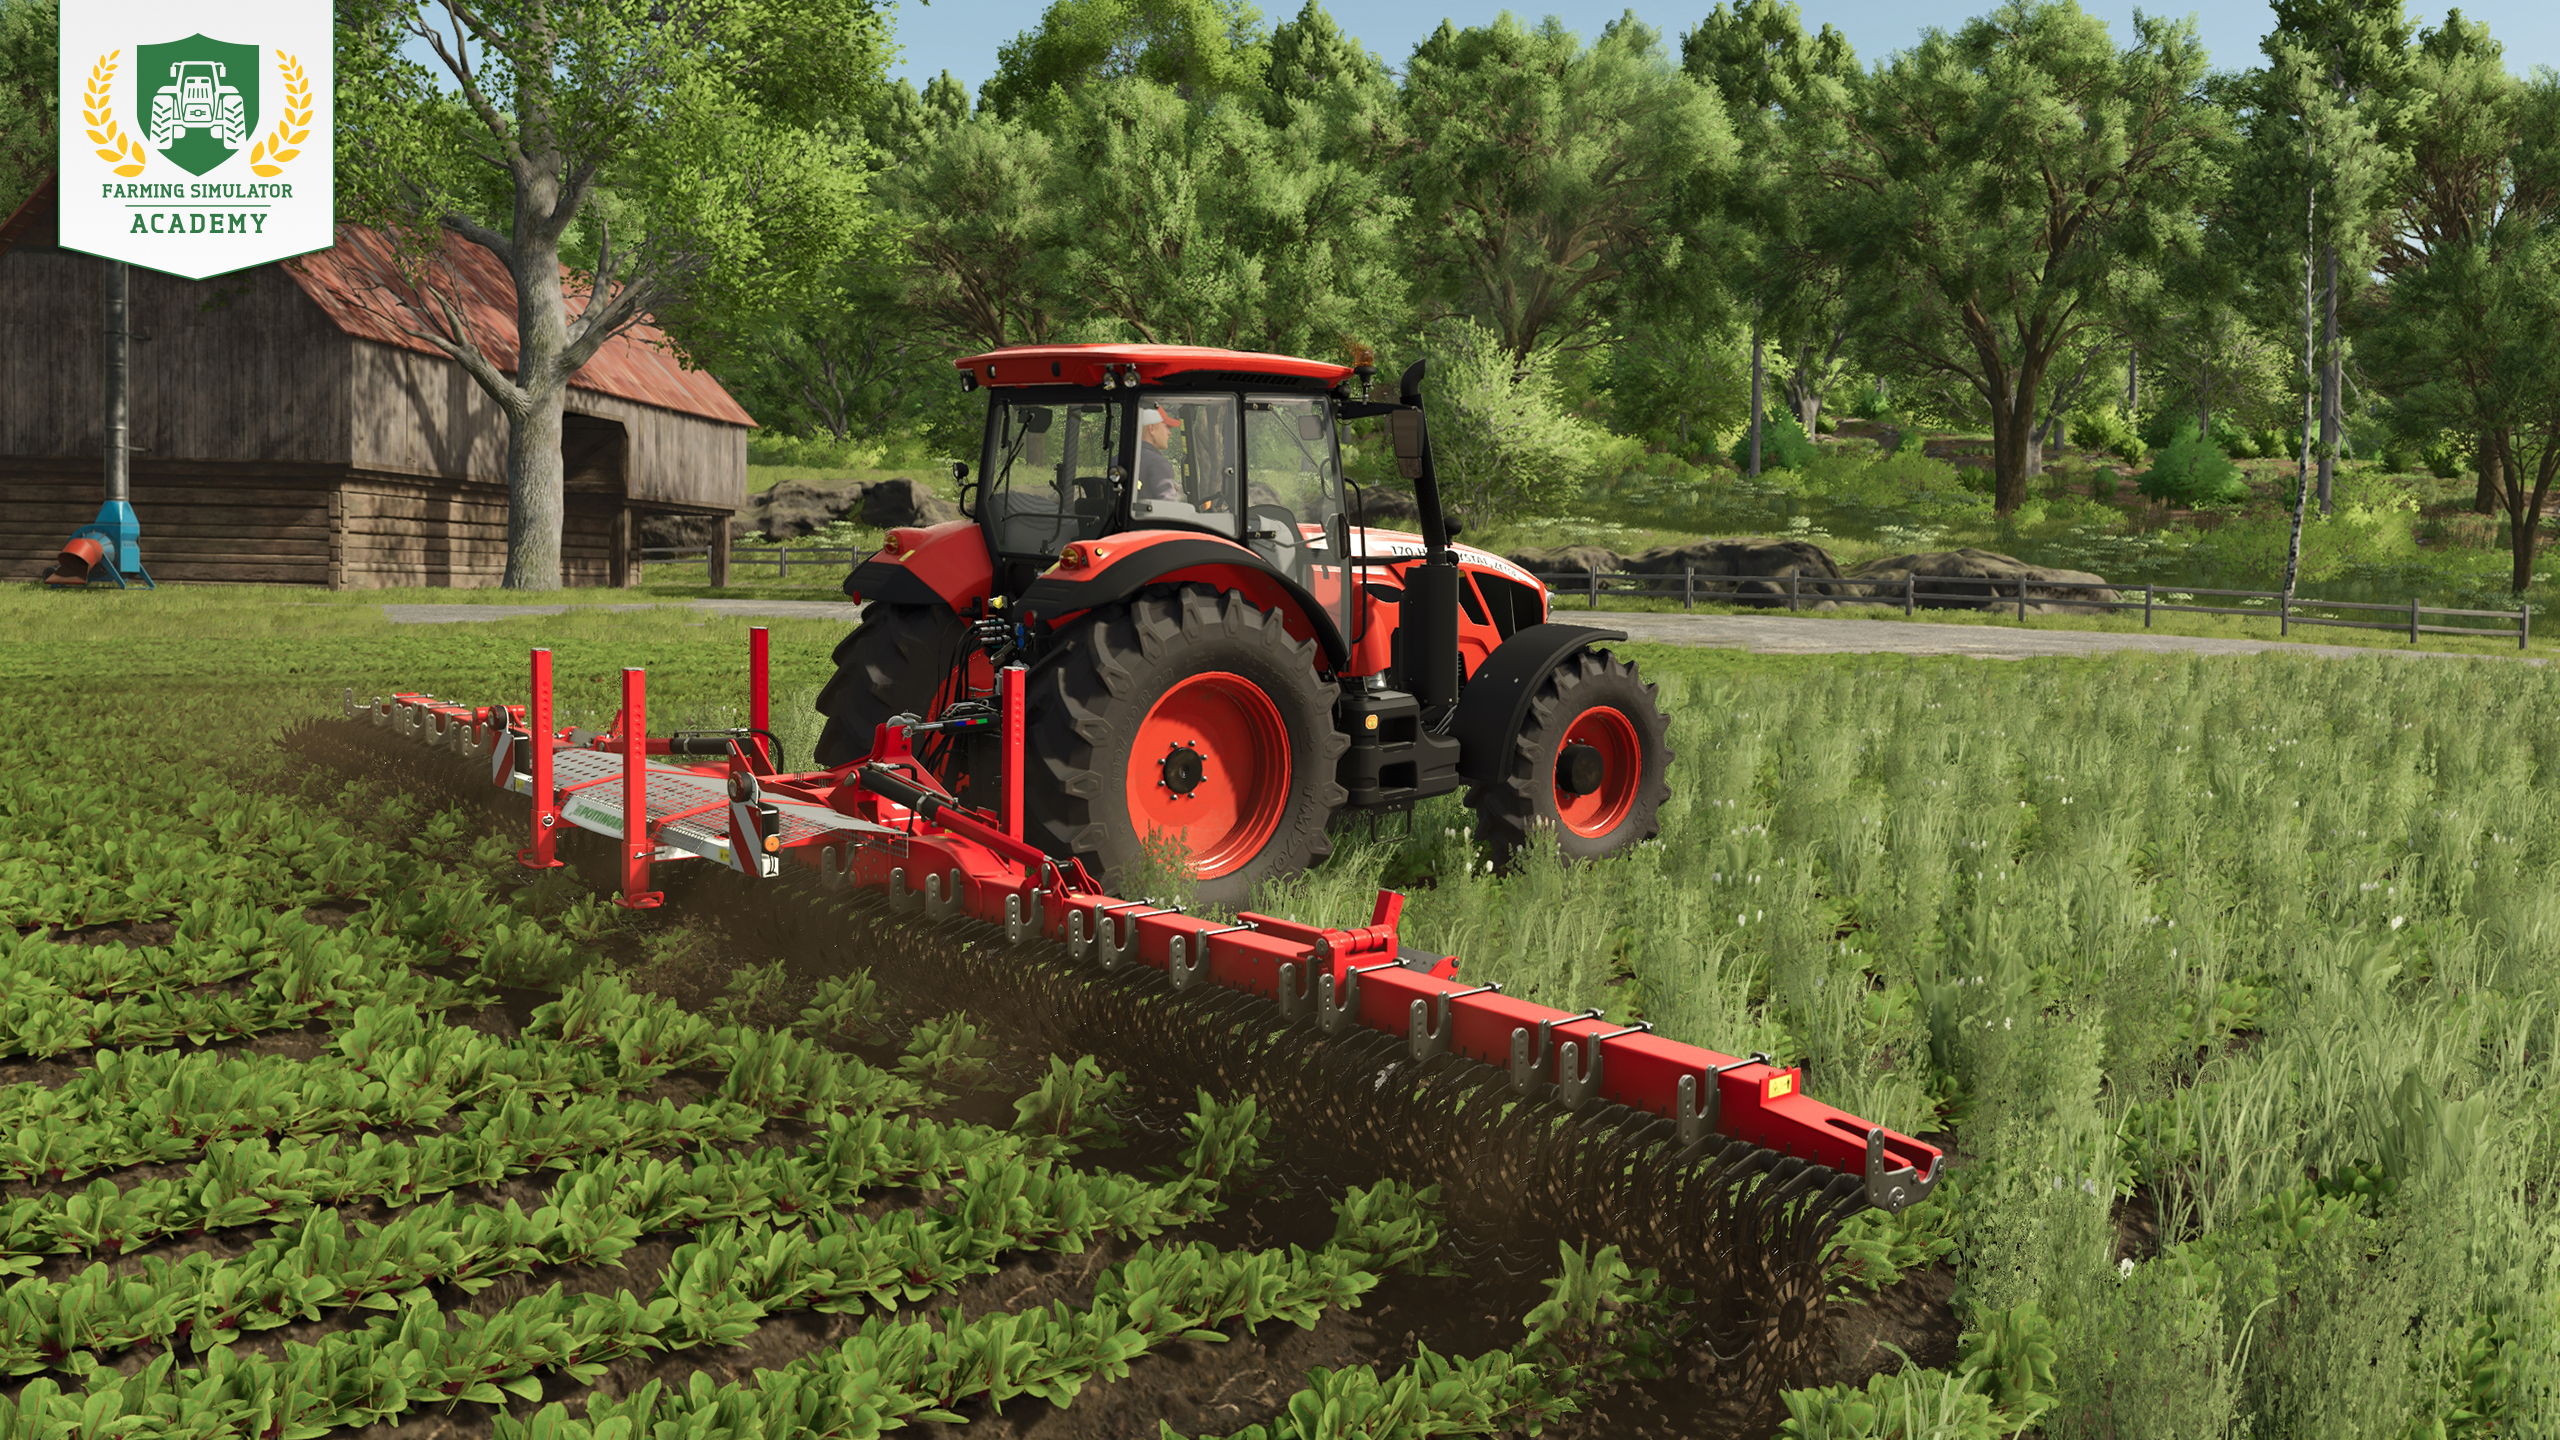
Keep an eye on the field and remove weeds before they can reduce your yield. A hoe works while the weeds are still small enough. Once they become too large, you may have to use a sprayer with herbicide instead.
Not sure which weeding tool to use at which stage? Find out here.
Step 7: Harvesting red beet
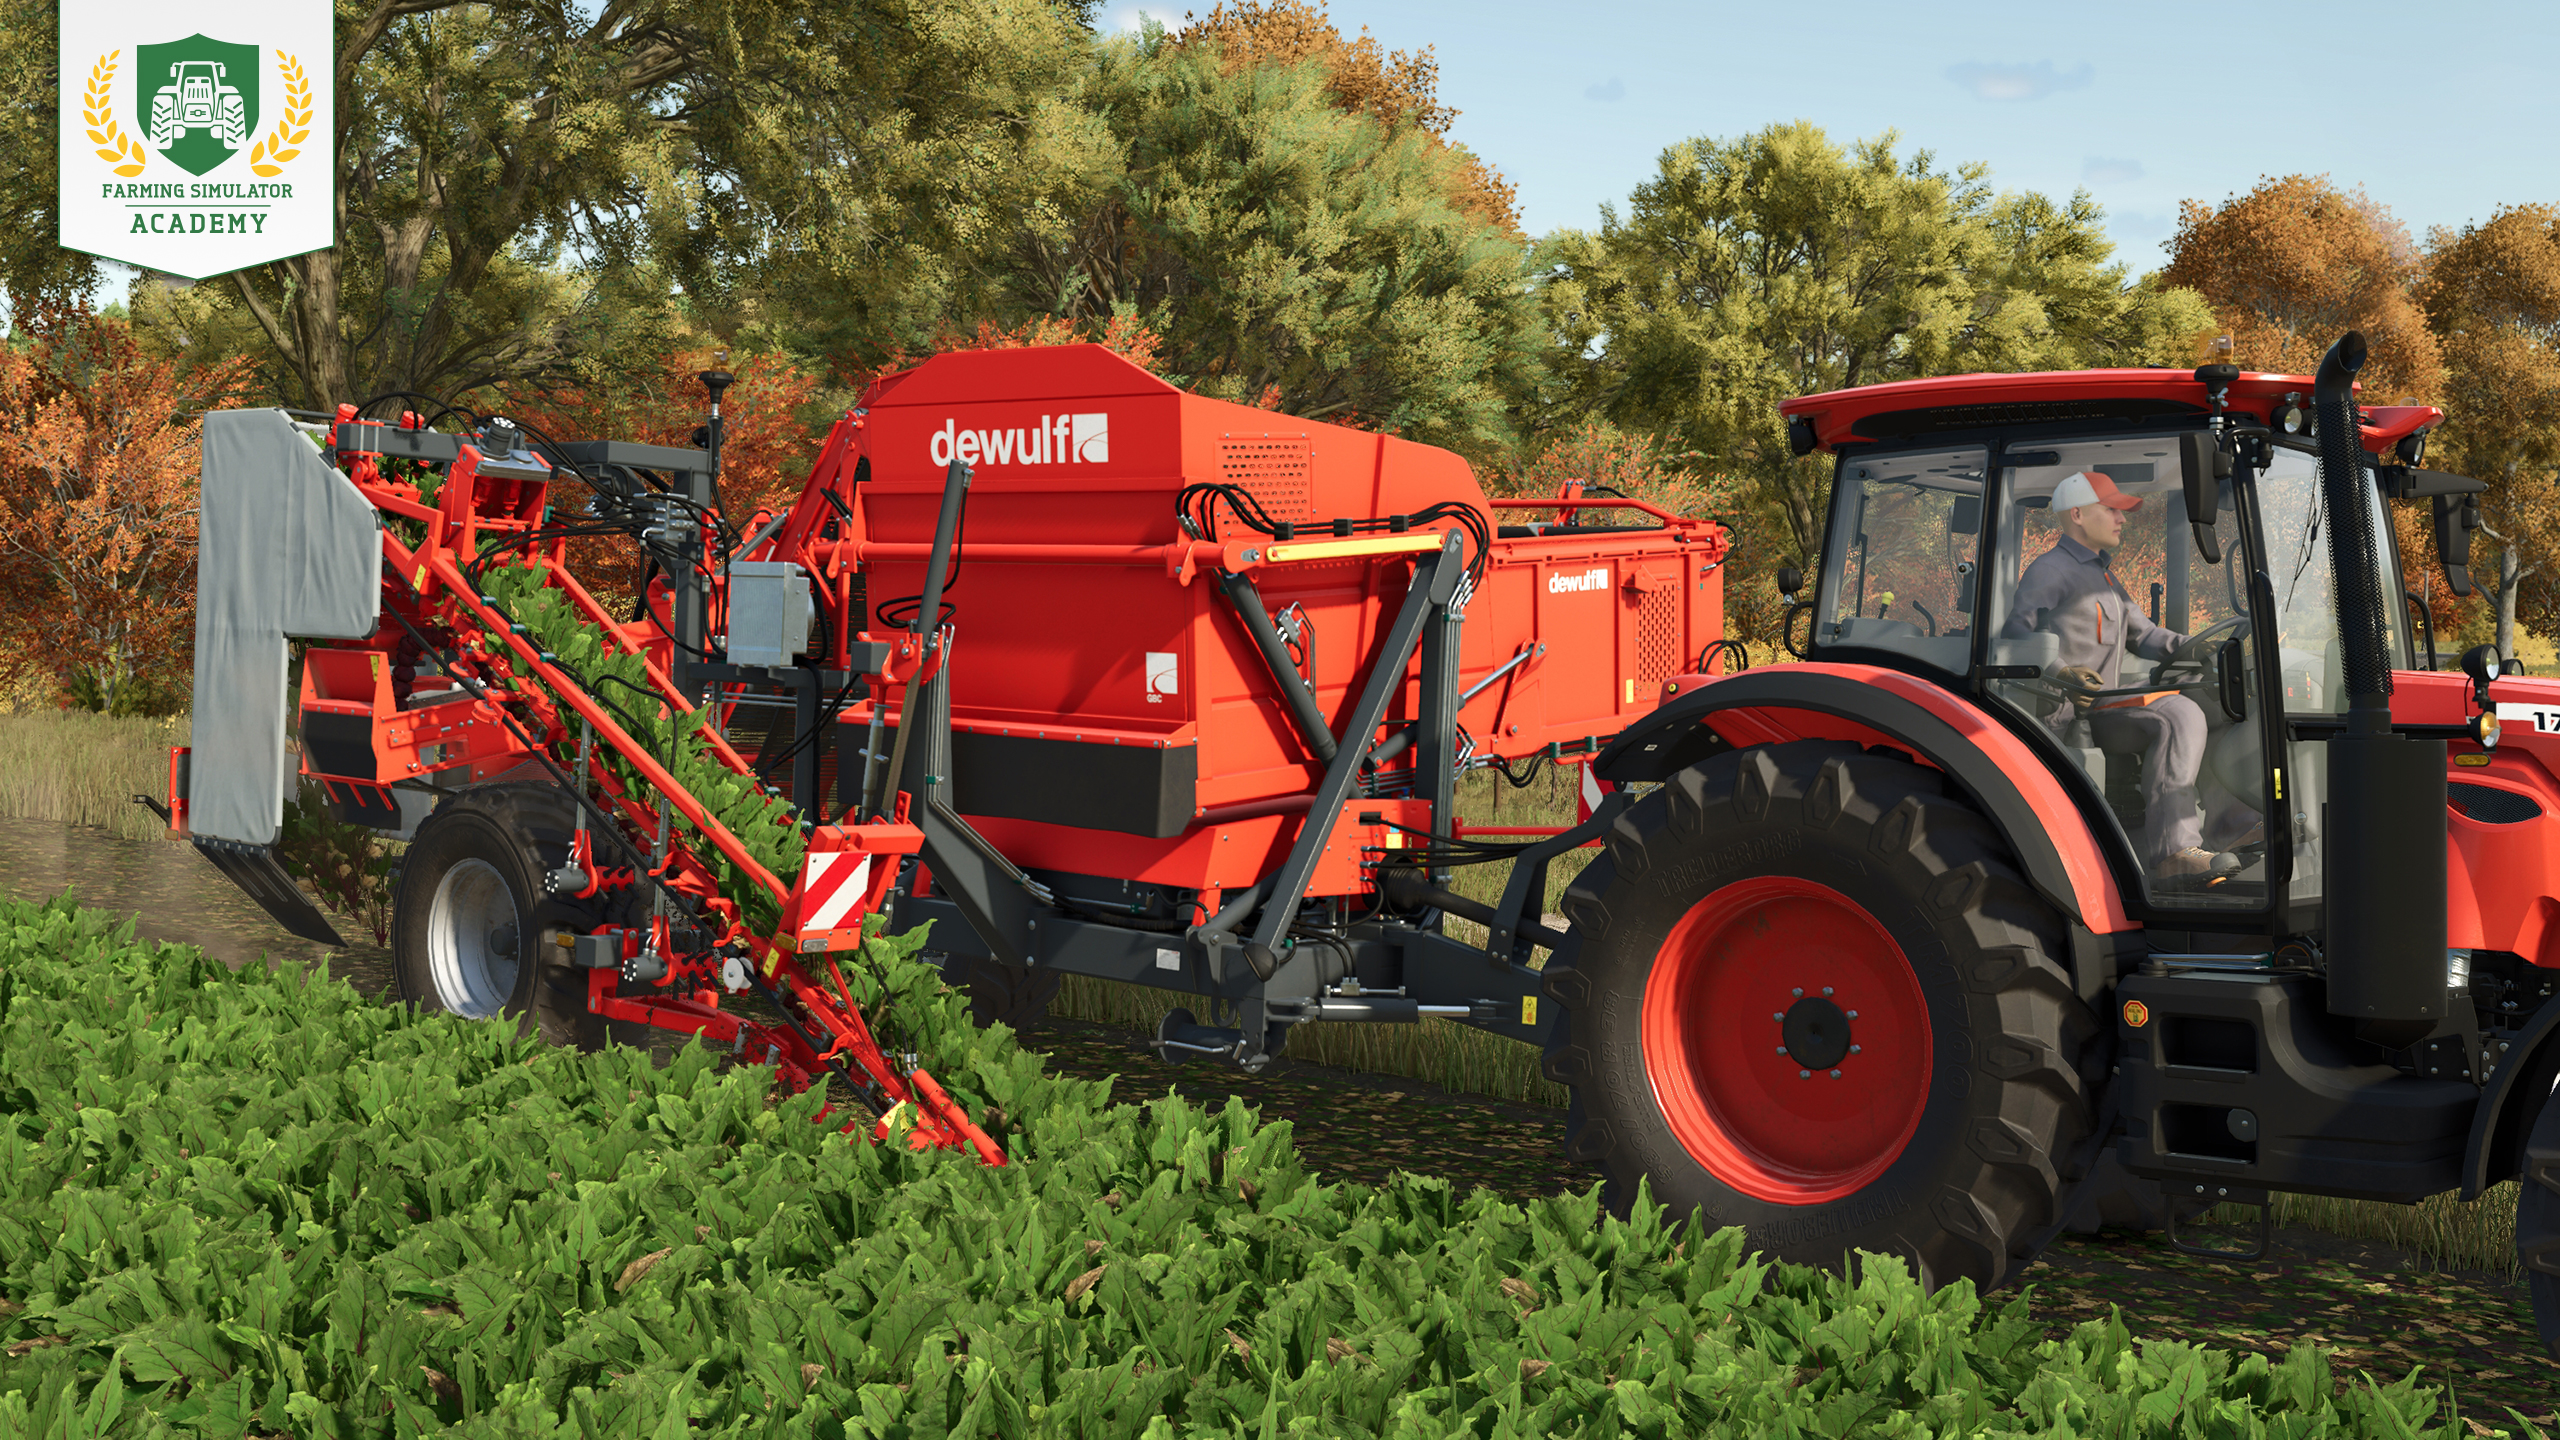
Red beet can be harvested between August and November. Attach your vegetable harvester, lower and activate it, and follow the rows across the field. Transfer the harvested red beet into your trailer whenever necessary.
Step 8: Selling red beet
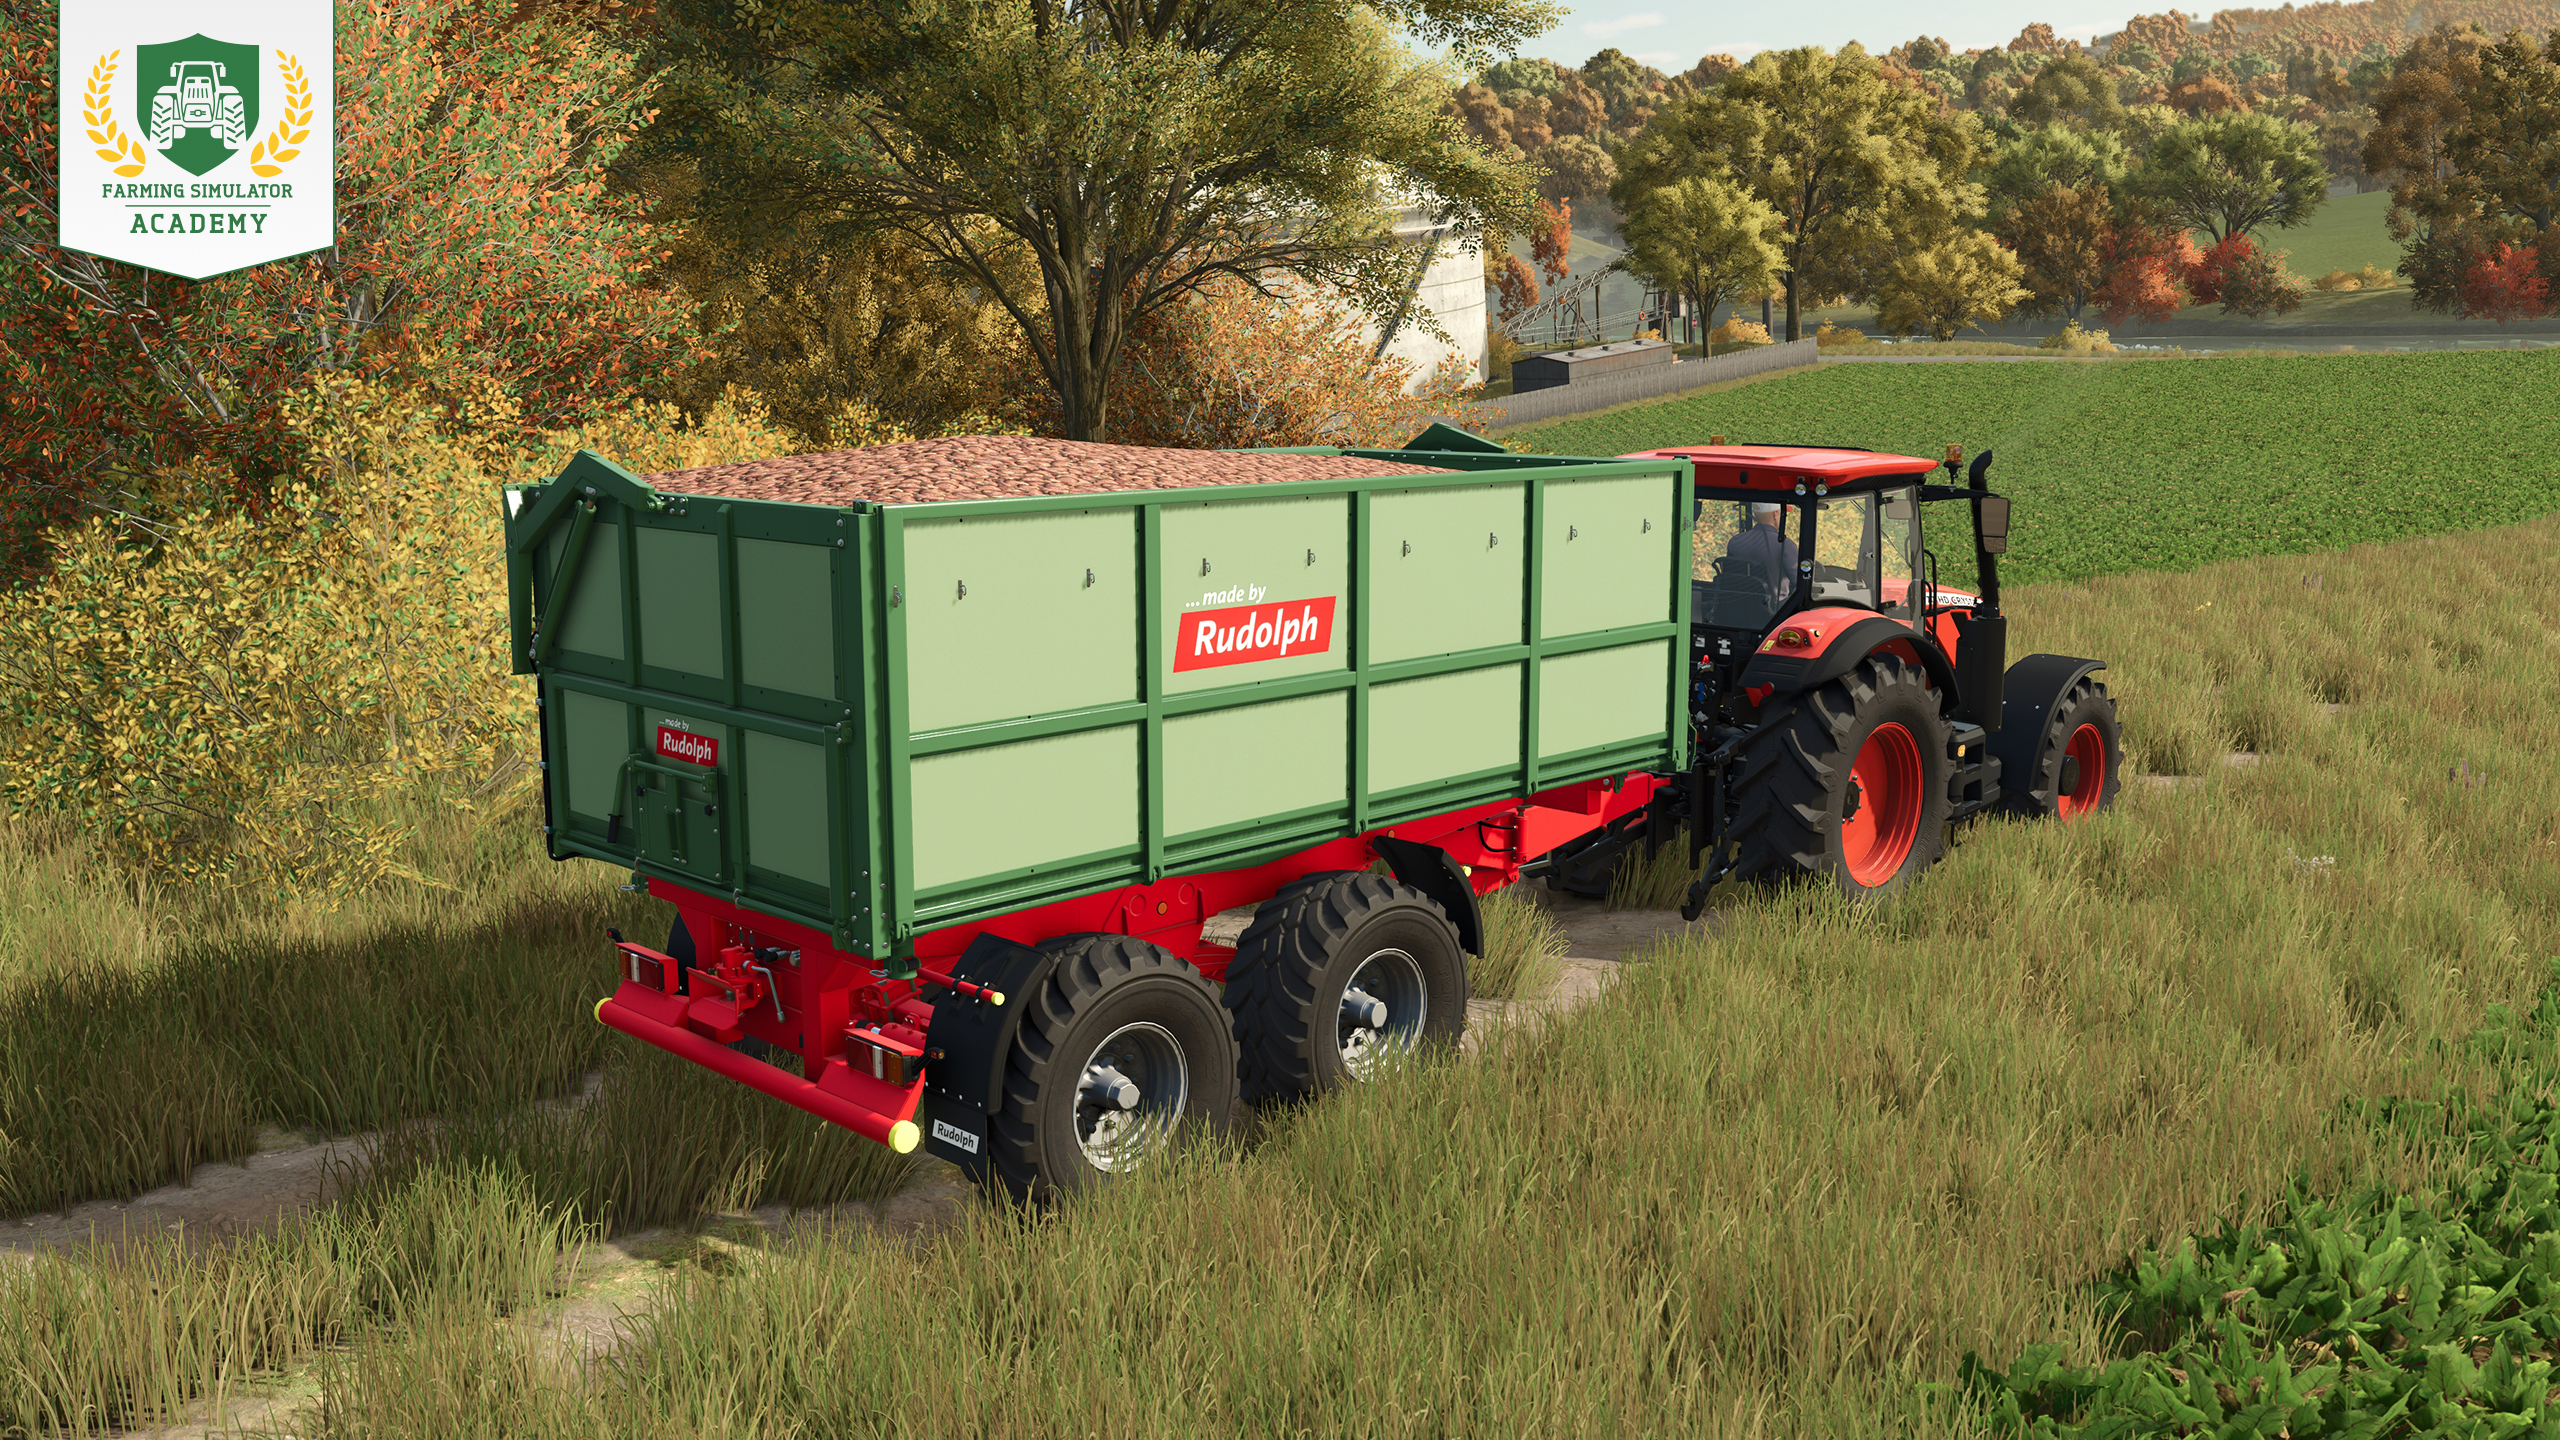
Open the prices screen and look for a selling point that offers a good price for red beet. Transport your harvest there and unload it in the marked area.
You can also wait for prices to improve instead of selling immediately. Just keep in mind that red beet cannot be stored in a regular silo, so you need suitable storage in the meantime.
Processing Red Beet: Products
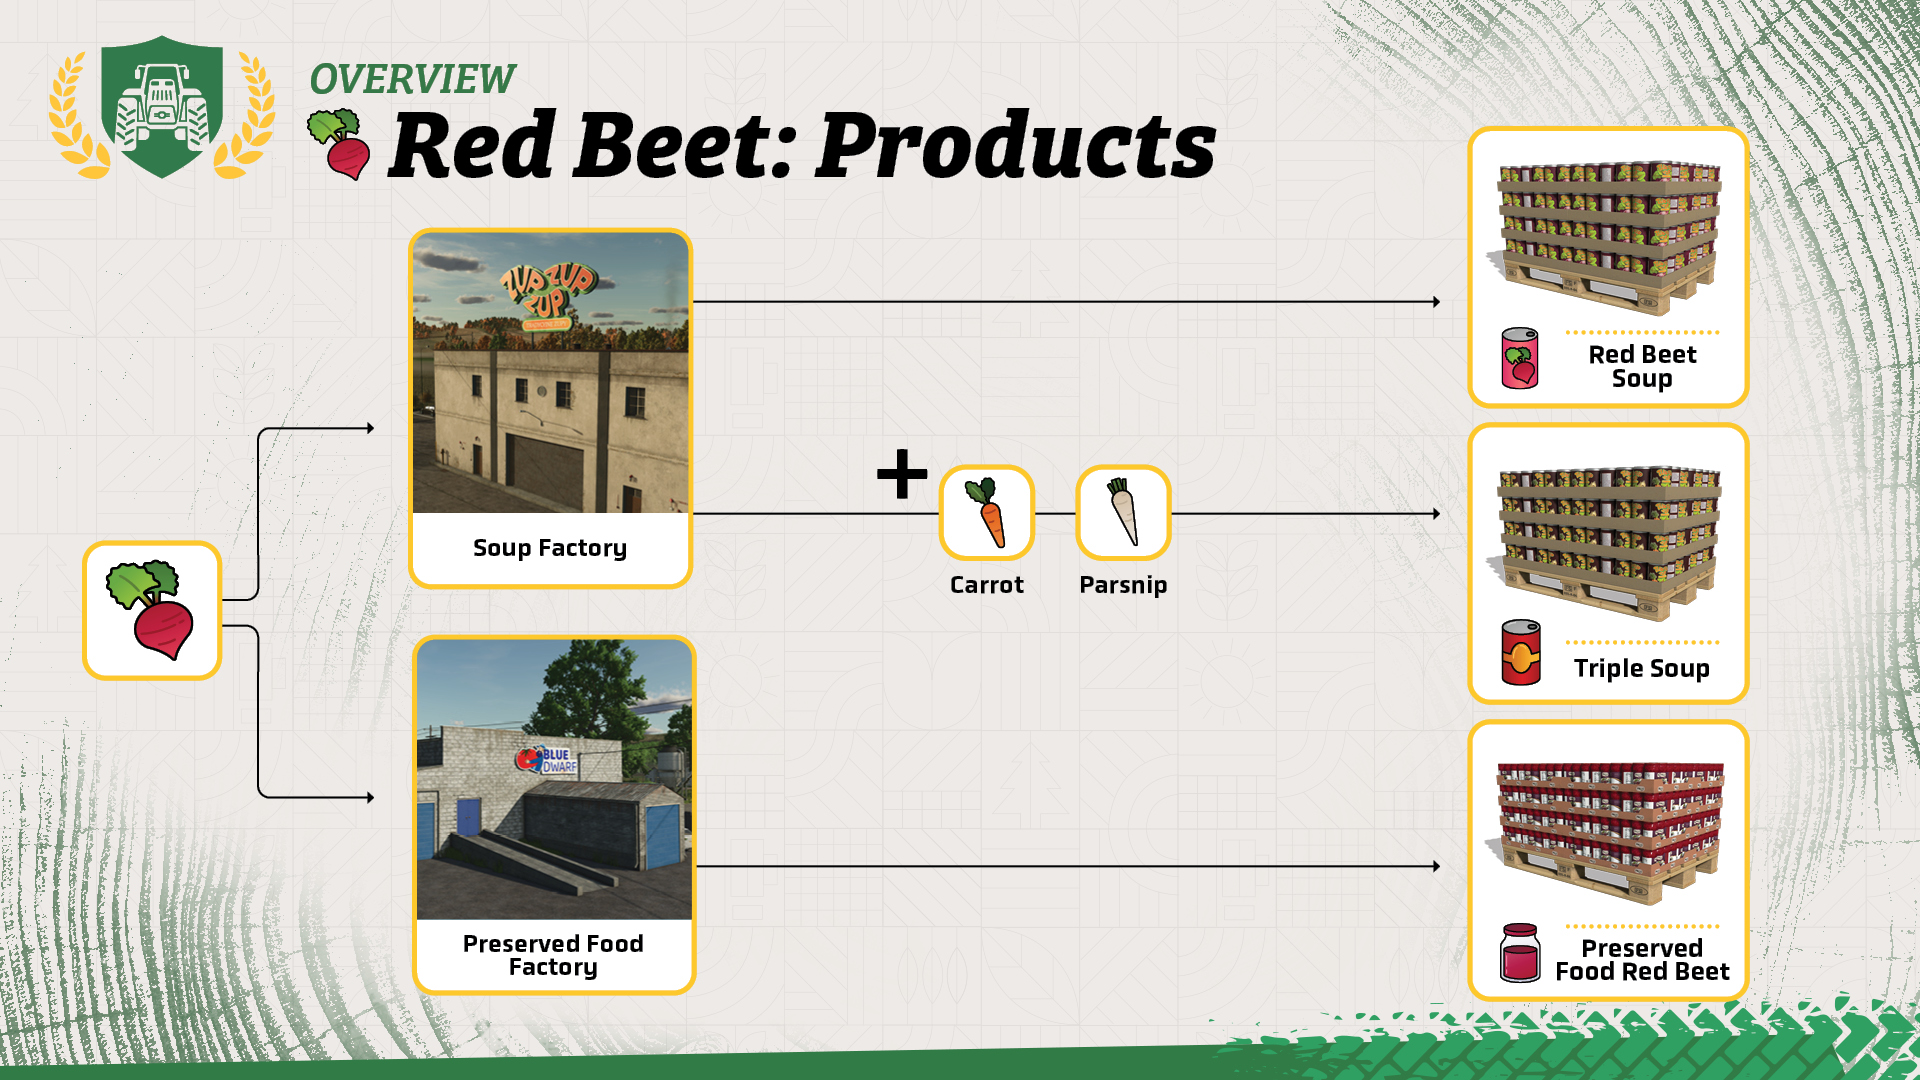
Instead of selling red beet directly, you can turn it into more valuable products. Deliver it to the preserved food factory to produce preserved red beet or to the soup factory to make red beet soup. Combine red beet with carrots and parsnips at the soup factory to produce triple soup.
Well Done!
Congratulations! You now know the basics of growing and harvesting red beet in Farming Simulator. When you’re ready, continue with the next Farming Simulator Academy lesson!


Pumps N' Hoses by @CreativeMesh is available NOW & FREE for Farming Simulator 25! Enjoy new content, 40+ items, manure separation, biogas & more. Also available: Patch 1.23 with bug fixes, improvements & some new additions for modding. 🛠️ https://t.co/G86wgFzbnb

Beans, Alpacas… and Brahman cattle! 🐄🌱 Meet another new animal coming with the Farming Simulator 25: Beans & Alpacas Expansion and learn what makes Brahmans special. 👉 Check out the full preview: https://t.co/b7DzQD6tSZ https://t.co/s19RzlKD0B

🇺🇸 Beans & Alpacas is coming to PAX West! Play the expansion for the first time in the US and meet Farmer Cop at our booth throughout the show! 🦙🌱 https://t.co/4o87swmX6o

🚜 Farming Simulator is at the Farm Progress Show! Visit us at the Fendt Experience Center, jump into the driver’s seat and try out your favorite Fendt in Farming Simulator! 🌾🎮 https://t.co/1oGOQFPpg0

Social Media


Pumps N' Hoses by @CreativeMesh is available NOW & FREE for Farming Simulator 25! Enjoy new content, 40+ items, manure separation, biogas & more. Also available: Patch 1.23 with bug fixes, improvements & some new additions for modding. 🛠️ https://t.co/G86wgFzbnb


