-

-
 Argentina (en)
-
Australia (en)
-
 Belgien (de)
-
Belgique (fr)
-
België (en)
-
 Brasil (en)
-
 Canada (en)
-
Canada (fr)
-
 Česko (en)
-
 Chile (en)
-
 Danmark (en)
-
 Deutschland (de)
-
 España (en)
-
 France (fr)
-
 Hrvatska (en)
-
 Ireland (en)
-
 Italia (en)
-
 Magyarország (en)
-
 Nederland (en)
-
 Norge (en)
-
 Österreich (de)
-
 Polska (pl)
-
 Portugal (en)
-
 România (en)
-
 Schweiz (de)
-
 Slovenija (en)
-
 Slovensko (en)
-
 South Africa (en)
-
 Srbija (en)
-
Suisse (fr)
-
 Suomi (en)
-
 Sverige (en)
-
Svizzera (en)
-
 United Kingdom (en)
-
 United States (en)
-
 Россия (en)
-
 Україна (en)
-
 日本 (en)
-

[Crops 101] How To Sow & Harvest Parsnips
![[Crops 101] How To Sow & Harvest Parsnips](/cms/uploads/news_6a9edad71c03e.jpg)
Welcome to your next “Crops 101” lesson of the Farming Simulator Academy! This time, we show you how to plant, harvest, and process parsnips.
What Is Special About Parsnips?
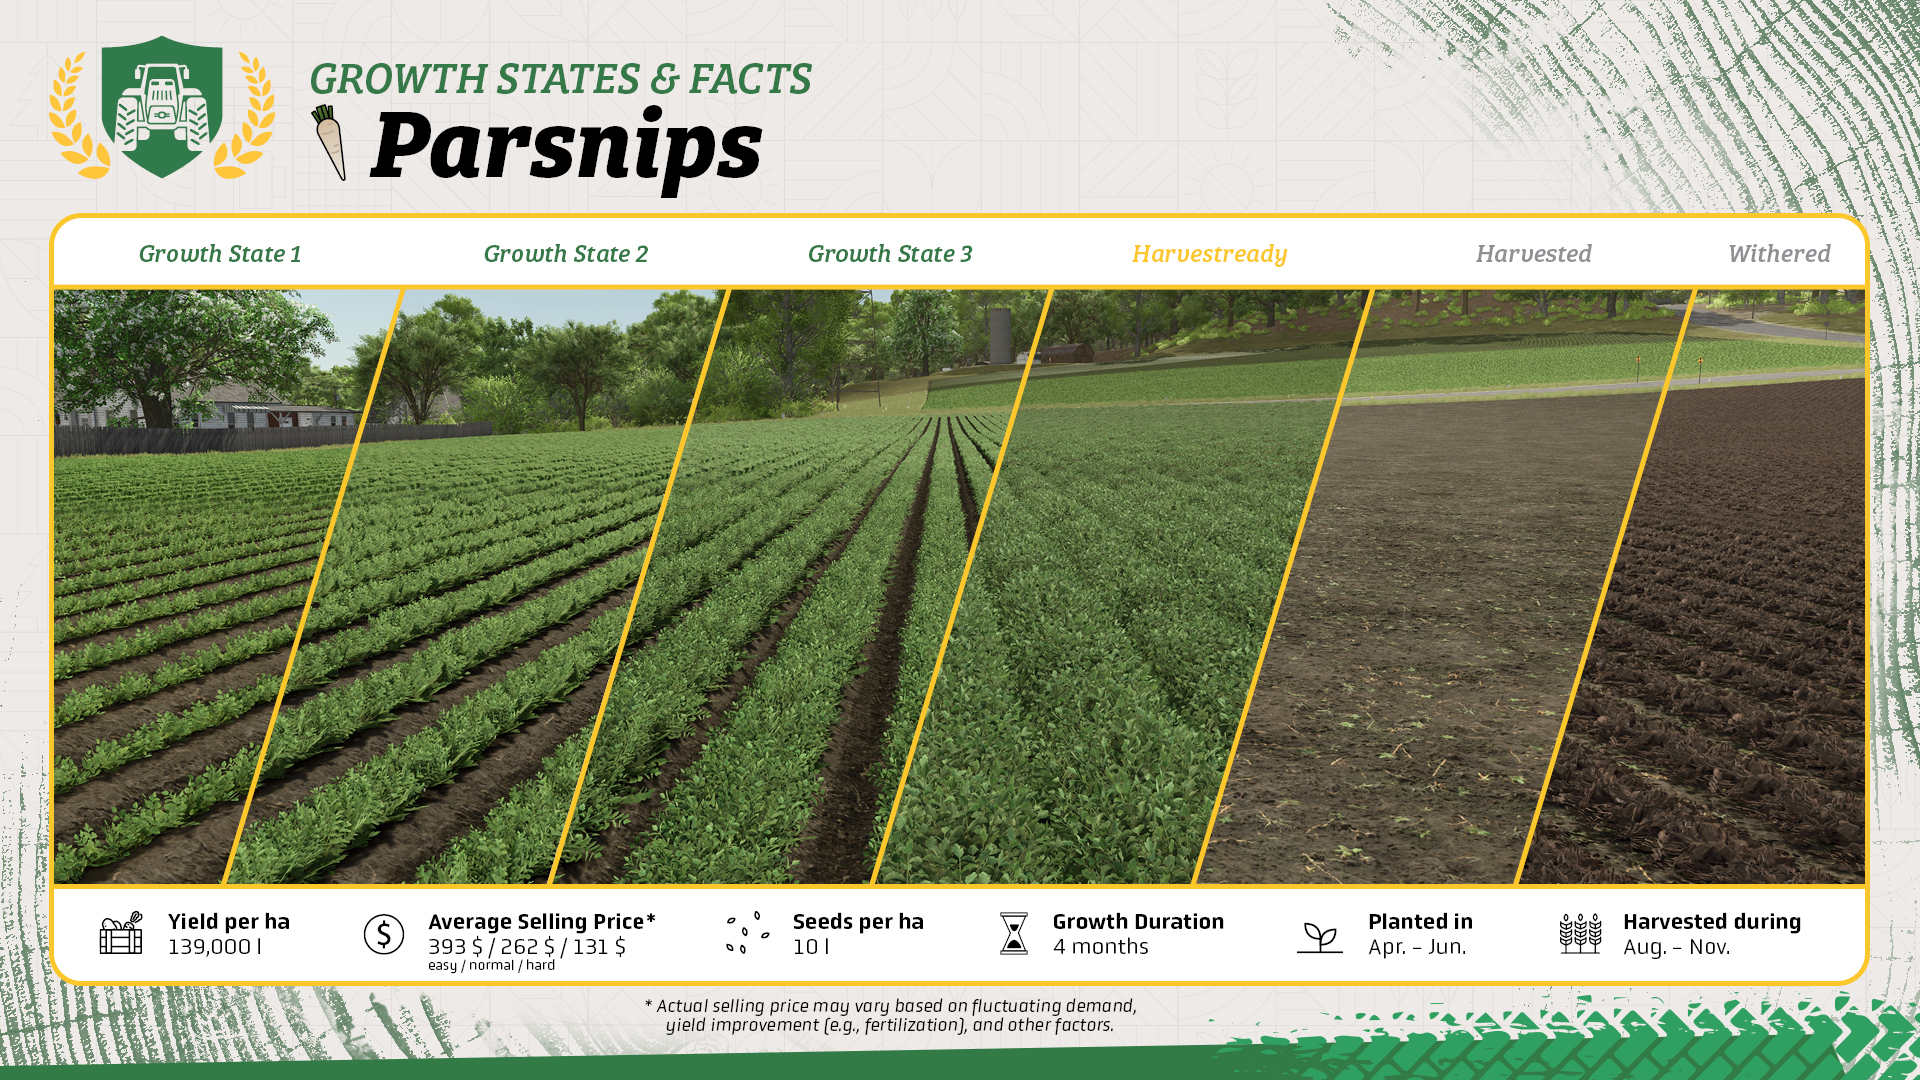
- After harvesting parsnips, the field needs to be plowed again to avoid a yield penalty.
- You can optionally shape ridges before planting. This counts as one fertilization stage and helps you reach the maximum yield.
- You can use parsnips to feed your pigs and horses.
What You Need For Parsnips
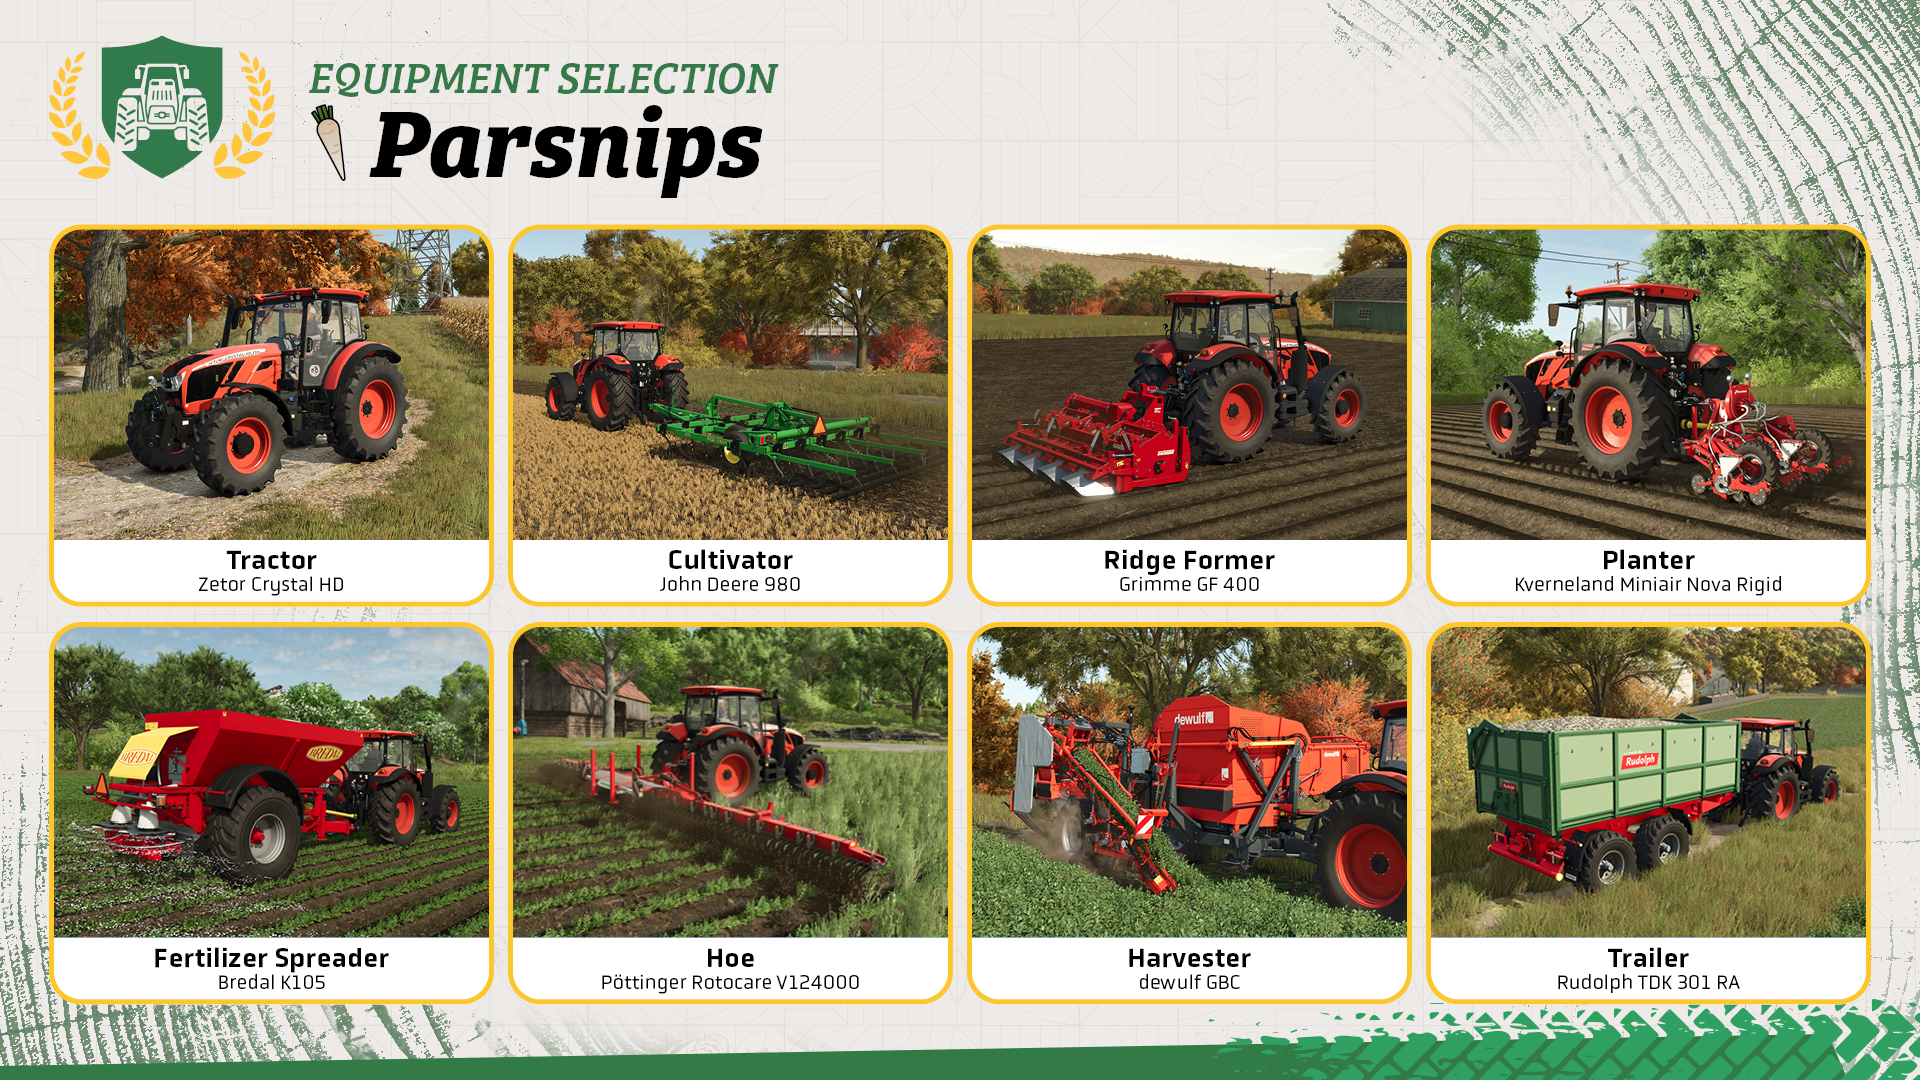
Growing parsnips requires some specialized machinery, especially when it comes to planting and harvesting. Since this equipment can be quite expensive, leasing can be a useful option when you are starting out.
- Tractor: Used to operate most of the following tools.
- Cultivator: Prepares the soil before planting.
- Ridge former: Shapes ridges before planting. This counts as one fertilization stage and helps increase your yield.
- Planter: Plants parsnips and needs to be filled with seeds.
- Fertilizer spreader: Improves your yield. Some spreaders can also apply lime when your field requires it.
- Hoe: Removes weeds while they are still small enough and prevents them from reducing your yield.
- Harvester: A specialized vegetable harvester is required to harvest parsnips.
- Trailer: Transports your harvested parsnips to a selling point or production facility.
Let’s Get To Work!
If seasonal growth is enabled, you can plant parsnips from April until June. Depending on when you plant them, they are ready for harvest between August and November.
Step 1: Applying lime
Before you begin, check the field information box to see whether the field needs lime. If you use the Bredal K105 as your fertilizer spreader, you can fill the same machine with lime and apply it to the field.
Step 2: Cultivating the field
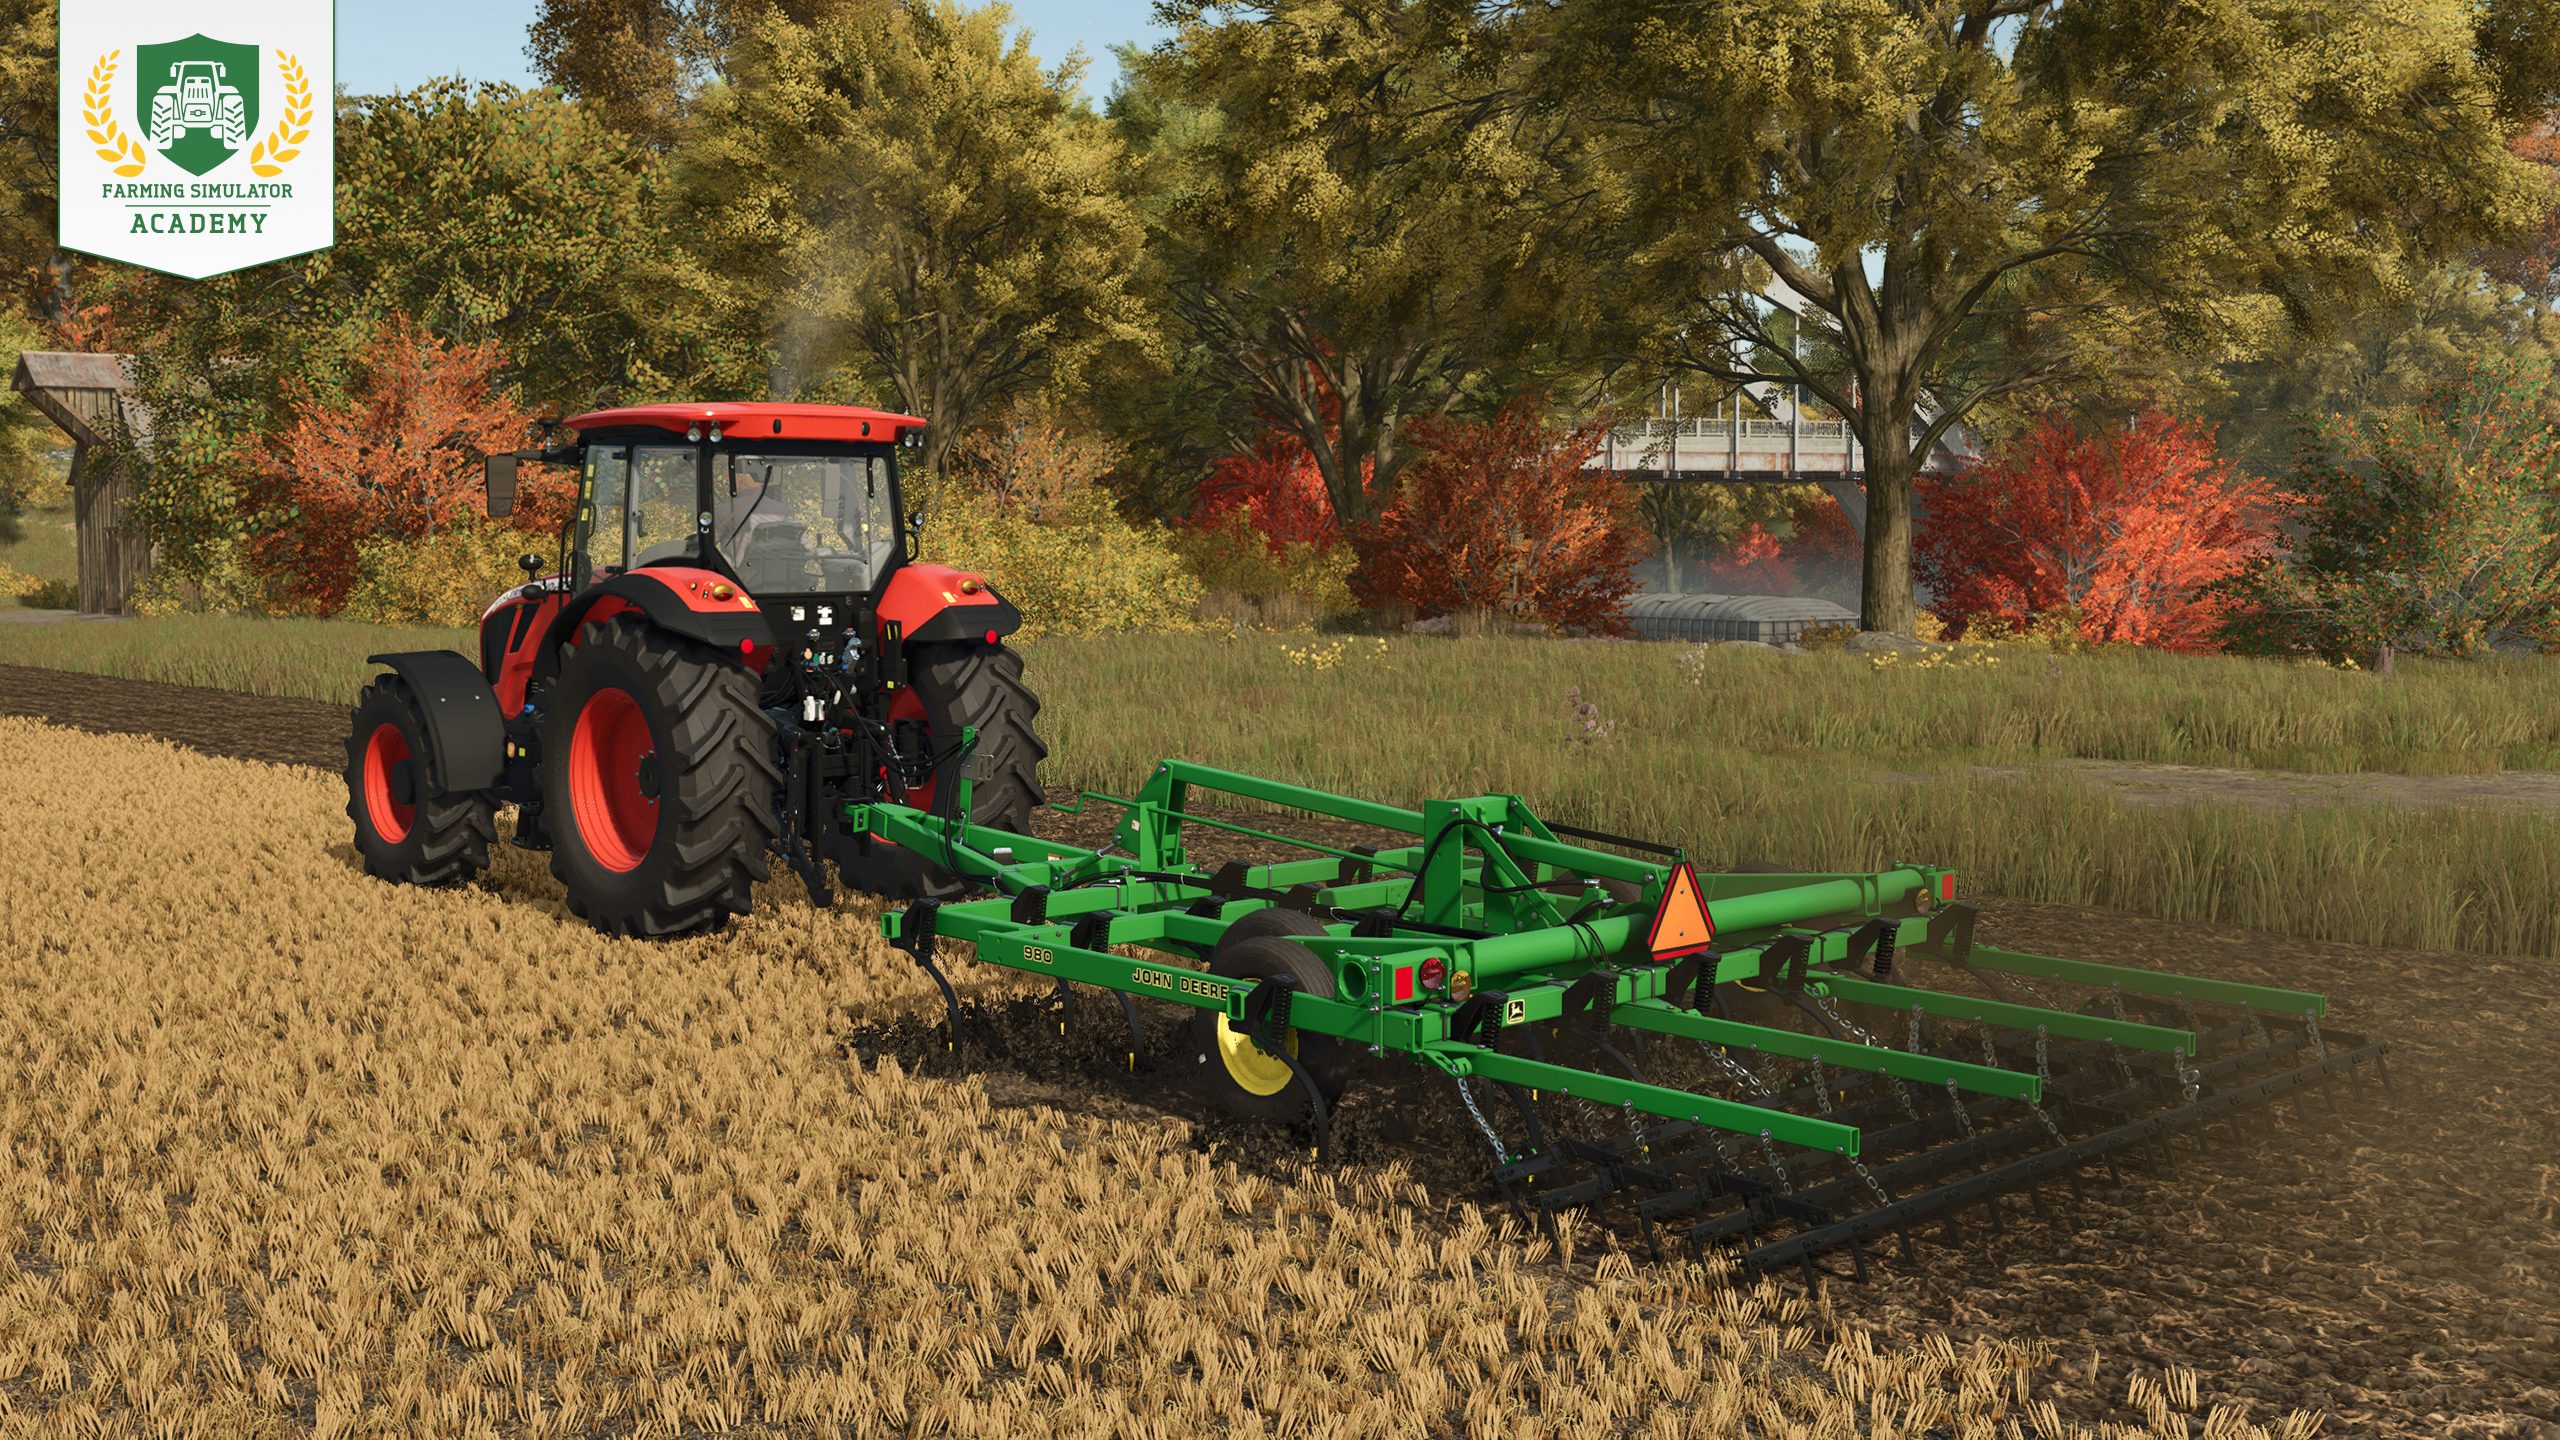
Check the field information before preparing the soil. If the field requires plowing, use a plow instead. Otherwise, attach your cultivator, lower it into the ground, and work across the entire field.
Tip! Once you have harvested the parsnips, you need to plow the field before growing the next crop to remove the deep roots.
Take a closer look at plowing and cultivating in our Academy guide.
Step 3: Shaping ridges (optional)
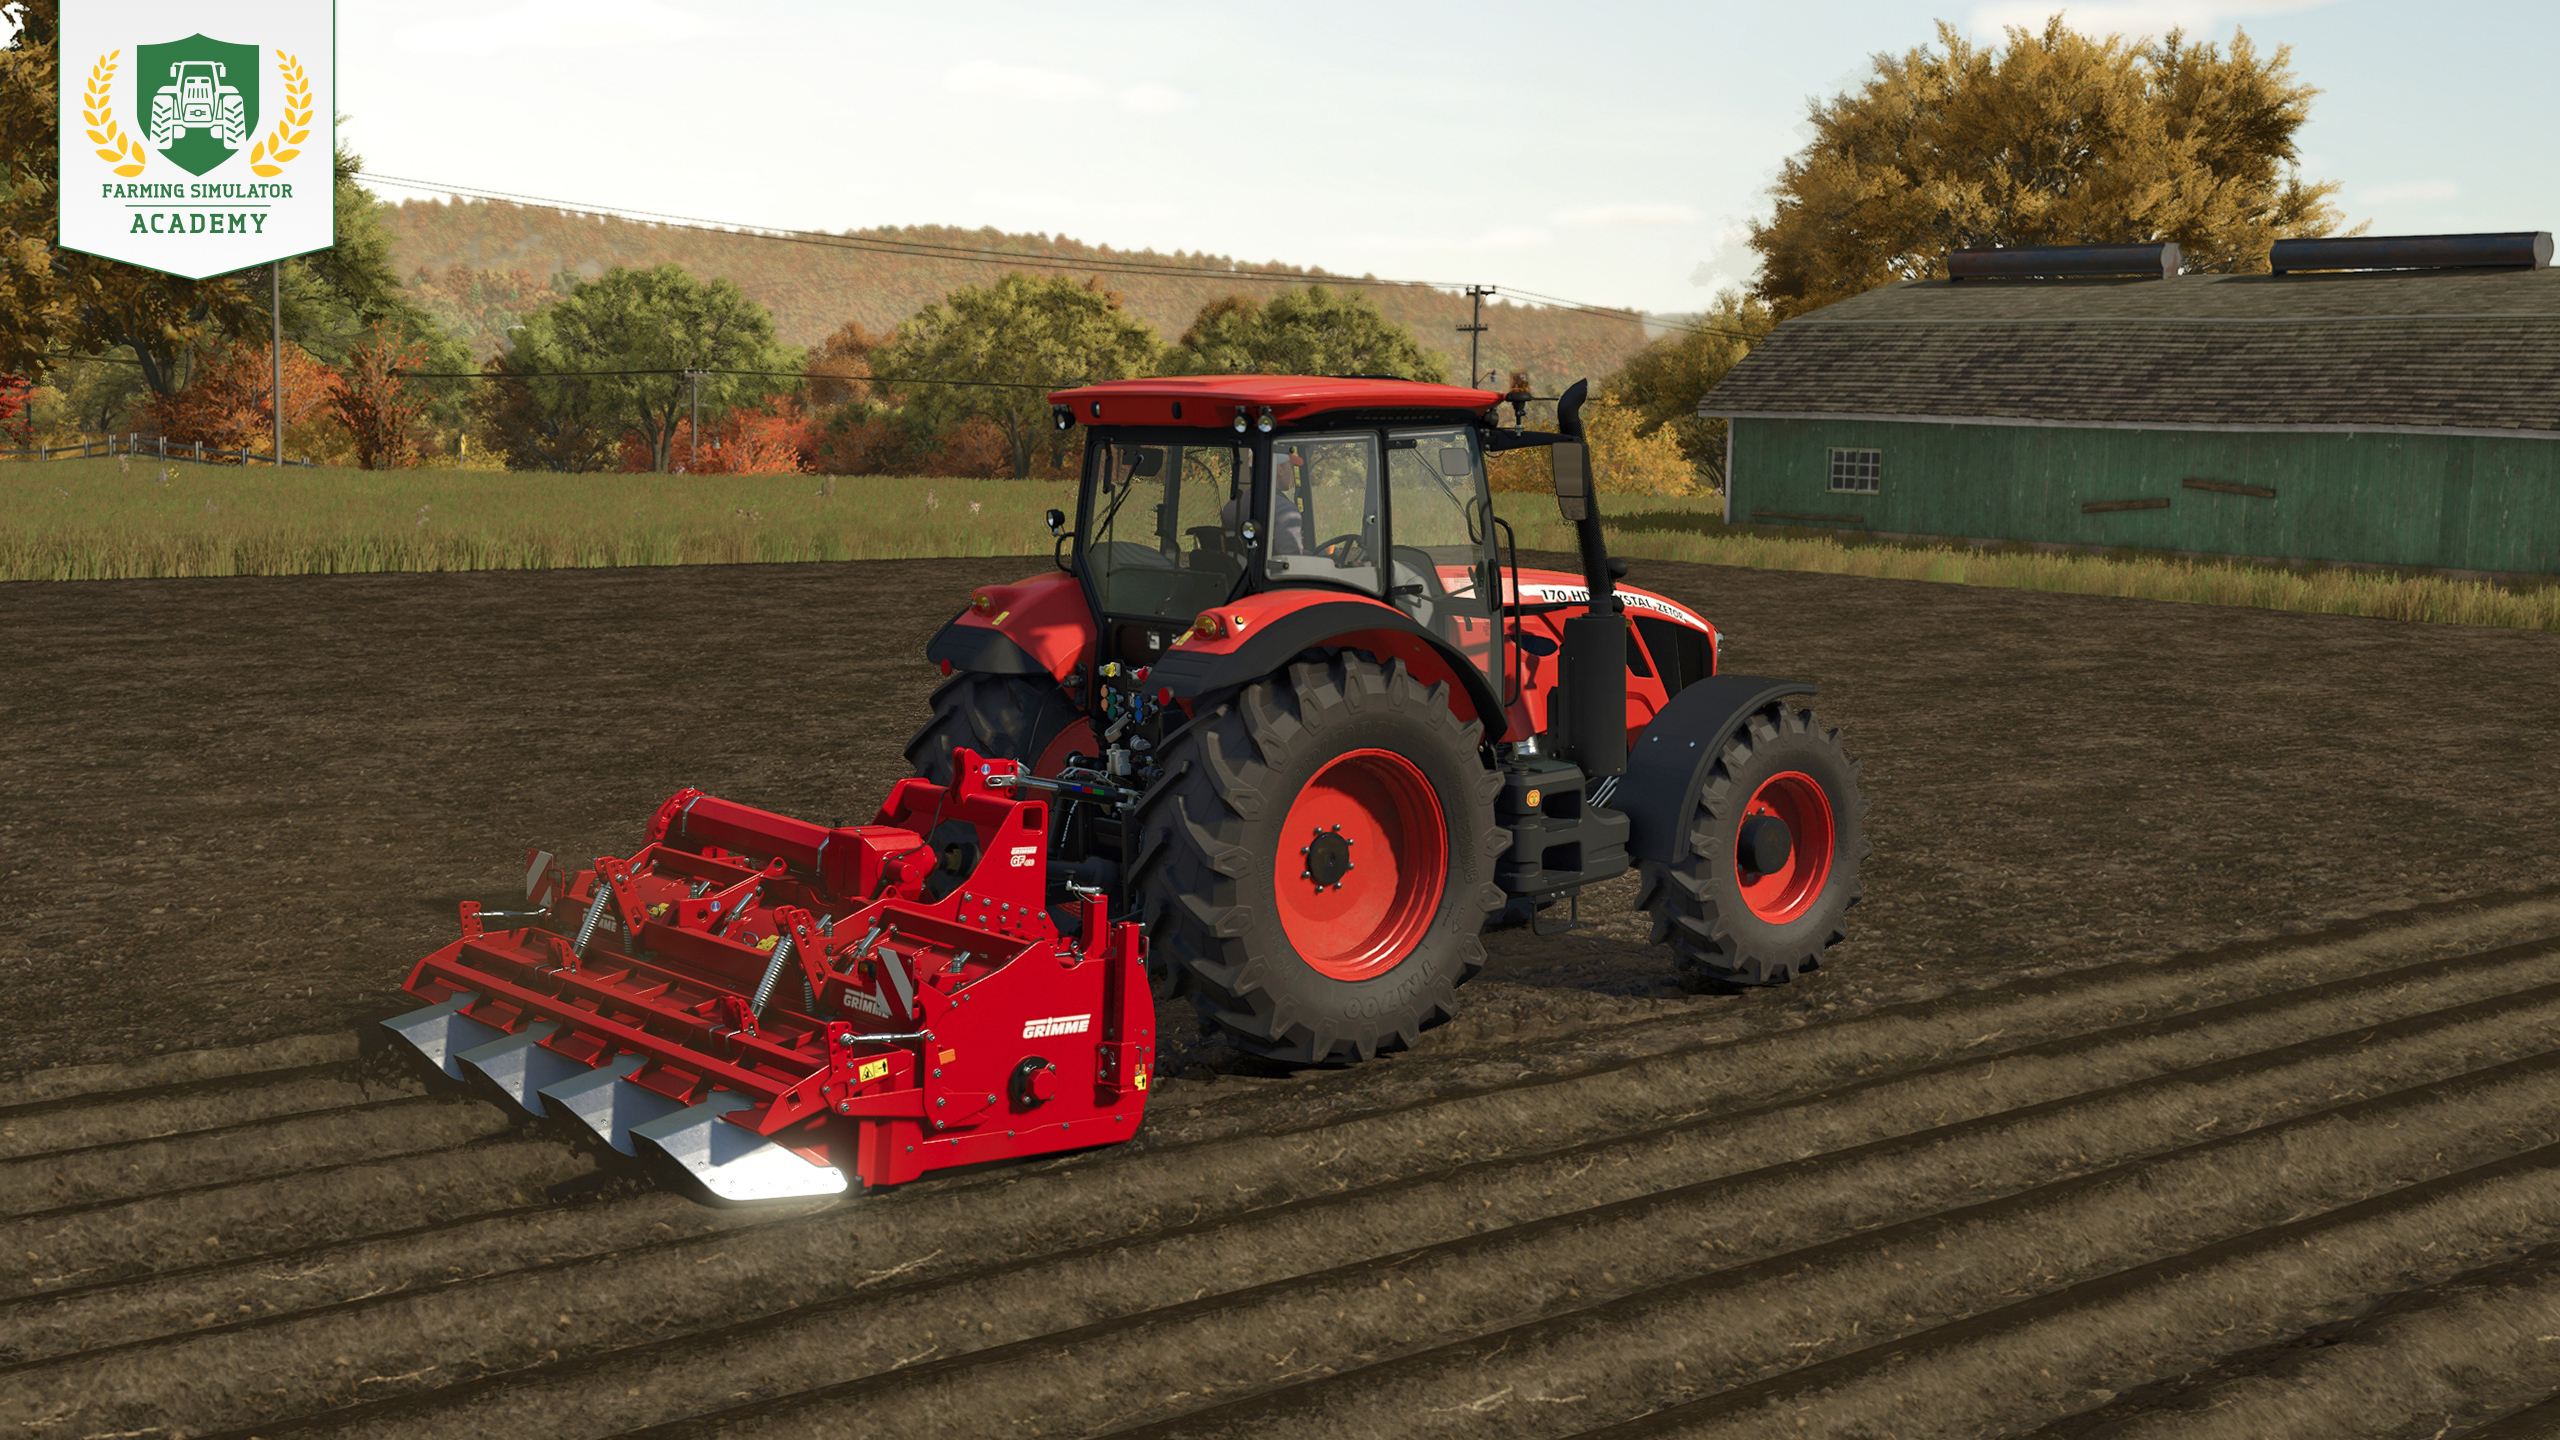
Attach the ridge former, lower it onto the field, and begin at one side. Continue row by row until the entire field is shaped into ridges. This step is optional, but it provides one fertilization stage. If you leave it out, you can achieve full fertilization by applying fertilizer twice with a growth stage between the applications.
Step 4: Planting parsnips
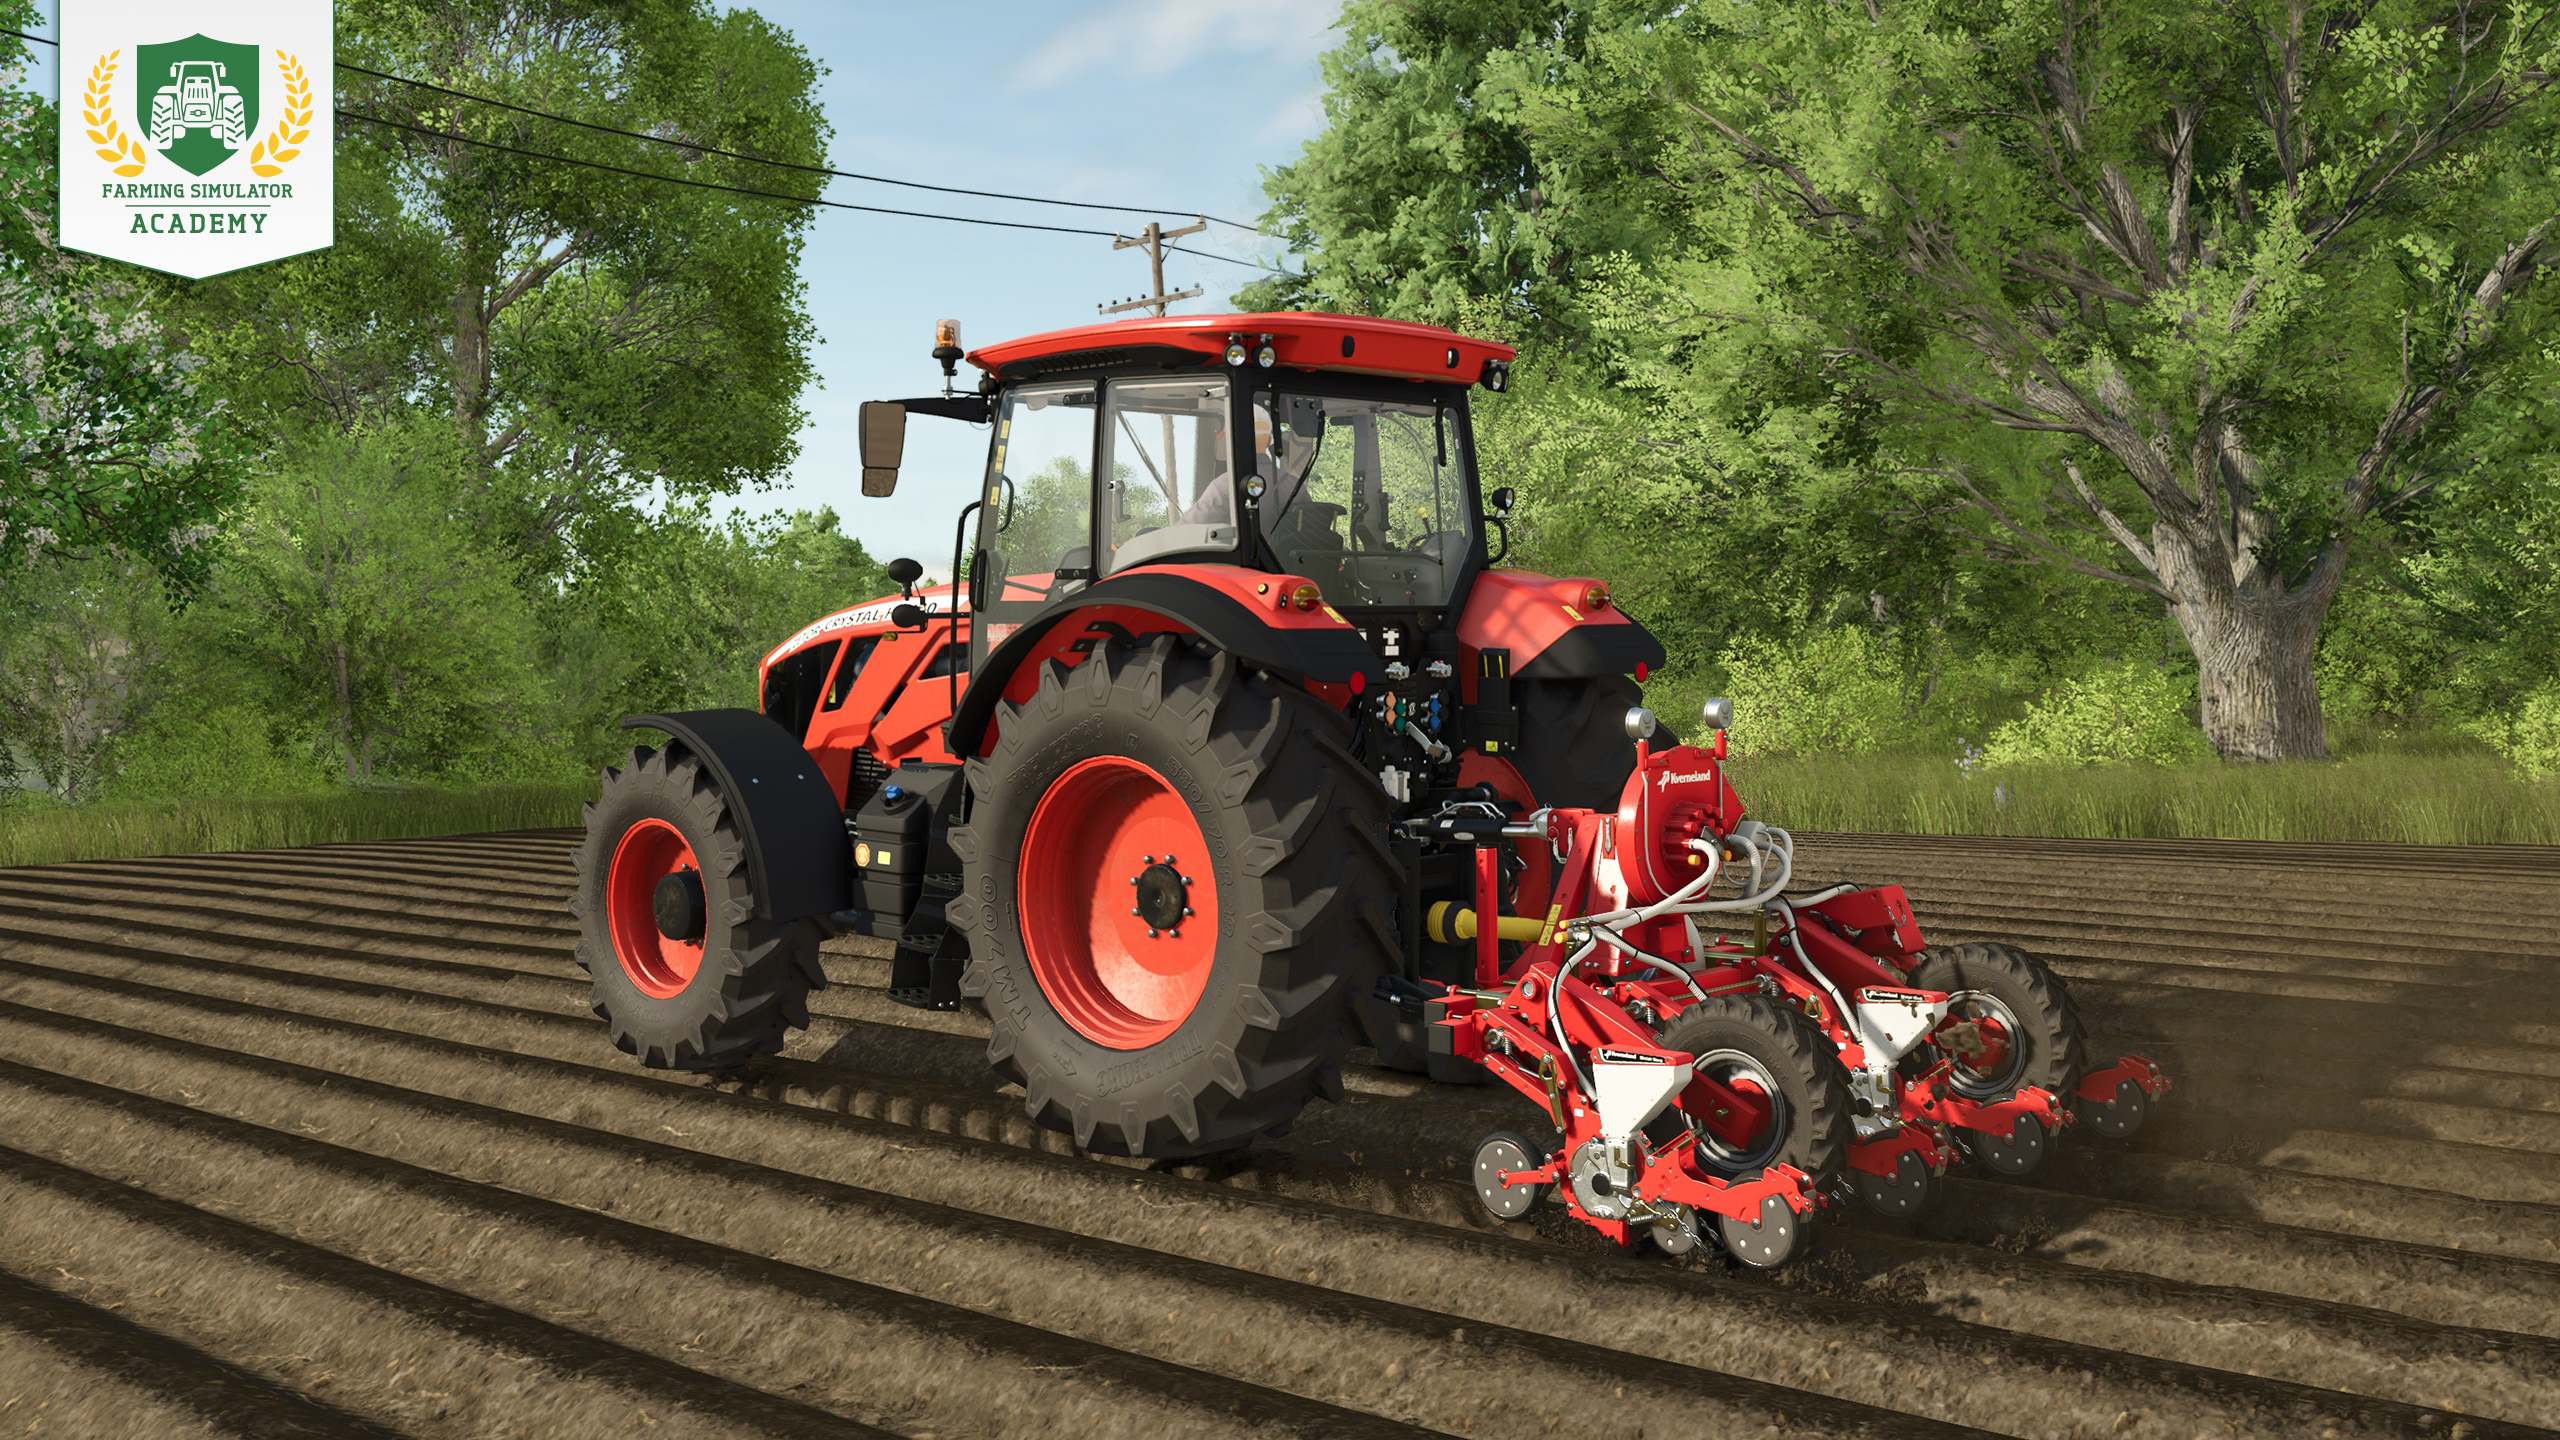
Fill your planter with seeds and select parsnips as the crop. Position yourself along one side of the field, lower and activate the planter, and plant the entire field row by row.
Need more details on seeding and planting?
Step 5: Fertilizing
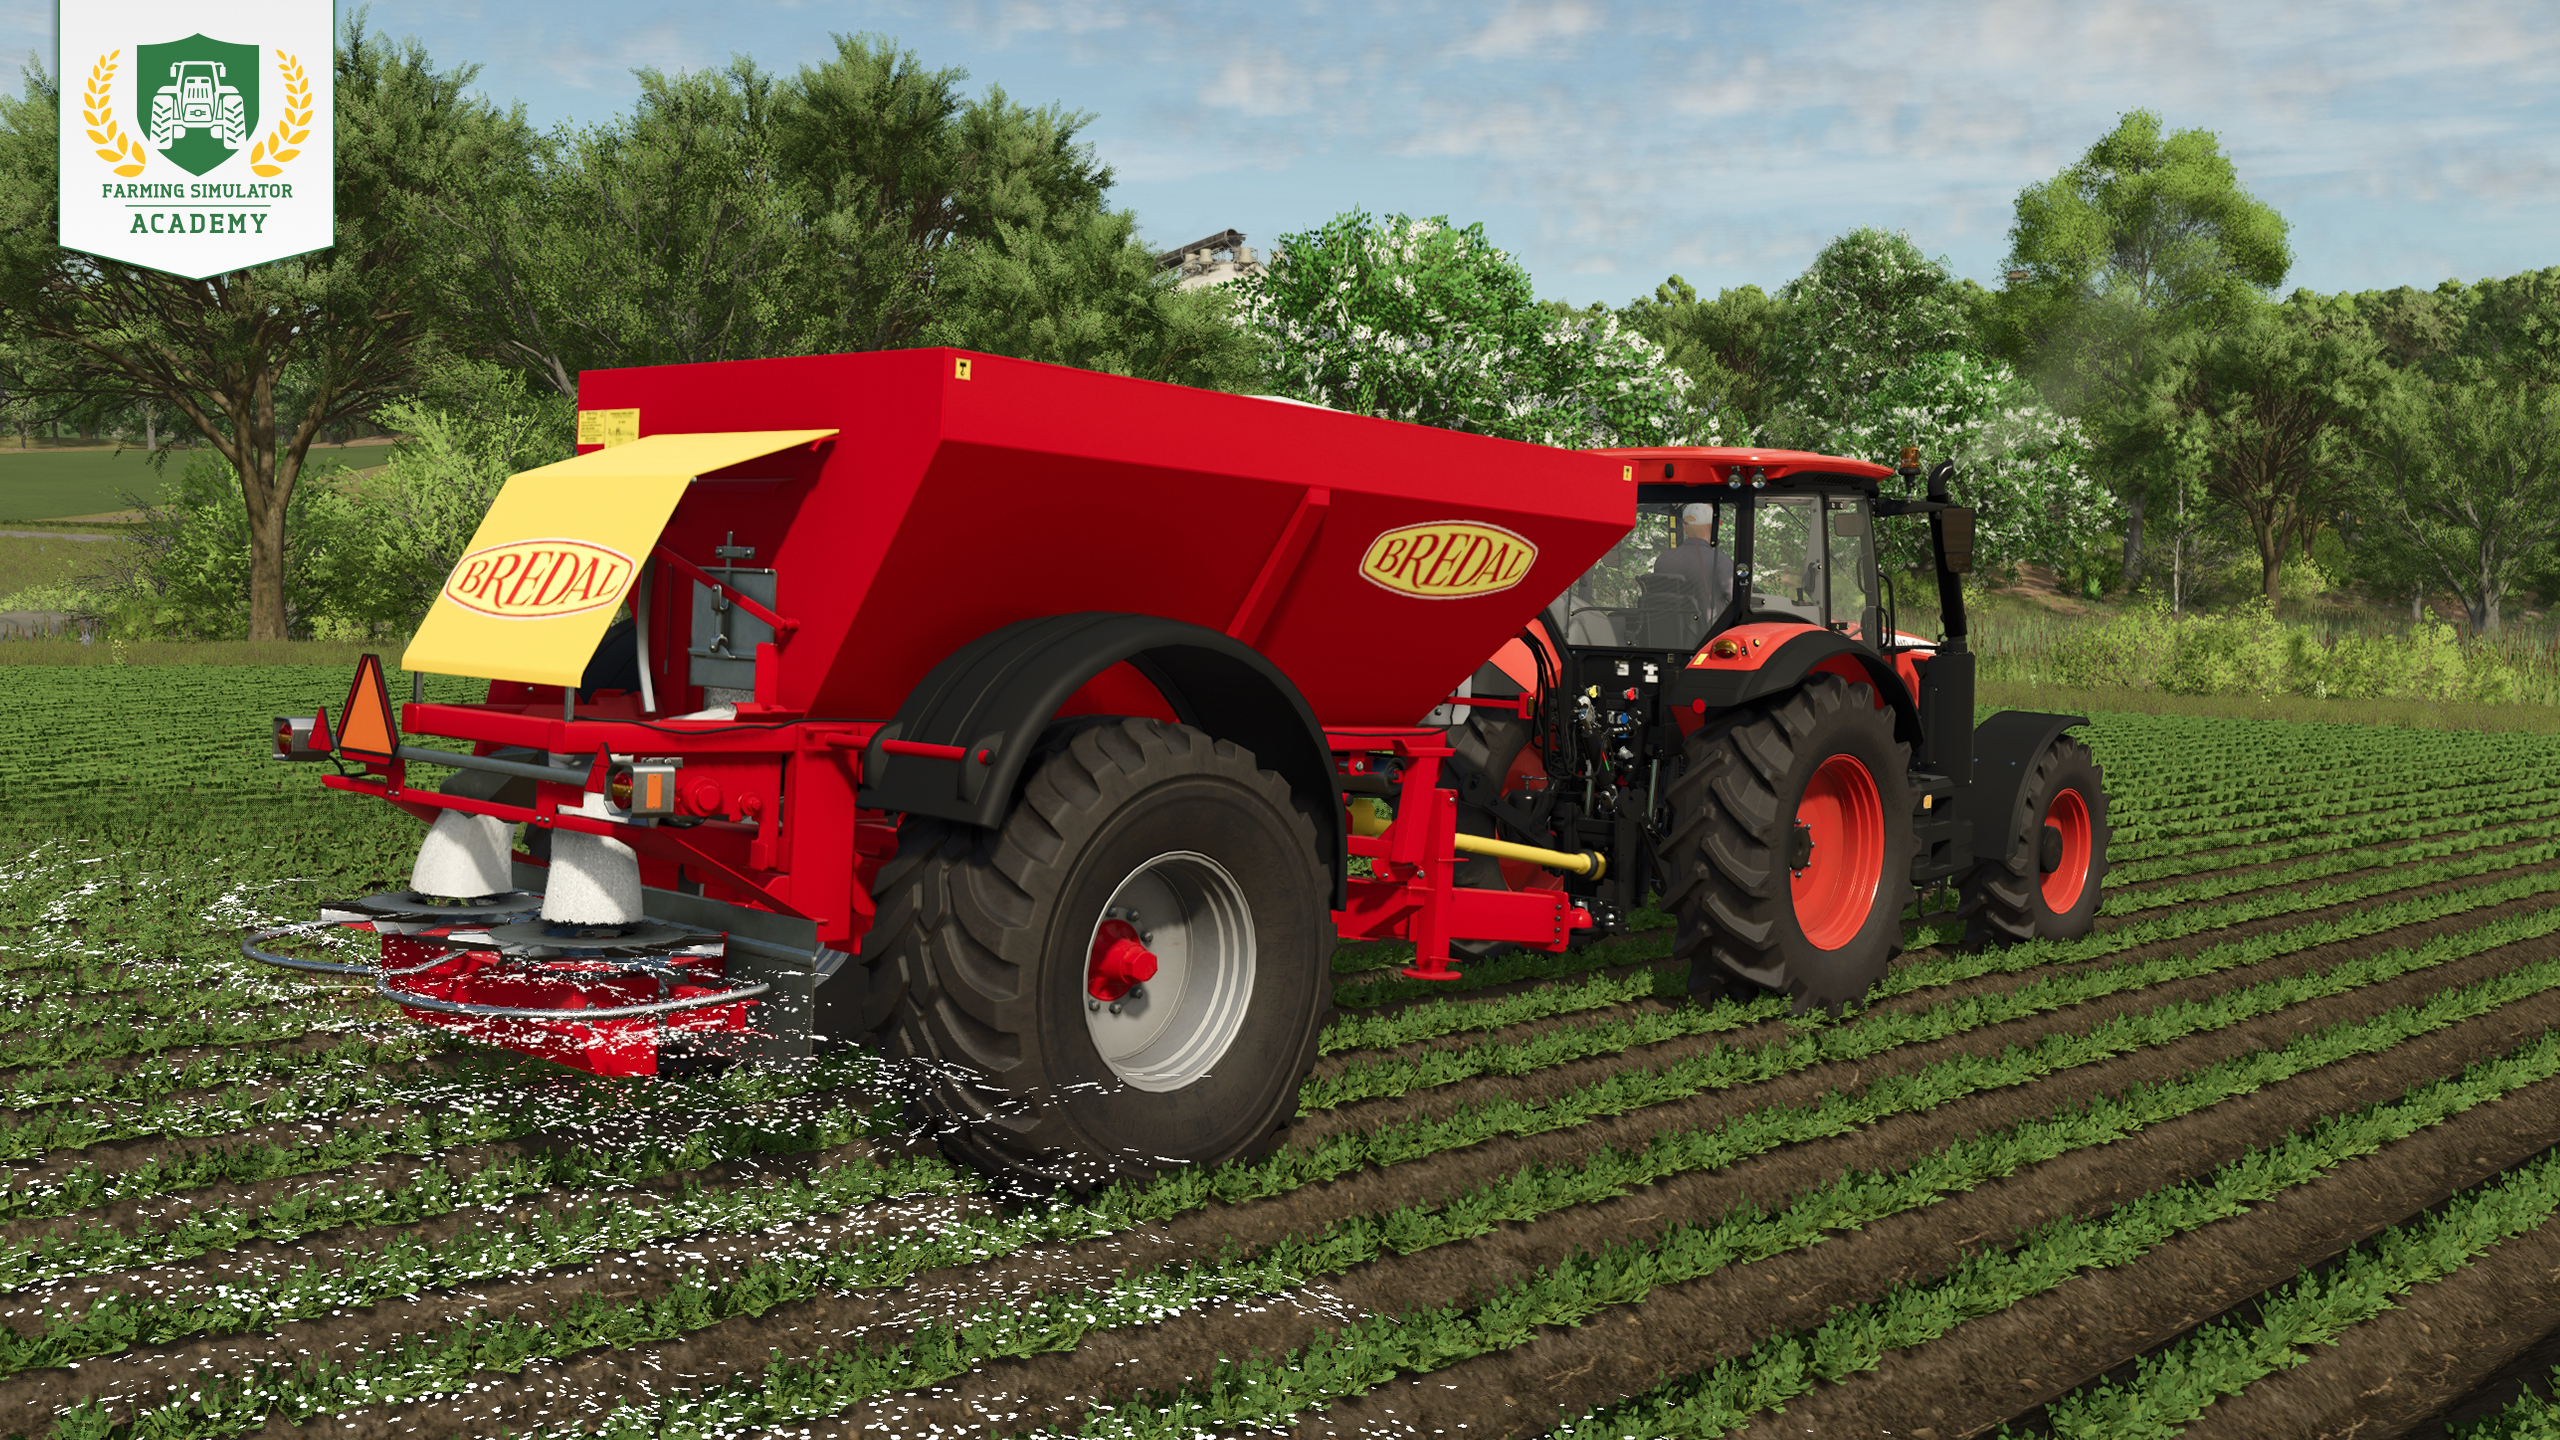
Fill your fertilizer spreader with solid fertilizer, activate it, and cover the complete field. If you shaped ridges earlier, this additional fertilization stage brings you to full fertilization. Without ridges, fertilize a second time after the parsnips have reached their next growth stage. There needs to be a growth stage between both applications.
Tip! If crop destruction is enabled, use narrow tires before driving through the field once your parsnips have started growing.
You can find everything you need to know about fertilizing here.
Step 6: Removing weeds
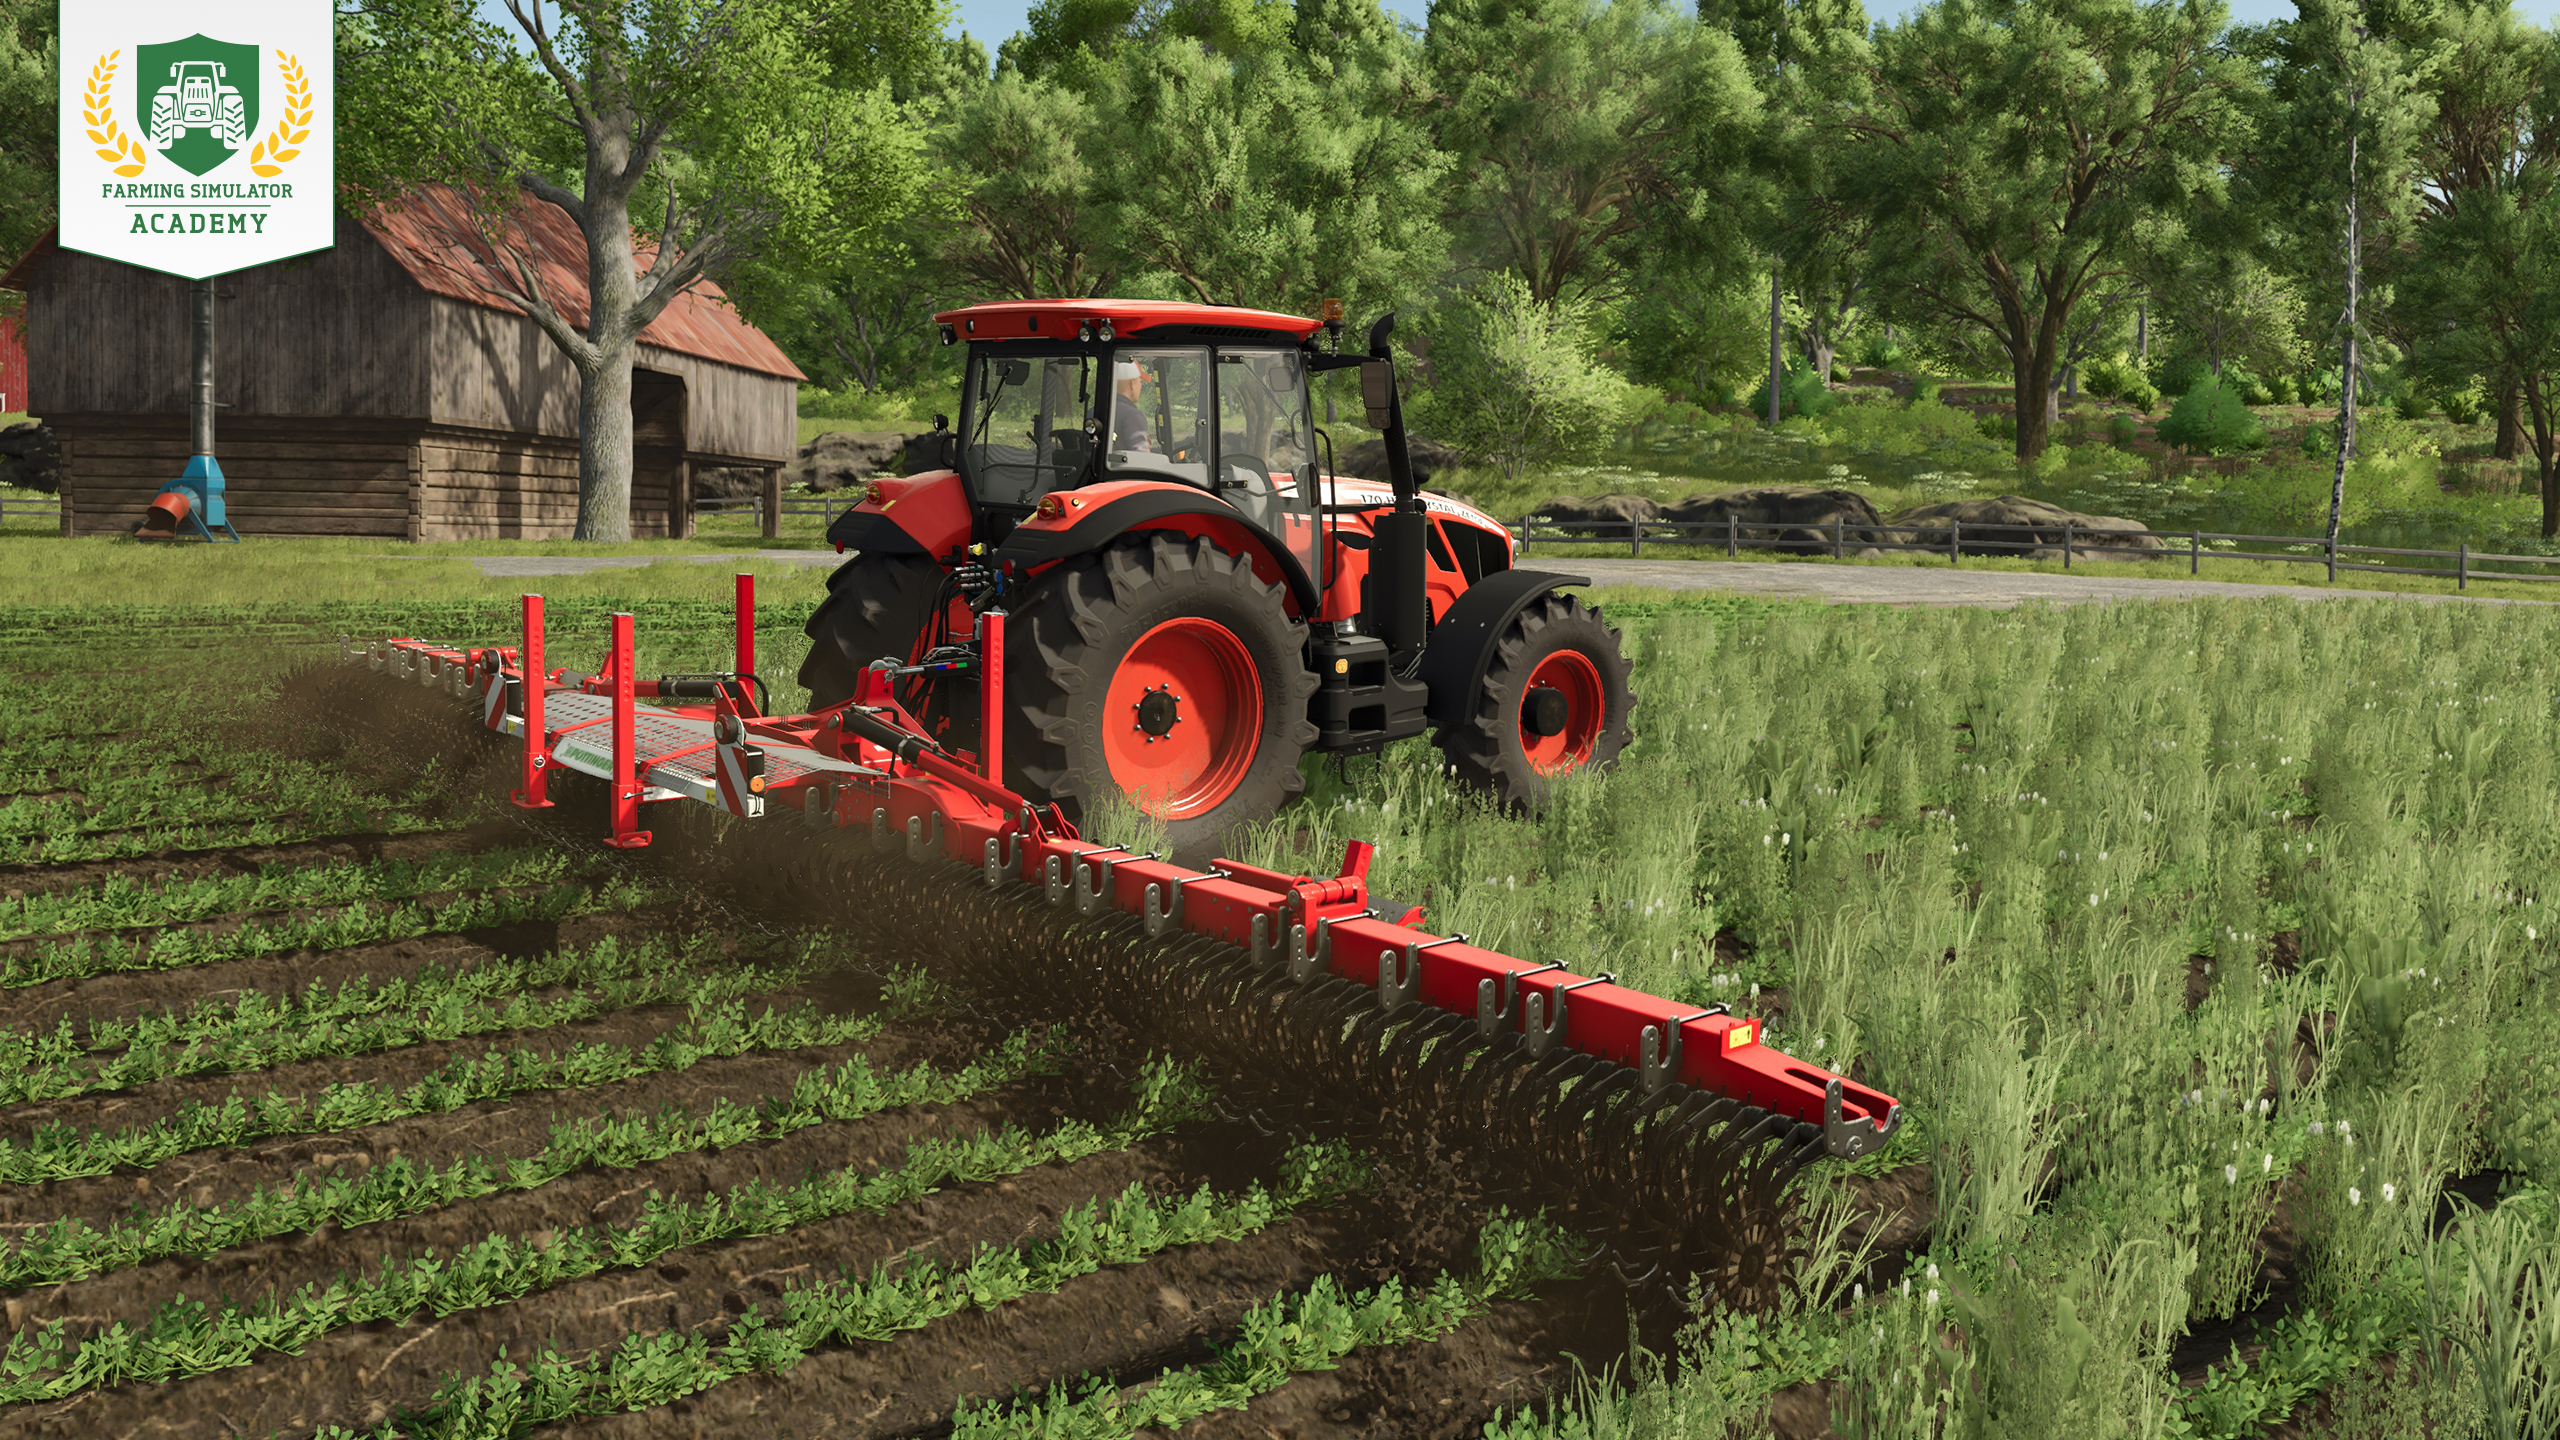
Get rid of weeds as soon as they appear so they do not reduce your yield. Use the hoe while the weeds are still small. Once they have grown too large, you may need to use a sprayer and herbicide instead.
See which tools work against the different growth stages of weeds.
Step 7: Harvesting parsnips
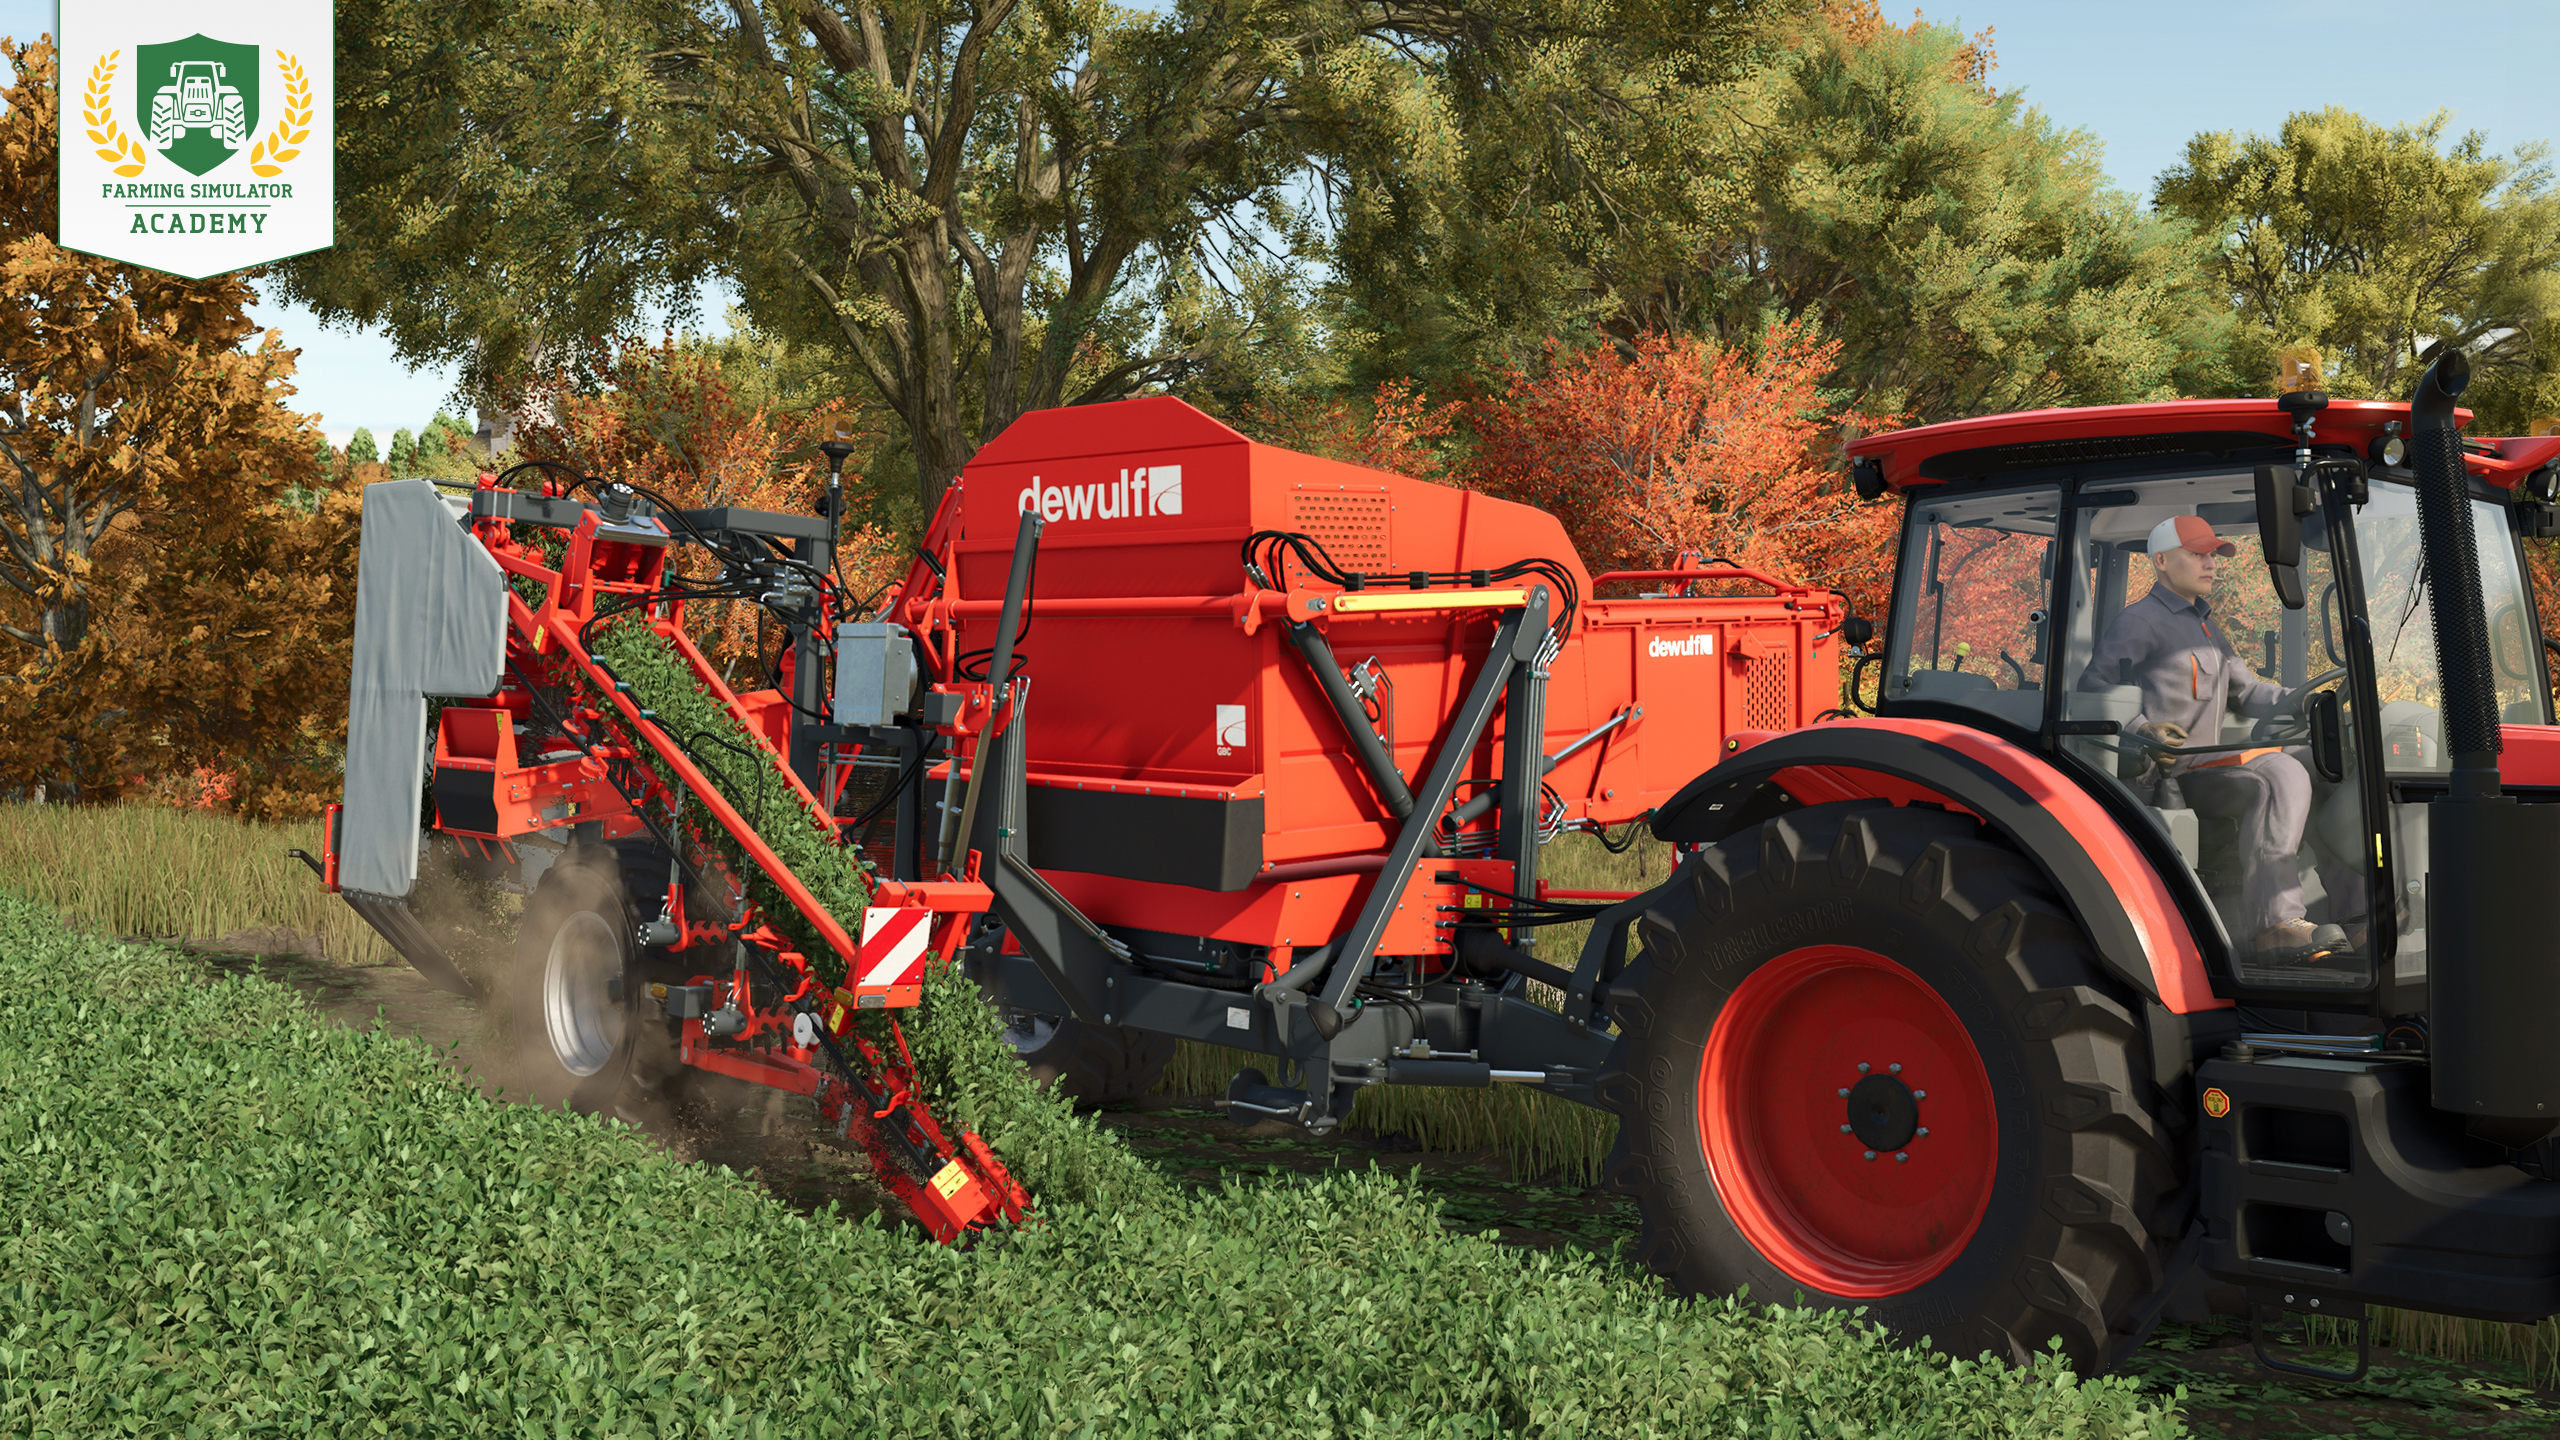
Parsnips can be harvested between August and November. Attach your vegetable harvester, lower and activate it, and harvest the field row by row. When the harvester is full, unload the parsnips into your trailer.
Step 8: Selling parsnips
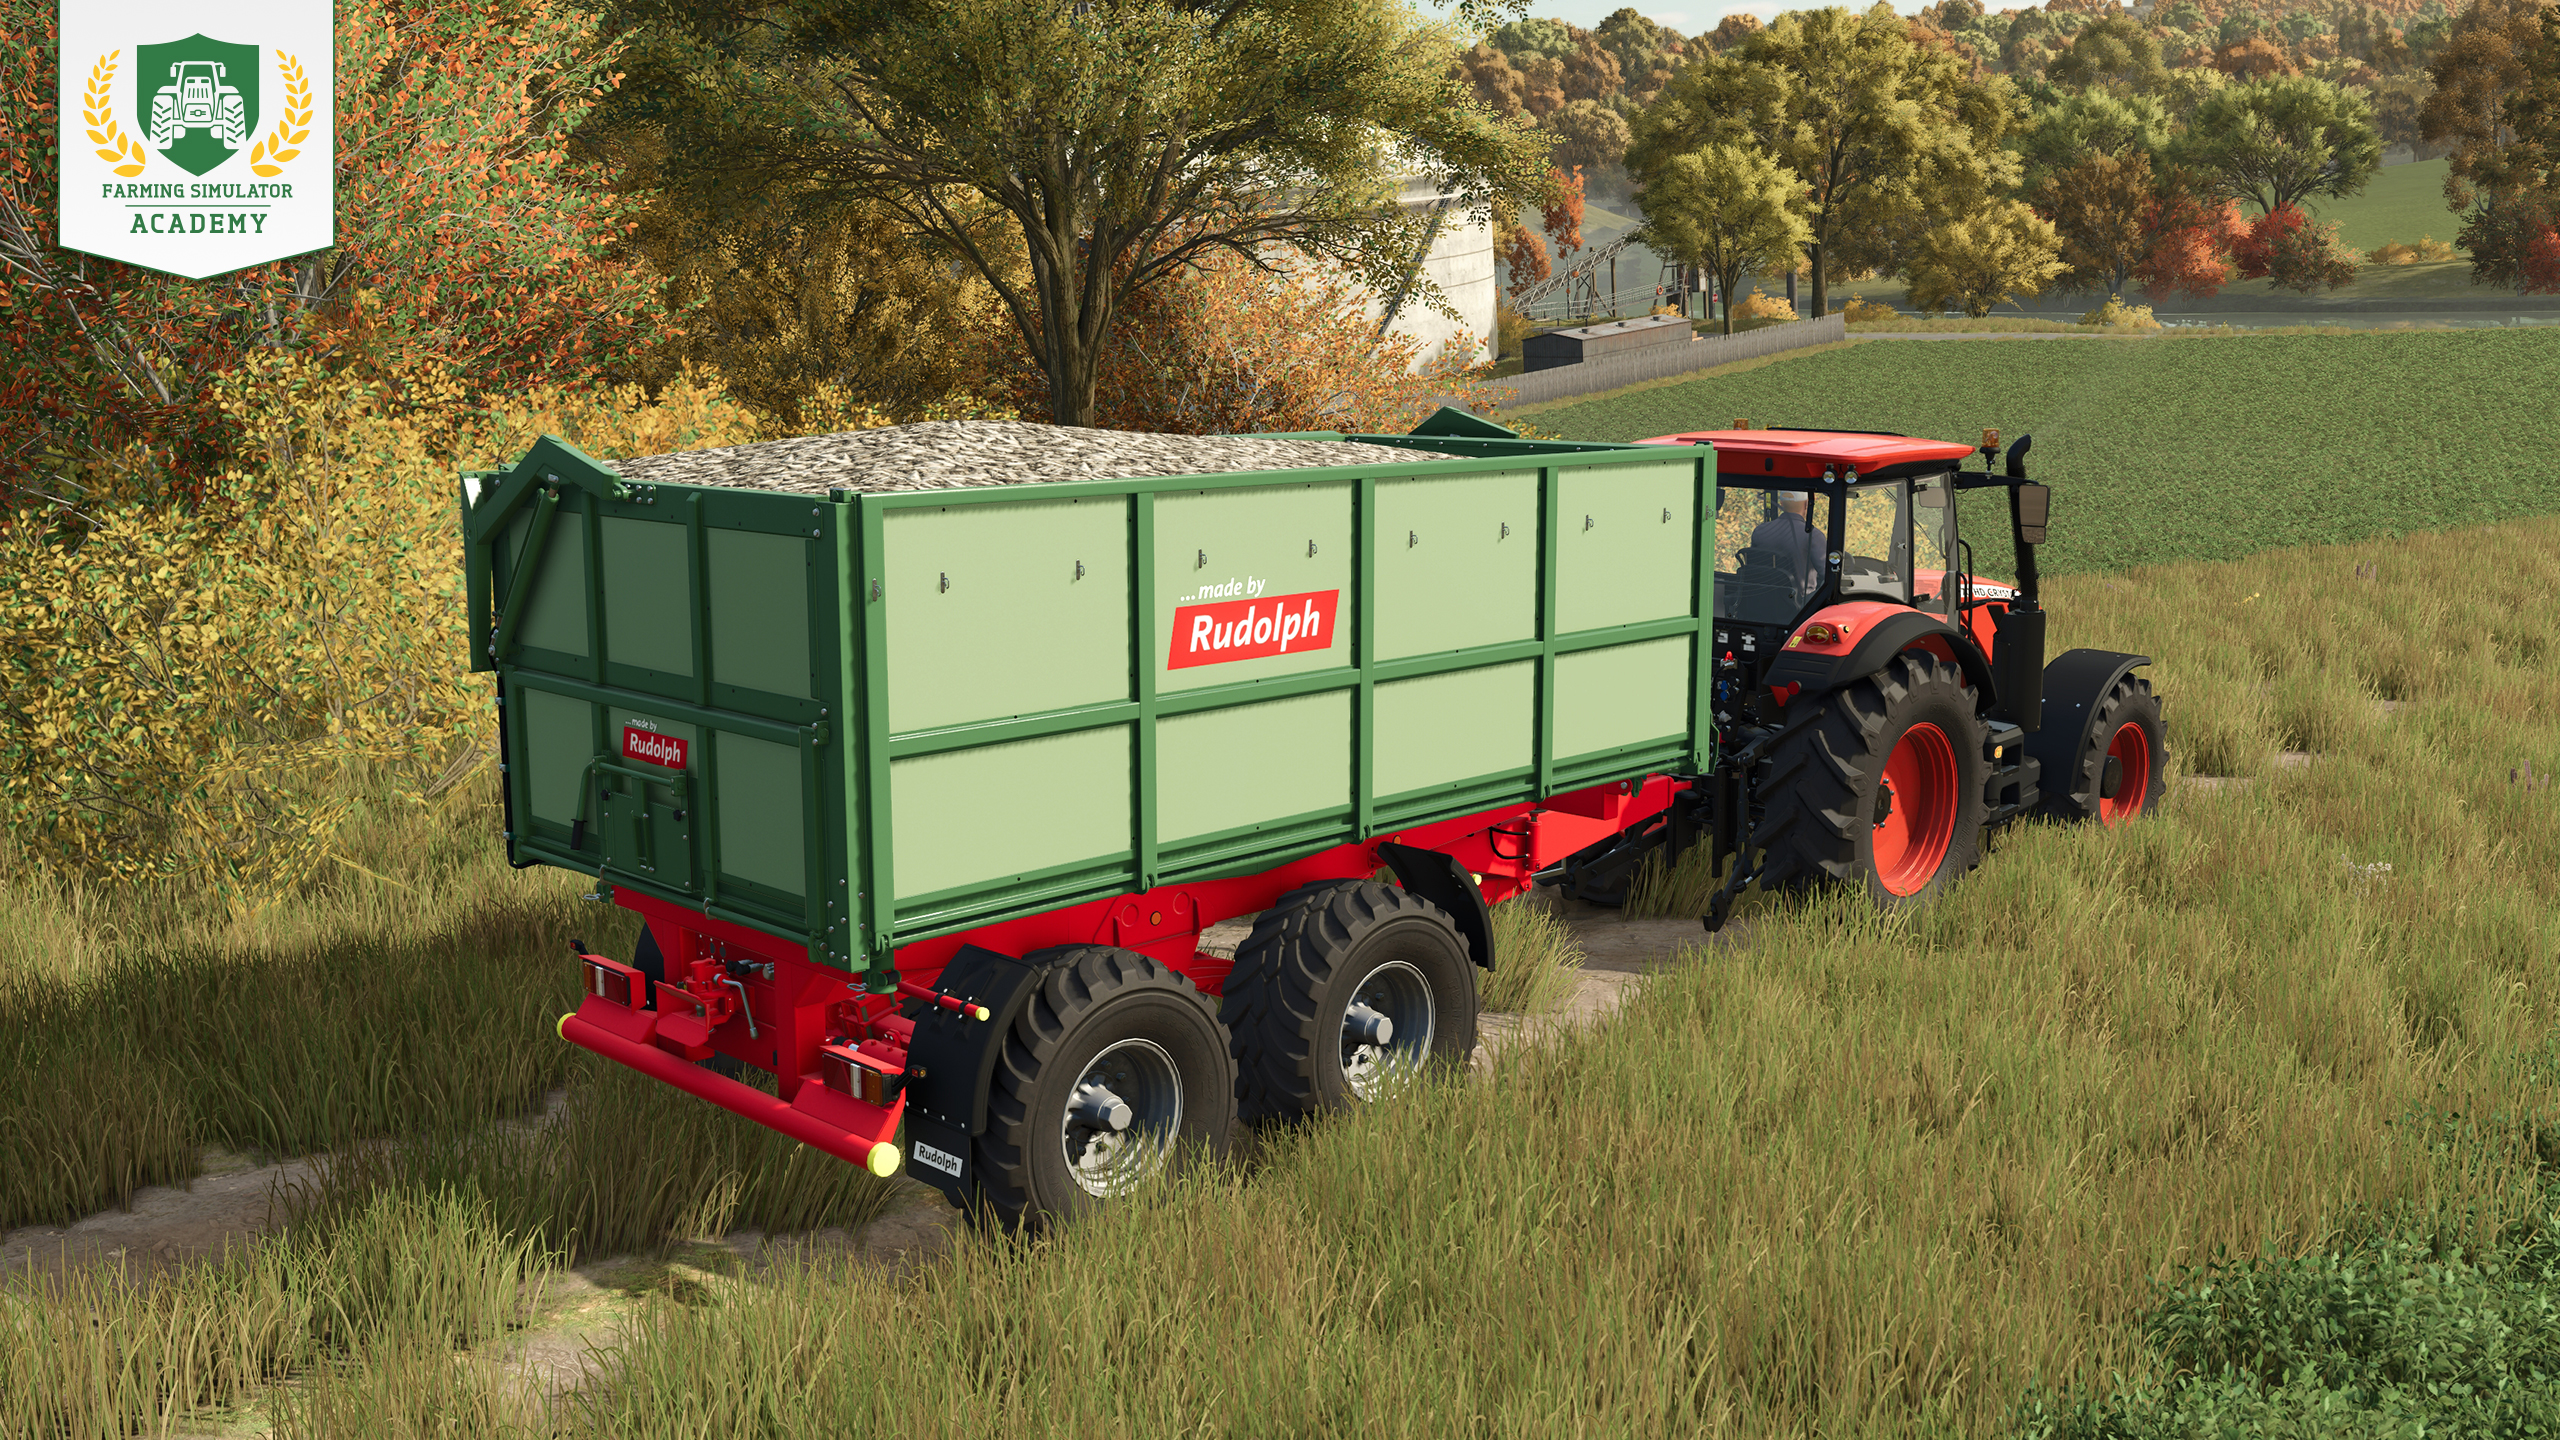
Open the prices screen and look for a selling point that currently offers a good price. Drive there with your harvested parsnips and unload them in the designated area.
Selling prices fluctuate throughout the year, so you can also wait for a better opportunity. Keep in mind that parsnips cannot be stored in a regular silo, so you need suitable storage if you do not want to sell them immediately.
Processing Parsnips: Products
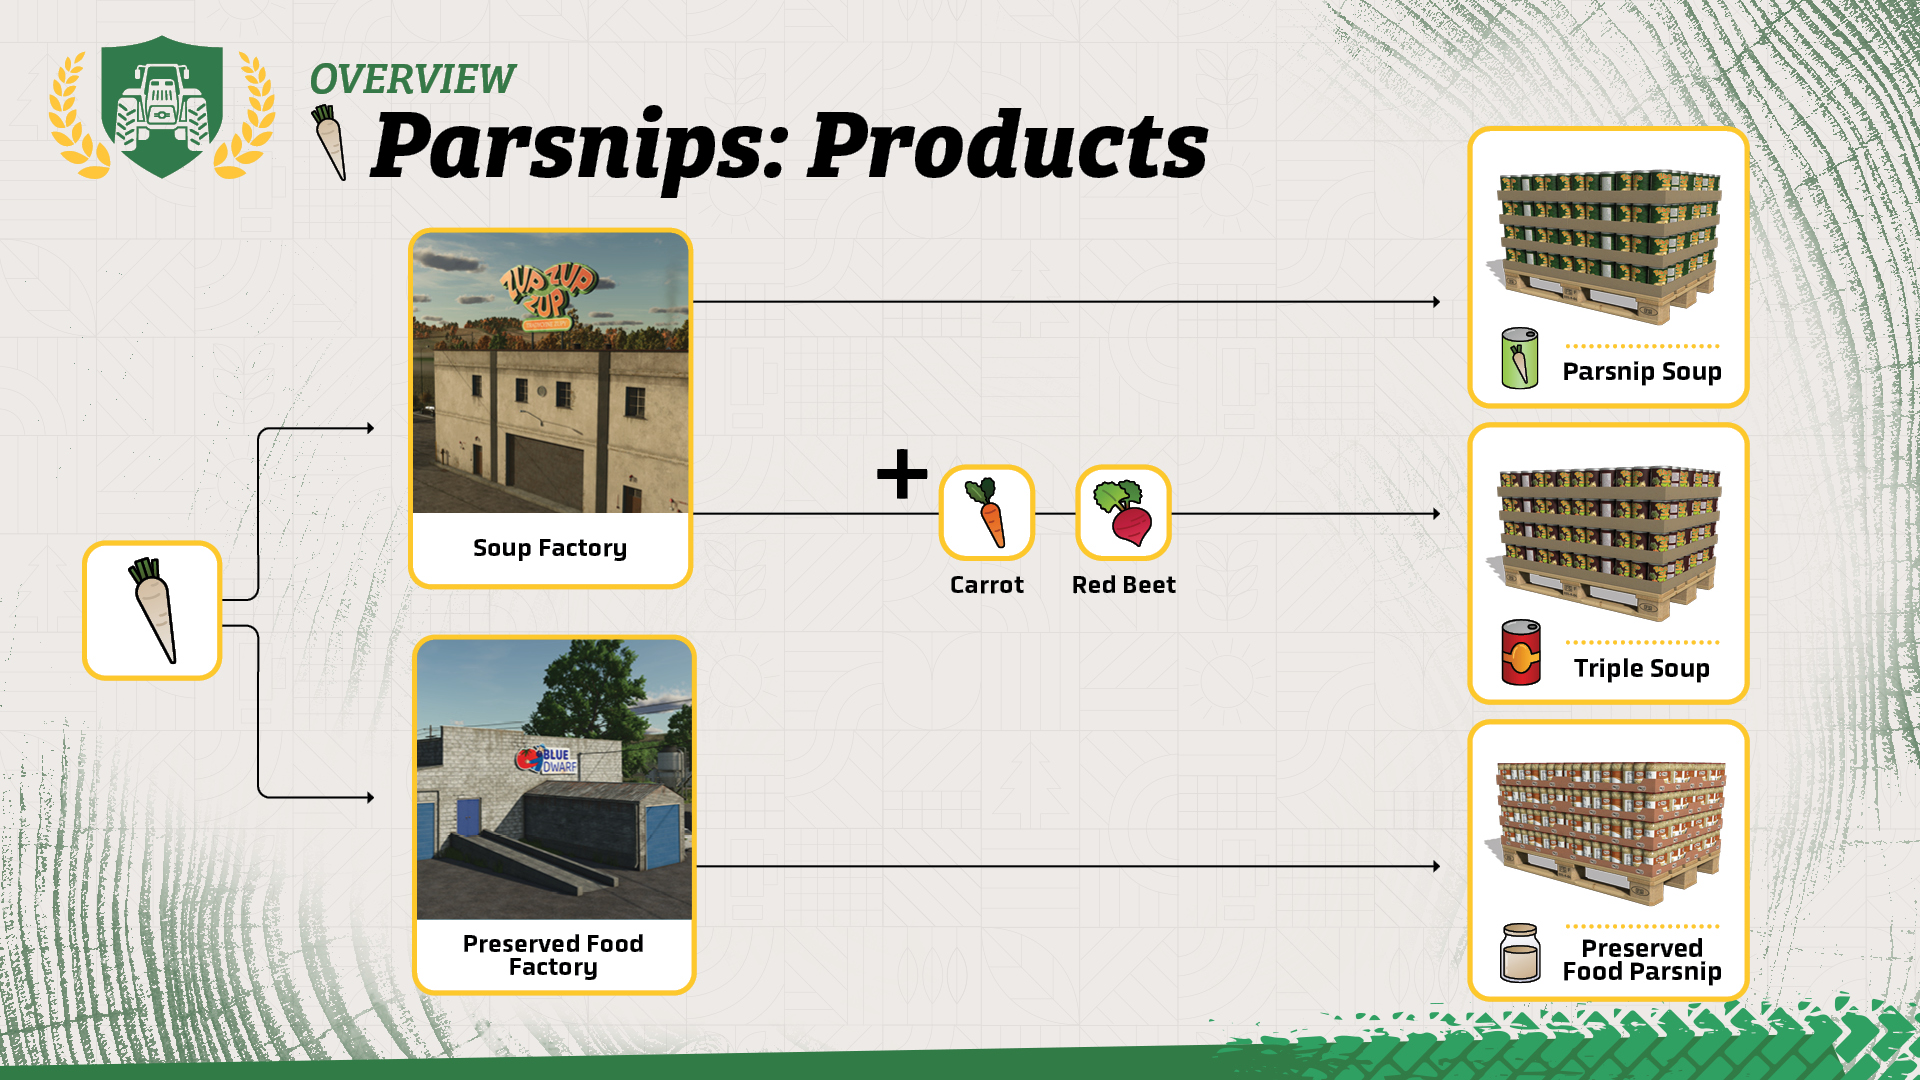
Instead of selling parsnips directly, you can turn them into more valuable products. Deliver them to the preserved food factory to produce preserved parsnips or to the soup factory to make parsnip soup. You can also combine parsnips with carrots and red beet at the soup factory to produce triple soup.
Well Done!
Congratulations! You now know the basics of growing and harvesting parsnips in Farming Simulator. When you're ready, continue with the next Farming Simulator Academy lesson!


So, has Beans & Alpacas won you over yet? 🦙 LAST CHANCE to save 10% when you preorder the FS25: Beans & Alpacas Expansion before its October 27 launch! 🎉 Your next farming adventure awaits! 🚜 🔗 https://t.co/j2gGuWNKjz https://t.co/jxabPgbI33
One last Factsheet Friday before launch! 🚜 Discover John Deere, Mercedes-Benz, Randon, New Holland & Stara equipment coming with Beans & Alpacas on October 27. Check out the final batch! 🌱 🔗 https://t.co/KGeOIzHeIa https://t.co/MgoHm1OKfr

The countdown continues! 🦙 Join Benni and Stefan Maurus for our FS25: Beans & Alpacas Pre-Release Show on October 22 at 6 PM CEST. Get a closer look at the expansion ahead of its October 27 launch! Tune in on YouTube! 📺 🔗 https://t.co/NKgUwdoMza https://t.co/n9Yv9rvg2l

Ready for Bale Race? 🚜 We’re teaming up with Fendt at the 99th National FFA Convention & Expo! Join us in Indianapolis, Indiana, October 21–24, 2026, and put your Farming Simulator skills to the test. See you there! 👋 https://t.co/UqFCTpMqdK

Social Media


So, has Beans & Alpacas won you over yet? 🦙 LAST CHANCE to save 10% when you preorder the FS25: Beans & Alpacas Expansion before its October 27 launch! 🎉 Your next farming adventure awaits! 🚜 🔗 https://t.co/j2gGuWNKjz https://t.co/jxabPgbI33


